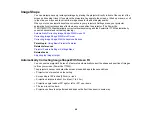
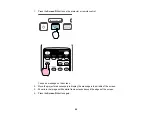

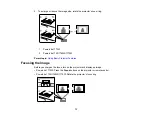


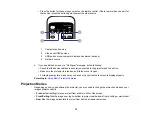

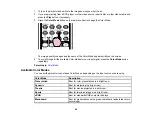


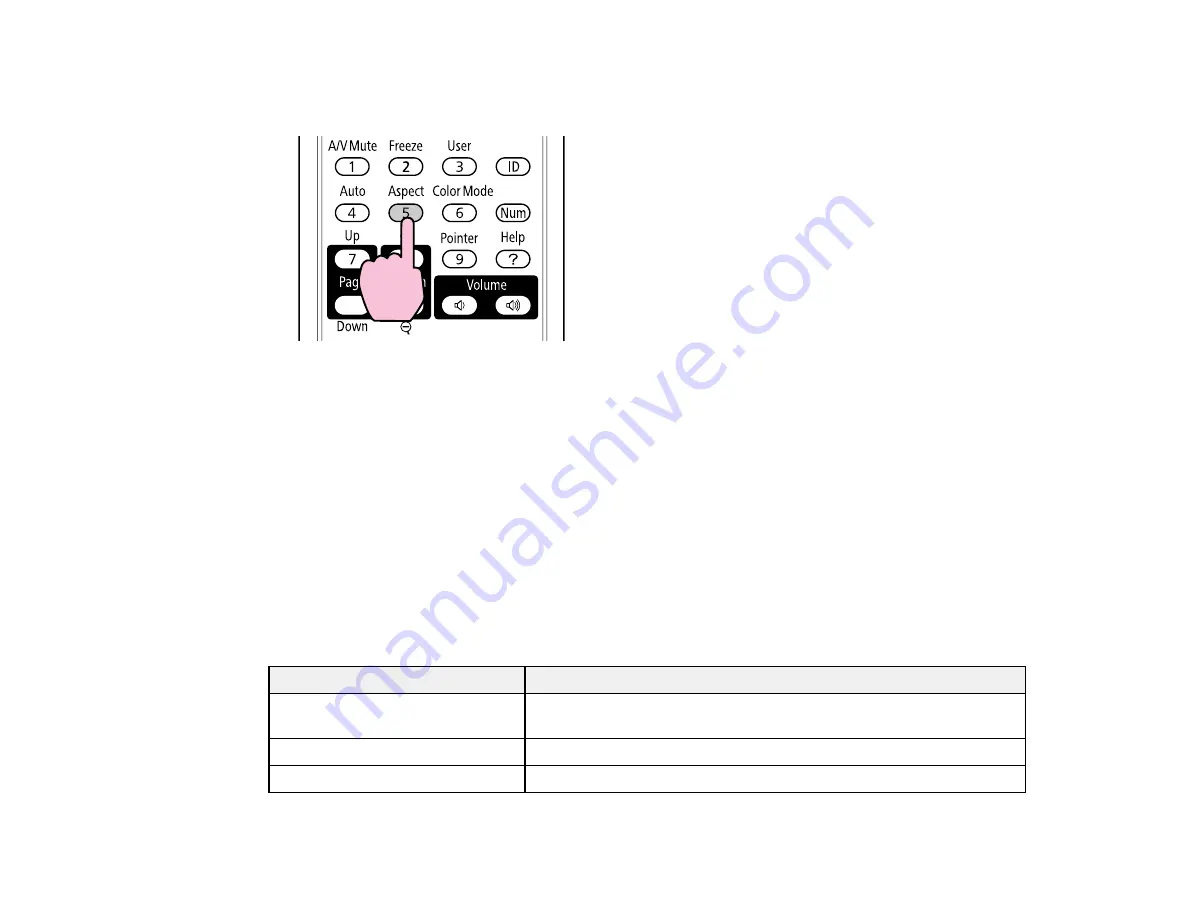
1.
Turn on the projector and switch to the image source you want to use.
2.
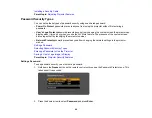
Press the
Aspect
button on the remote control.
The shape and size of the displayed image changes, and the name of the aspect ratio appears
briefly on the screen.
3.
To cycle through the available aspect ratios for your input signal, press the
Aspect
button
repeatedly.
Parent topic:
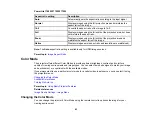
Available Image Aspect Ratios
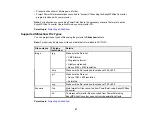
You can select the following image aspect ratios, depending on the input signal from your image source.
Note:
Black bands and cropped images may project in certain aspect ratios, depending on the aspect
ratio and resolution of your input signal.
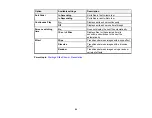
PowerLite 1750
Aspect ratio setting
Description
Normal
Displays images using the full projection area and maintains the
aspect ratio of the image.
4:3
Displays images using the full projection area at 4:3 aspect ratio.
16:9
Converts the aspect ratio of the image to 16:9.
82
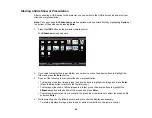
Summary of Contents for PowerLite 1750
Page 1: ...PowerLite 1750 1760W 1770W 1775W Projector User s Guide ...
Page 2: ......
Page 8: ......
Page 22: ...Front Rear Ceiling 22 ...
Page 47: ...3 Remove the wireless LAN module cover 4 Insert the wireless LAN module into the port 47 ...
Page 62: ...1 Open the projector s lens cover 2 Connect the power cord to the projector s power inlet 62 ...
Page 120: ...Video input source USB or LAN input source 120 ...
Page 131: ...4 Slide the lamp cover out and lift it off 5 Lift up the metal bar securing the lamp 131 ...
Page 160: ... Wide resolution only Parent topic Technical Specifications 160 ...


