


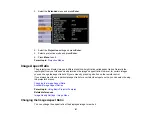


5.
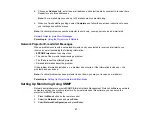
Select the
Quick Corner
setting and press
Enter
.
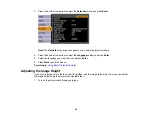
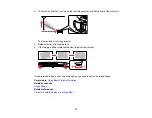
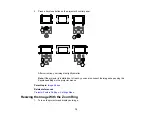
You see the Quick Corner adjustment screen.
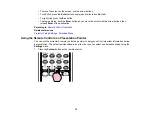
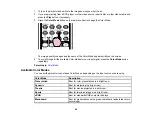
6.
Use the arrow buttons on the projector or the remote control to select the corner of the image you
want to adjust. Then press
Enter
.
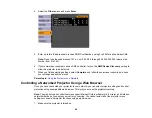
7.
Press the arrow buttons to adjust the image shape as necessary.
8.
When you are finished, press
Esc
.
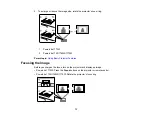
Parent topic:
Correcting Image Shape With the Keystone Buttons
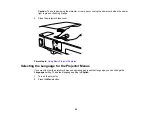
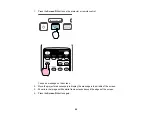
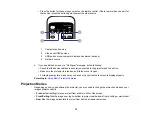
You can use the projector's keystone correction buttons to correct the shape of an image that is
unevenly rectangular on the sides.
1.
Turn on the projector and display an image.
71
Summary of Contents for PowerLite 1750
Page 1: ...PowerLite 1750 1760W 1770W 1775W Projector User s Guide ...
Page 2: ......
Page 8: ......
Page 22: ...Front Rear Ceiling 22 ...
Page 47: ...3 Remove the wireless LAN module cover 4 Insert the wireless LAN module into the port 47 ...
Page 62: ...1 Open the projector s lens cover 2 Connect the power cord to the projector s power inlet 62 ...
Page 120: ...Video input source USB or LAN input source 120 ...
Page 131: ...4 Slide the lamp cover out and lift it off 5 Lift up the metal bar securing the lamp 131 ...
Page 160: ... Wide resolution only Parent topic Technical Specifications 160 ...


