11-4
Using Your Camera for Presentations
6
Click the
Start
button to start uploading the images.
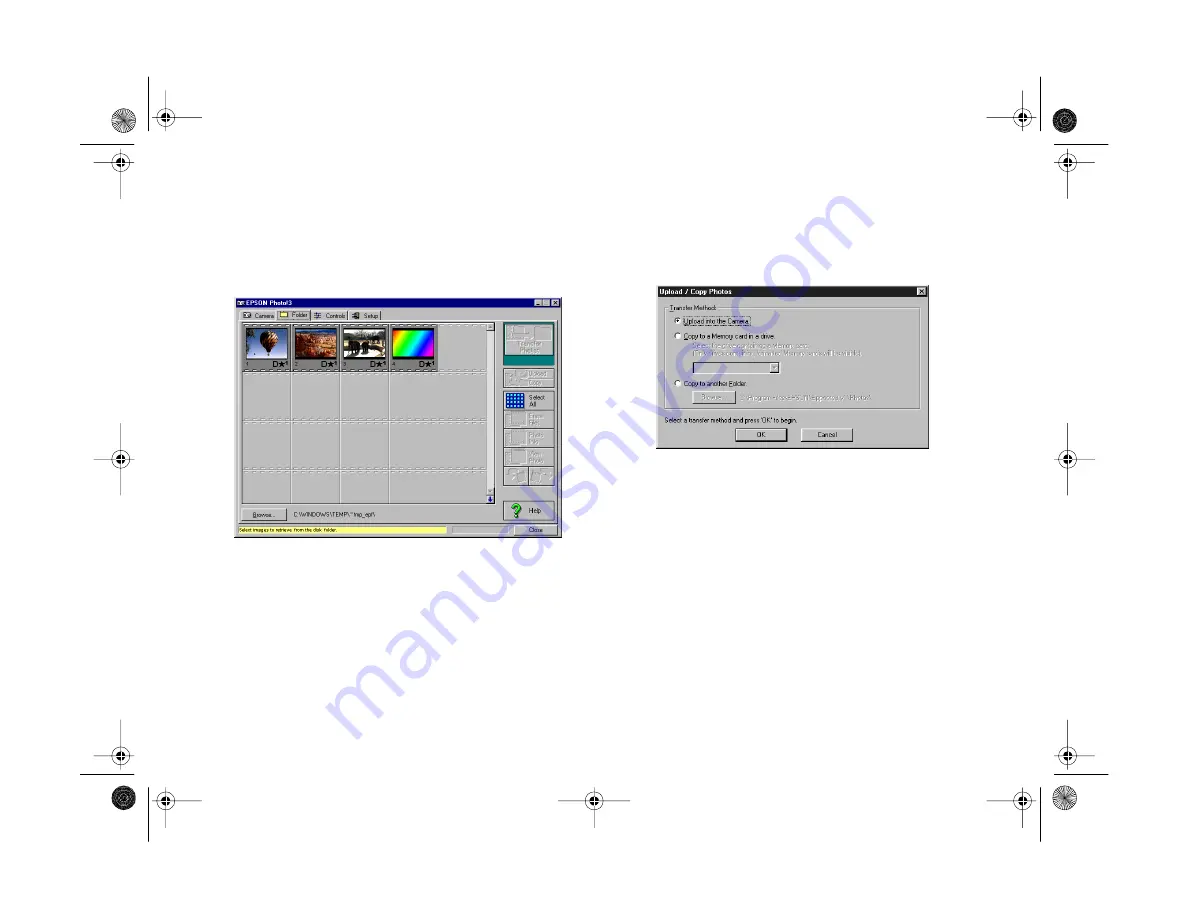
EPSON Photo!3 opens and displays the images you
selected:
Depending on the number of images, you may have to
wait a minute or so for EPSON Photo!3 to open.
7
Click
Select All
to select all the images, or select
individual images by clicking the thumbnails in the
image selection window.
8
Click
Upload/Copy
.
The Upload/Copy Photos dialog box appears:
9
Click
Upload into the Camera
to upload the images
to your camera’s memory card, or click
Copy to a
Memory Card in a drive
to upload to a memory card
installed in your computer’s PCMCIA drive; then click
OK
.
The images are uploaded to the destination you selected.
If you clicked the
Save file to
checkbox in step 5, the
converted images are also saved to the folder you
specified.
Altair.book Page 4 Thursday, July 1, 1999 3:33 PM
Summary of Contents for PhotoPC 800
Page 1: ......
Page 2: ...A B User s Guide Altair book Page i Thursday July 1 1999 3 33 PM ...
Page 18: ...10 Introduction Altair book Page 10 Thursday July 1 1999 3 33 PM ...
Page 44: ...2 10 Taking Pictures Altair book Page 10 Thursday July 1 1999 3 33 PM ...
Page 102: ...5 20 Playing Back Photos Altair book Page 20 Thursday July 1 1999 3 33 PM ...
Page 118: ...6 16 Getting Photos Into Your Computer Altair book Page 16 Thursday July 1 1999 3 33 PM ...
Page 152: ...9 10 Editing Images Altair book Page 10 Thursday July 1 1999 3 33 PM ...
Page 202: ...13 12 Maintenance and Troubleshooting Altair book Page 12 Thursday July 1 1999 3 33 PM ...
Page 214: ...B 6 Specifications Altair book Page 6 Thursday July 1 1999 3 33 PM ...


