2-10
Taking Pictures
2
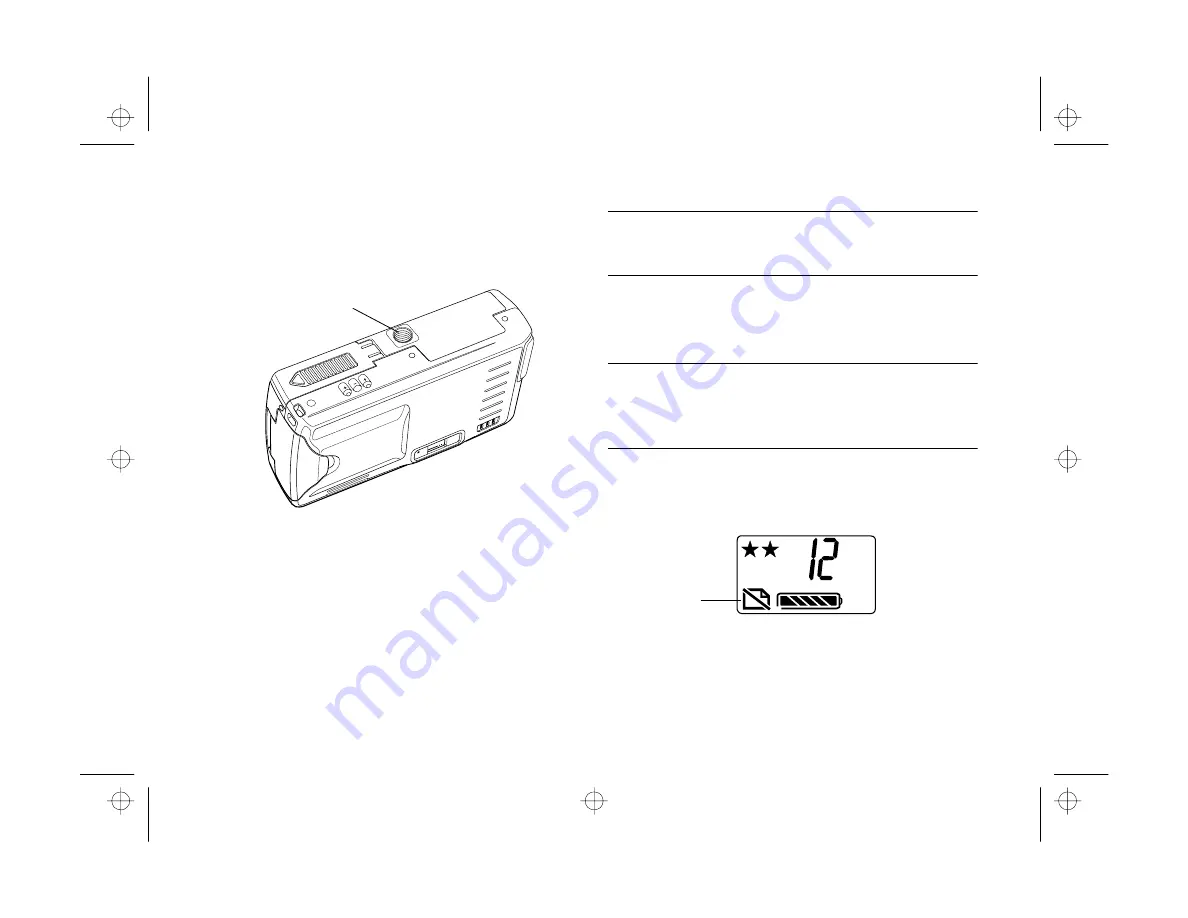
Find the opening for the tripod screw on the bottom of
your camera. Carefully place the camera on the tripod.
Screw the camera on until it is firmly in place.
3
Adjust the tripod to view your subject as desired.
Erasing Pictures
You can erase the last picture taken (along with any
accompanying audio message) or you can erase all the
pictures in the camera at once.
NOTE
You cannot erase a message only. You must erase both the
message and the picture.
To erase the last picture taken, down the
ERASE
button for
two seconds until you see the erase icon on the display panel.
TIP
Be sure to press the indentation in the center of the ERASE
button. You may need to press it with your fingernail instead of
your finger.
The icon flashes and the status light on the back of the
camera is red while the picture is erased.
To erase all the pictures in the camera, hold down the
ERASE
button and then press the
SELF TIMER
button
until you see the erase icon.
tripod socket
erase icon
takepix.fm Page 10 Friday, October 10, 1997 2:38 PM
Summary of Contents for PhotoPC 550
Page 1: ...A B User s Guide frontmat fm Page i Monday October 6 1997 11 47 AM ...
Page 22: ...1 10 Getting Started start fm Page 10 Monday October 6 1997 11 50 AM ...
Page 80: ...7 6 Managing the Camera From the Computer custom fm Page 6 Monday October 6 1997 1 33 PM ...
Page 86: ...8 6 Using SmartMedia Cards cards fm Page 6 Monday October 6 1997 12 52 PM ...
Page 94: ...9 8 Maintenance and Troubleshooting maintrb fm Page 8 Friday October 10 1997 2 43 PM ...
Page 98: ...A 4 Specifications specs fm Page 4 Monday October 6 1997 2 16 PM ...


