37
Adv
anced O
per
ations
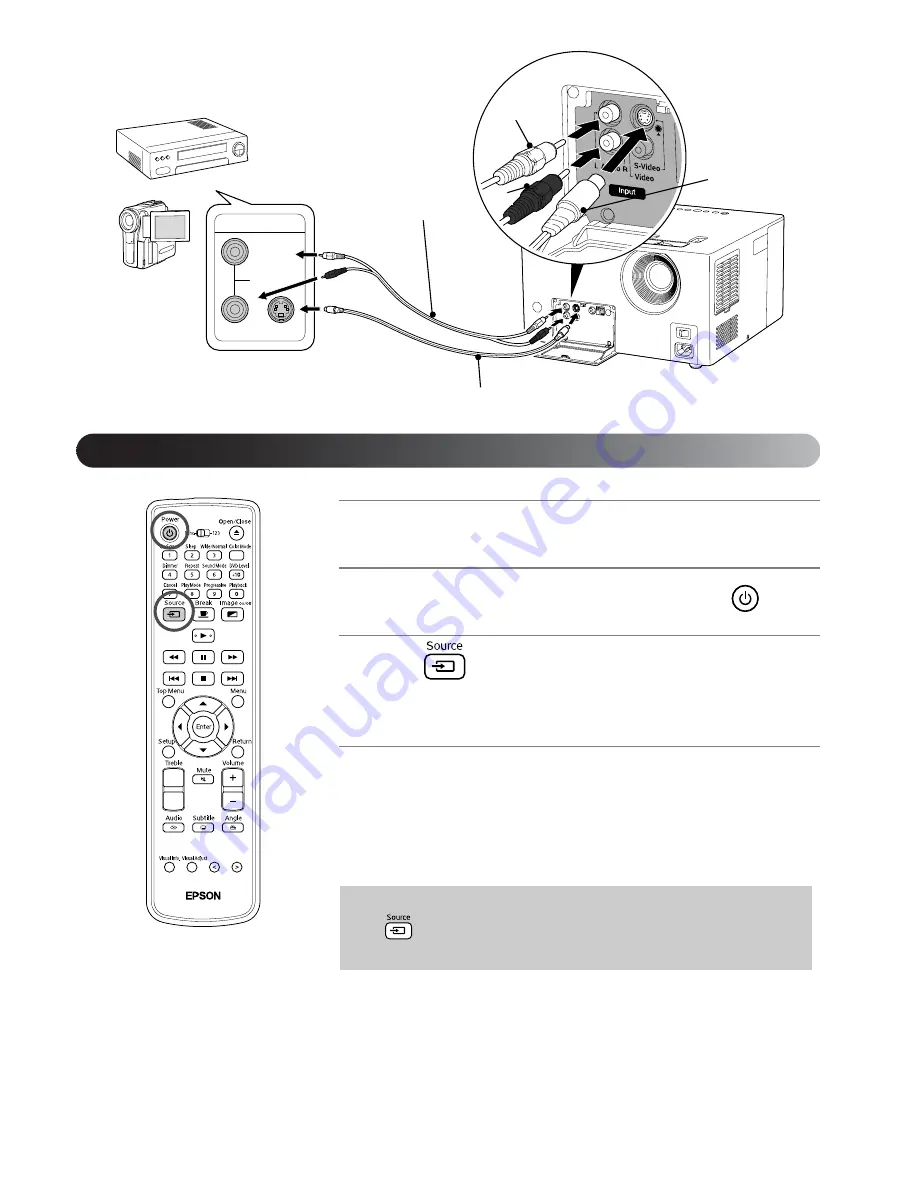
Using the S-Video connection
1
Remove the lens cover if it is in place.
2
Turn on the MovieMate power switch, then press
.
3
Press .
“VIDEO” appears in the display window and MovieMate switches to
external video mode.
4
Switch on the power to the connected video equipment, then
start playback.
If the lamp was off, it comes on.
After a moment, the video is projected.
Functions available in external video mode
The following functions are available when you are using external video equipment:
Color Mode (page 17)
Wide/Normal (page 57)
Sleep (page 34)
Sound Mode (page 40)
DVD level (page 41, 42)
Break (page 17)
Image On/Off (page 22)
Adjusting high pitched tones (page 40)
Muting (page 17)
Volume (page 13)
Visual information (page 50)
Image quality correction (page 48)
To return to the standard built-in DVD player
Press
. “DVD/CD” appears in the display window and MovieMate switches
back to DVD mode.
To Audio out port
To S-Video out port
S-Video cable
RCA audio cable
To Audio
input port
To S-Video input port
Connect with the
▲
facing downwards
White
Output
Audio
L
R
S-Video
Red
Projecting images from external video equipment
Summary of Contents for MovieMate 25
Page 1: ...Epson MovieMate 25 User s Guide ...
Page 58: ......
Page 59: ......
Page 75: ......
Page 76: ...Epson MovieMate 25 ...


