Viewing, Printing, and Saving Photos
79
3
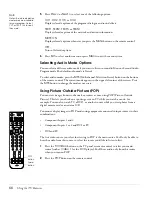
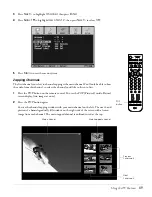
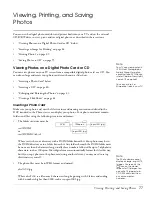
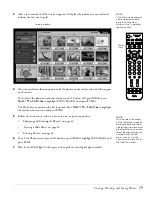
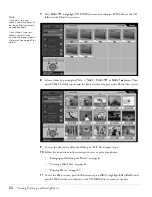
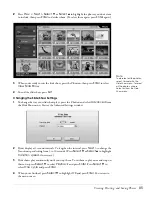
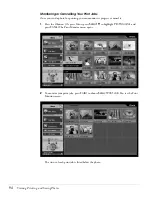
After a few seconds, the Photo screen appears. It displays the photos on your card and
outlines the first one in gold:
4
If you inserted more than one photo card, the photos on the card you inserted first appear
on the screen.
To switch to the photos on another card, press the
1
button. (Or press
Menu
, press
Select
d
or
Select
u
to highlight
Photo Source
, then press
Enter
.)
The Photo Source menu on the left is opened. Press
Select
d
or
Select
u
to highlight
the card you want to view and press
Enter
.
5
Follow the instructions in these sections to view or print your photos:
•
“Enlarging and Rotating the Photos” on page 83
•
“Viewing a Slide Show” on page 84
•
6
To exit the Photo viewer, press the
5
button or press
Menu
, highlight
Exit viewer
, and
press
Enter
.
7
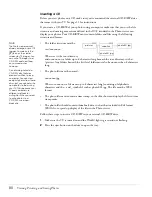
Wait for the
Card
light to shine green, then pull out your digital photo card(s).
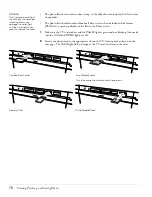
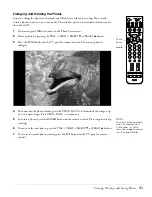
Note
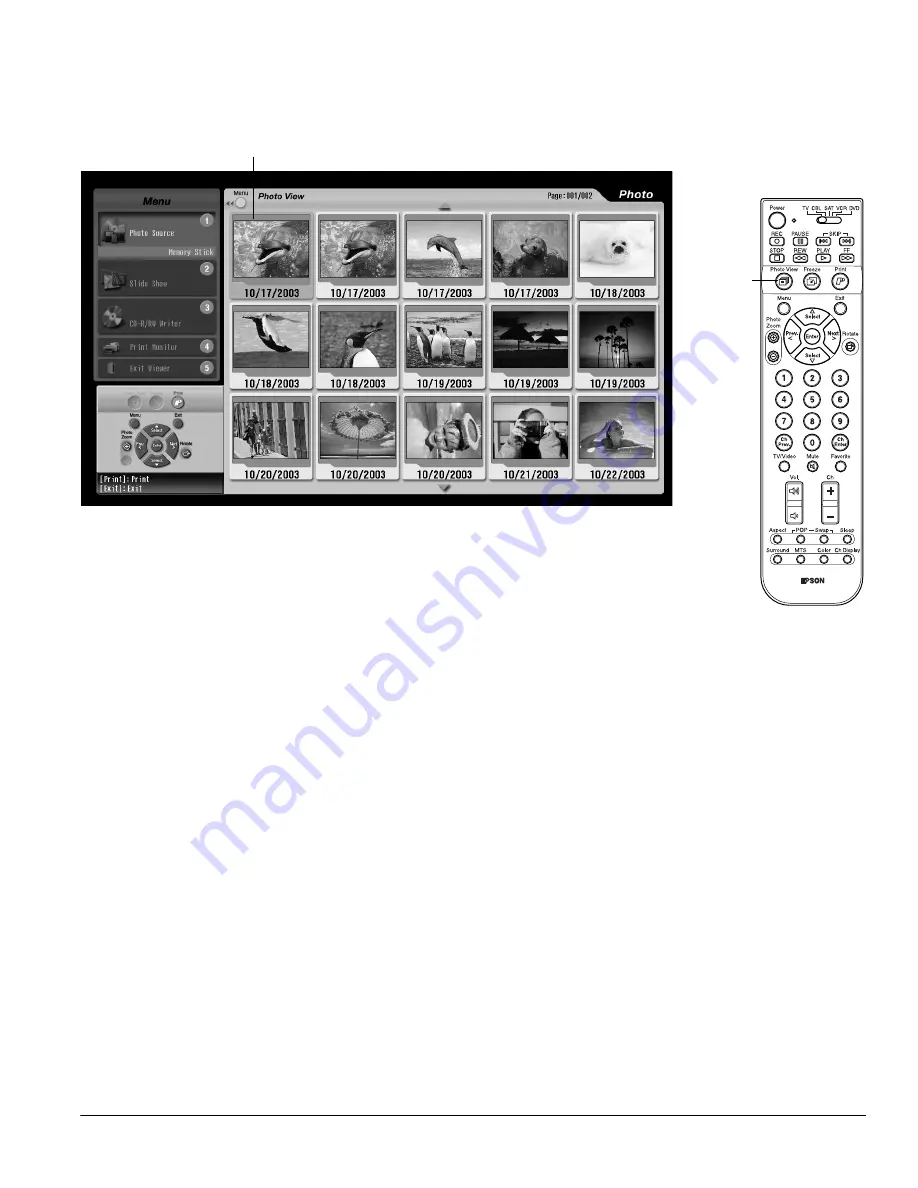
If the Photo viewer doesn’t
come up automatically,
press the Photo View
button on the TV panel or
remote control.
Photo
View
Selected photo
Note
You can select the menus
on the left of the screen by
pressing the Menu button,
highlighting the menu, and
pressing Enter. You can also
select them by pressing the
number button for the
menu, such as 1 for the
Photo Source menu or 2 for
the Slide Show menu.
Summary of Contents for Livingstation LS47P2
Page 1: ...User s Guide HDTV LCD Projection Television ...
Page 6: ...6 Table of Contents ...
Page 98: ...98 Viewing Printing and Saving Photos ...
Page 112: ...112 Caring For the TV ...
Page 128: ...128 Specifications ...


