165
7.
Select the
Group Name
field, use the displayed keyboard to enter the group name (up to 30
characters), and press
OK
.
8.
Select the
Index Word
field, use the displayed keyboard to enter a word to use when searching for a
group (up to 30 characters), and press
OK
. (This field is optional.)
9.
Select
Contact(s) Added to the Group
.
You see your contacts list.
10. Select the contacts you want to include in your group.
Note:
To display the contacts in alphabetical order, select
Name Order Display
.
A check mark appears next to each selected contact.
11. Select
OK
.
Parent topic:
Setting Up Contacts Using the Product Control Panel
Editing or Deleting a Contact Group
You can edit an existing contact group to add or delete entries. You can also delete the entire contact
group.
1.
Press the
home button, if necessary.
2.
Select
Fax
.
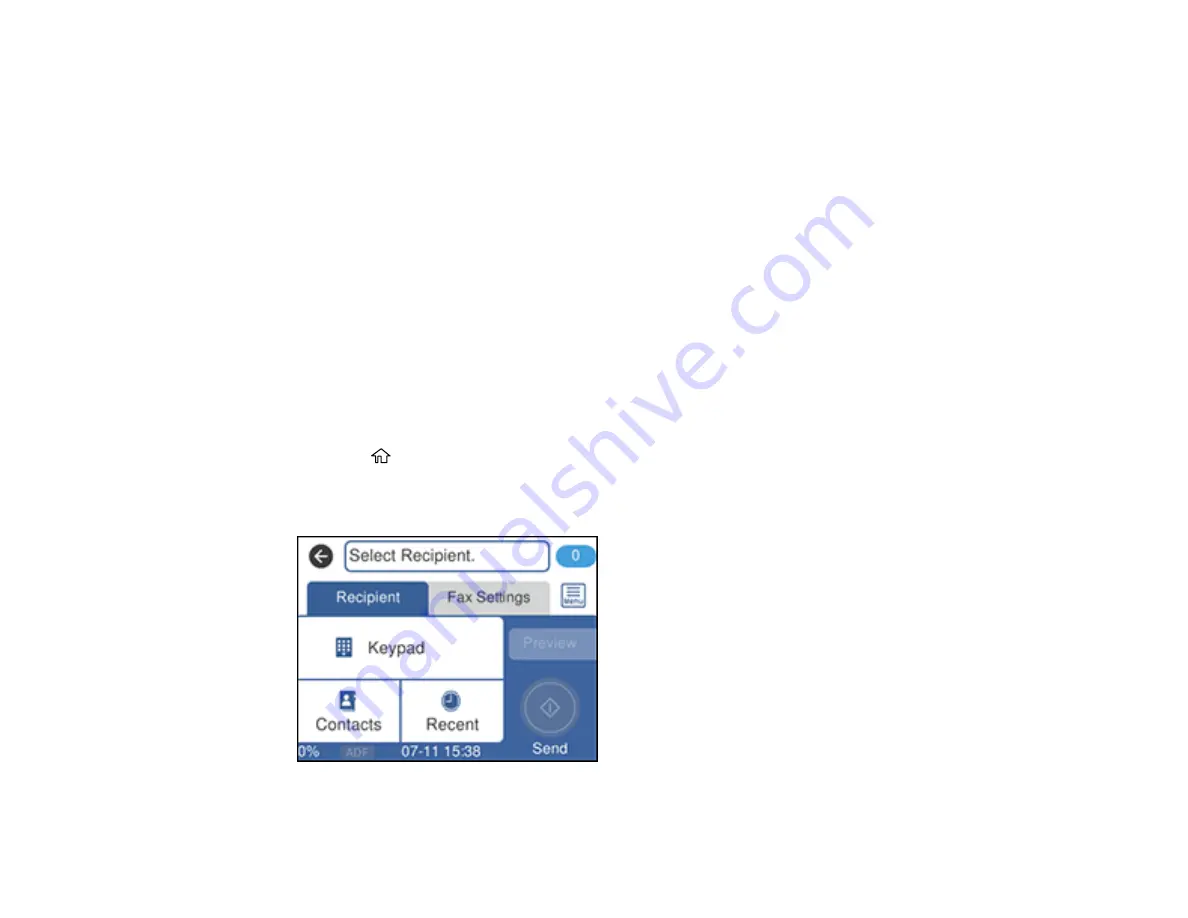
You see a screen like this:
3.
Select
Contacts
.
Summary of Contents for L6191
Page 1: ...L6191 User s Guide ...
Page 2: ......
Page 12: ......
Page 18: ...18 3 Select General Settings 4 Select Basic Settings 5 Select Date Time Settings ...
Page 26: ...26 Product Parts Inside 1 Document cover 2 Scanner glass 3 Control panel ...
Page 60: ...60 2 Pull out the paper cassette until it stops 3 Slide the edge guides outward ...
Page 202: ...202 3 Open the ink tank cover then open the cap for the ink tank you are going to fill ...


