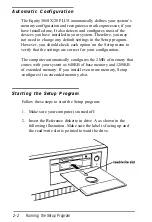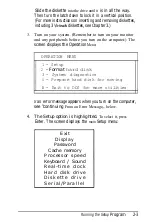
Slide the diskette
into the drive until it
is in all the way.
Then turn the latch down to lock it in a vertical position.
(For more instructions on inserting and removing diskettes,
including 3
diskettes, see Chapter 3.)
3.
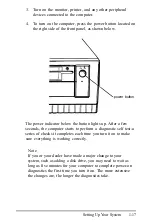
Turn on your system. (Remember to turn on your monitor
and any peripherals before you turn on the computer.) The
screen displays the Operation
Menu:
OPERATION MENU
1 - Setup
2
- Format
hard disk
3 - System diagnostics
4 - Prepare hard disk for moving
0
- Exit to DOS for more utilities
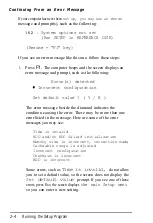
If
an error message appears when you turn on the computer,
see “continuing
From an Error Message,,, below.
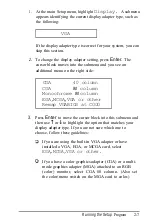
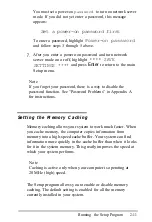
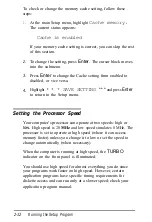
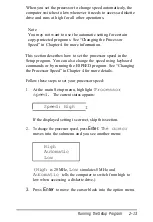
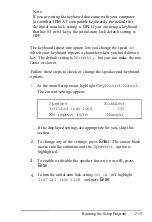
4. The Setup option is highlighted.
To select it, press
Enter.
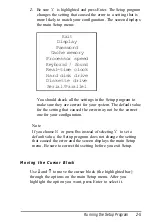
The screen displays the
main
Setup menu:
E x i t
Display
Password
Cache memory
P r o c e s s o r s p e e d
Keyboard / Sound
R e a l - t i m e c l o c k
Hard disk drive
D i s k e t t e d r i v e
S e r i a l / P a r a l l e l
Running the Setup
Program
2-3
Summary of Contents for EQUITY 3865X/20 PLUS
Page 1: ...EPSON E Q U I T Y 3 8 6 5 X 2 0 P L U S U s e r s G u i d e ...
Page 2: ...EPSON E Q U I T Y 3 8 6 S X 2 0 P L U S USER S GUIDE X EQ386 20PLUS ...
Page 136: ......
Page 266: ...E Q U I T Y 3 8 6 S X 2 0 P L U S U s e r s G u i d e ...
Page 269: ...Epson America Inc 20770 Madrona Avenue Torrance CA 90503 ...

