


55
English
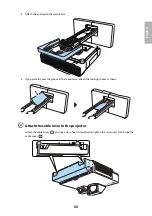
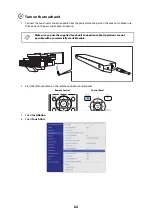
8 Installing the Touch Unit
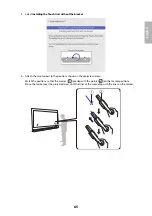
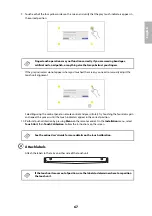
Before installing the touch unit, make sure you install the projector and adjust the projected image (see page
33). You also need to calibrate the interactive pen(s) before you install the touch unit (see the online
User’s
Guide
for more information).
The steps for installing the touch unit vary depending on where you are installing the touch unit:
•
If you are installing the touch unit on a whiteboard, see ”Installing the touch unit on a whiteboard” on
page 56.
•
If you are installing the touch unit above the frame of a whiteboard (requires the optional touch unit
bracket), see ”Installing the touch unit above a whiteboard” on page 68.
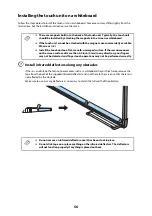
The touch unit is included with the BrightLink 1485Fi/. You can purchase it as
an optional accessory for the BrightLink 1480Fi/.
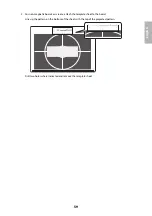
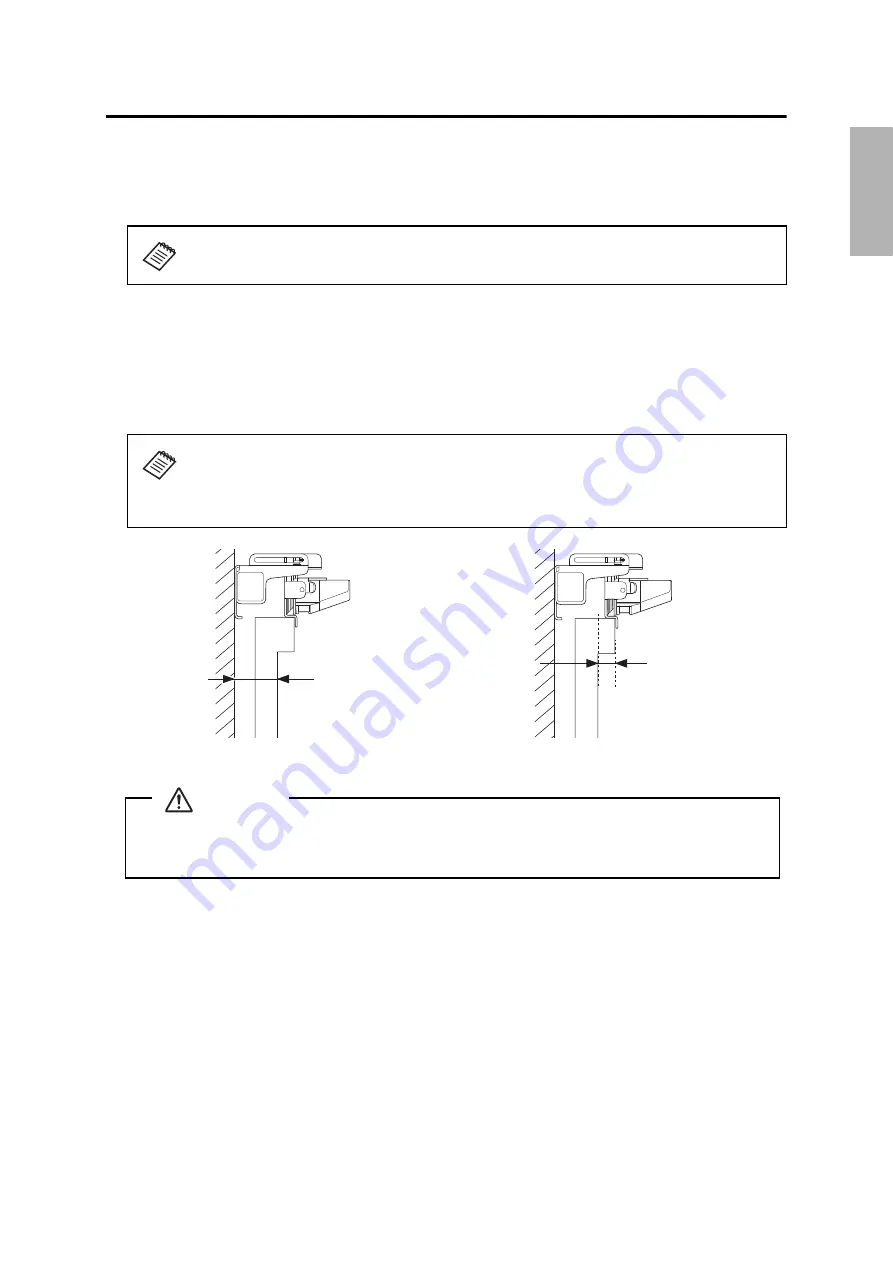
❏
If the distance from the wall to the surface of the whiteboard is greater than
2 inches (51 mm), you must install the touch unit on the whiteboard.
❏
If the frame of the whiteboard extends more than 0.1 inch (3 mm) away from the
board surface, you must install the touch unit on the whiteboard.
0.1 inch (3 mm)
2 inches (51 mm)
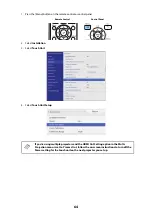
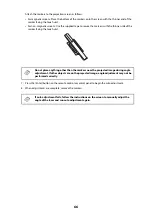
The touch unit should only be connected to the BrightLink 1480Fi//1485Fi/
models. Do not connect the touch unit to any other projectors or devices.
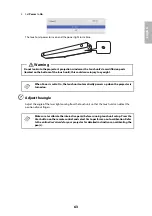
Caution