


45
English
6 Adjusting the Image
To ensure the best image quality, follow the steps below to adjust the projected image. You can also use the
Auto Screen Adjustment feature to automatically adjust the image. See page 85 for more information.
Follow these guidelines for setting up the projector:
•
Make sure the image is evenly rectangular, without distortion.
•
Make sure the projector is tilted no more than 3° vertically and horizontally in relation to the projected
image.
A
Turn on the projector
Press the power button on the remote control or the projector.
B
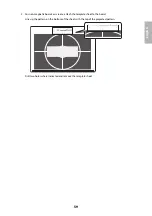
Adjust the focus
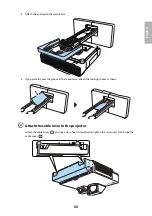
1. Open the front cover (
).
2. Use the focus lever to adjust the focus (
).
3. After you finish making the adjustment, close the front cover.
C
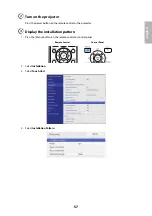
Select the screen type
1. Press the [Menu] button on the remote control or control panel.
2. Select
Installation
.
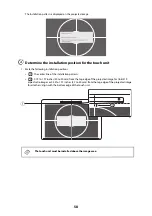
If possible, avoid adjustments with the Auto Screen Adjustment, Quick Corner, or
Keystone functions of the projector. Doing so may result in a reduction in image
quality and pen or finger touch calibration.
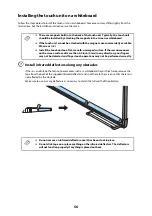
Your remote control or projector control panel may look different from the
illustrations in this section, but the instructions are the same except where noted.
Remote Control
Control Panel