


34
2. Loosen the two screws with a cross-head screwdriver and remove the cable cover from the projector.
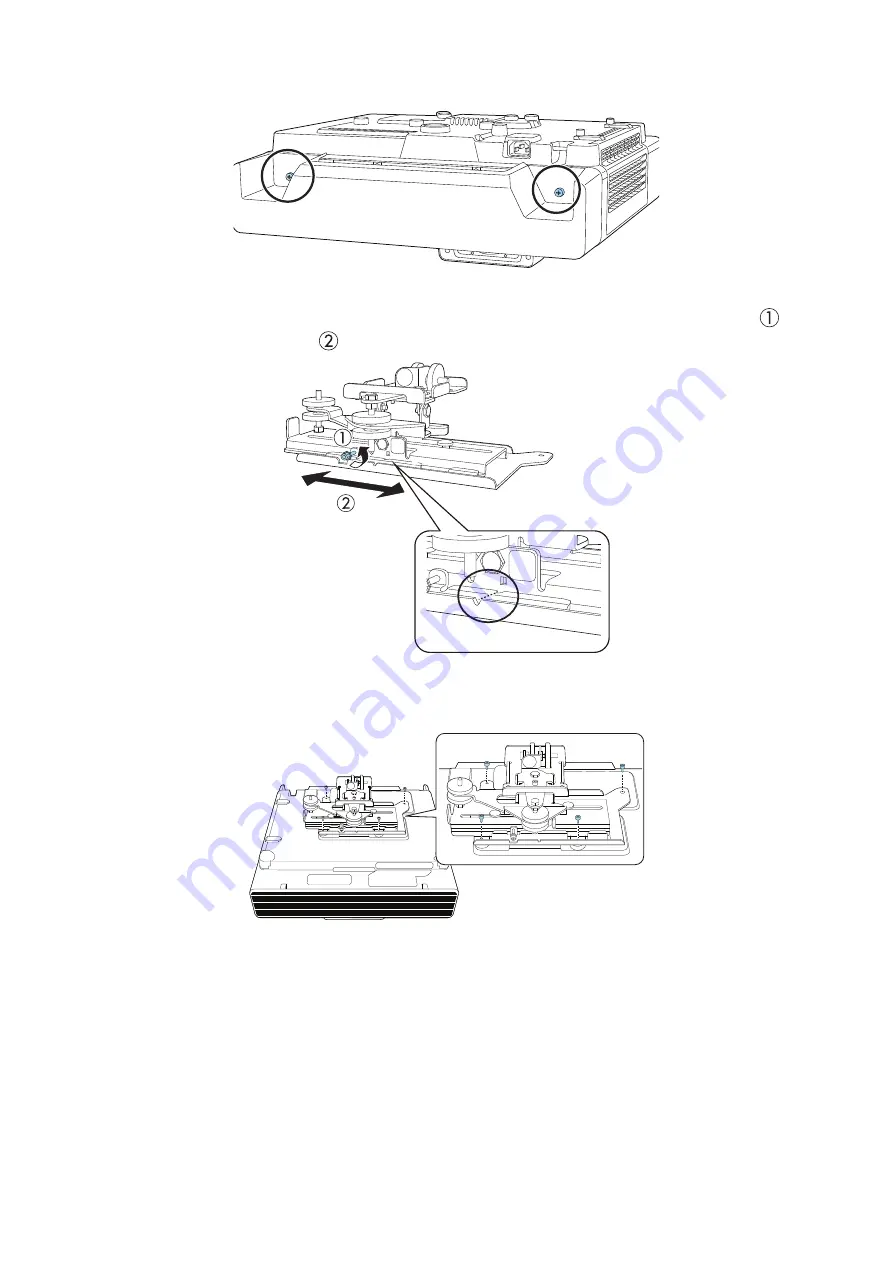
3. Align the 3-axis adjustment unit with the slide plate’s alignment mark.
If the 3-axis adjustment unit is not aligned, loosen the M4 × 12 mm hexagon socket head cap bolt (
)
and correct the alignment (
). Then, tighten the M4 × 12 mm hexagon socket head cap bolt.
4. Attach the 3-axis adjustment unit and slide plate to the projector.
Attach the 3-axis adjustment unit and slide plate to the projector using the M4 × 12 mm hexagon
socket head cap bolts (×4) supplied.