Quick and Easy Set up, Projection, and Storage
•
Turn the projector on and off by simply plugging in or unplugging.
•
Project onto large screens from a short distance.
•
Make easy height adjustments with one lever.
•
No cool down delay makes it easy to put away.
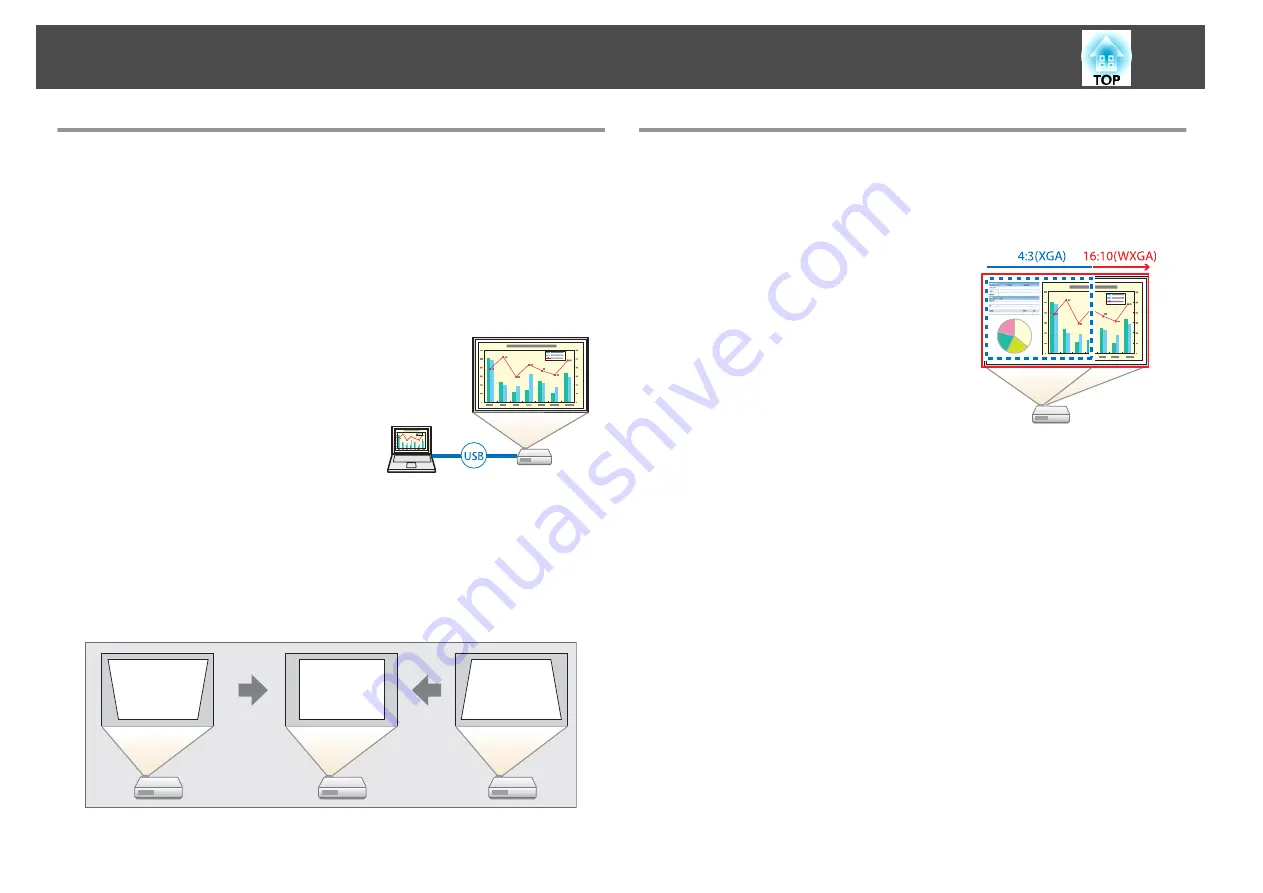
Connecting with a USB cable and projecting (USB Display)
By simply connecting a USB cable, you can
project images from a computer's screen
without a computer cable.
s
Detecting projector movements and automatically correcting
image distortion (EB-X14G/EB-W02/EB-X02/EB-S02 only)
This projector automatically corrects vertical keystone distortion which
occurs when positioning or moving the projector.
s
Useful Functions for Projecting Images
Increasing projection content in wide (WXGA) screen (EB-W02/EB-
W01 only)
With a computer that has a 16:10 WXGA wide
LCD display, the image can be projected in the
same aspect. You can use whiteboards and other
landscape format screens.
s
"Changing the Aspect Ratio of the Projected
Making the most of the remote control
You can use the remote control to perform operations such as enlarging
part of the image. You can also use the remote control as a pointer during
presentations or as a mouse for the computer.
s
s
"Enlarging Part of the Image (E-Zoom)"
s
"Using the Remote Control to Operate the Mouse Pointer (Wireless
Enhanced security functions
•
Password Protect to restrict and manage users
By setting a Password you can restrict who can use the projector.
s
"Managing Users (Password Protect)"
Projector Features
8
Summary of Contents for EB-S01
Page 1: ...User s Guide ...
Page 6: ...Introduction This chapter explains the projector s features and the part names ...
Page 21: ...EB S02 EB S01 Installing the Projector 21 ...
Page 25: ...Basic Usage This chapter explains how to project and adjust images ...
Page 54: ...Configuration Menu This chapter explains how to use the Configuration menu and its functions ...
Page 86: ...Appendix ...


