


205
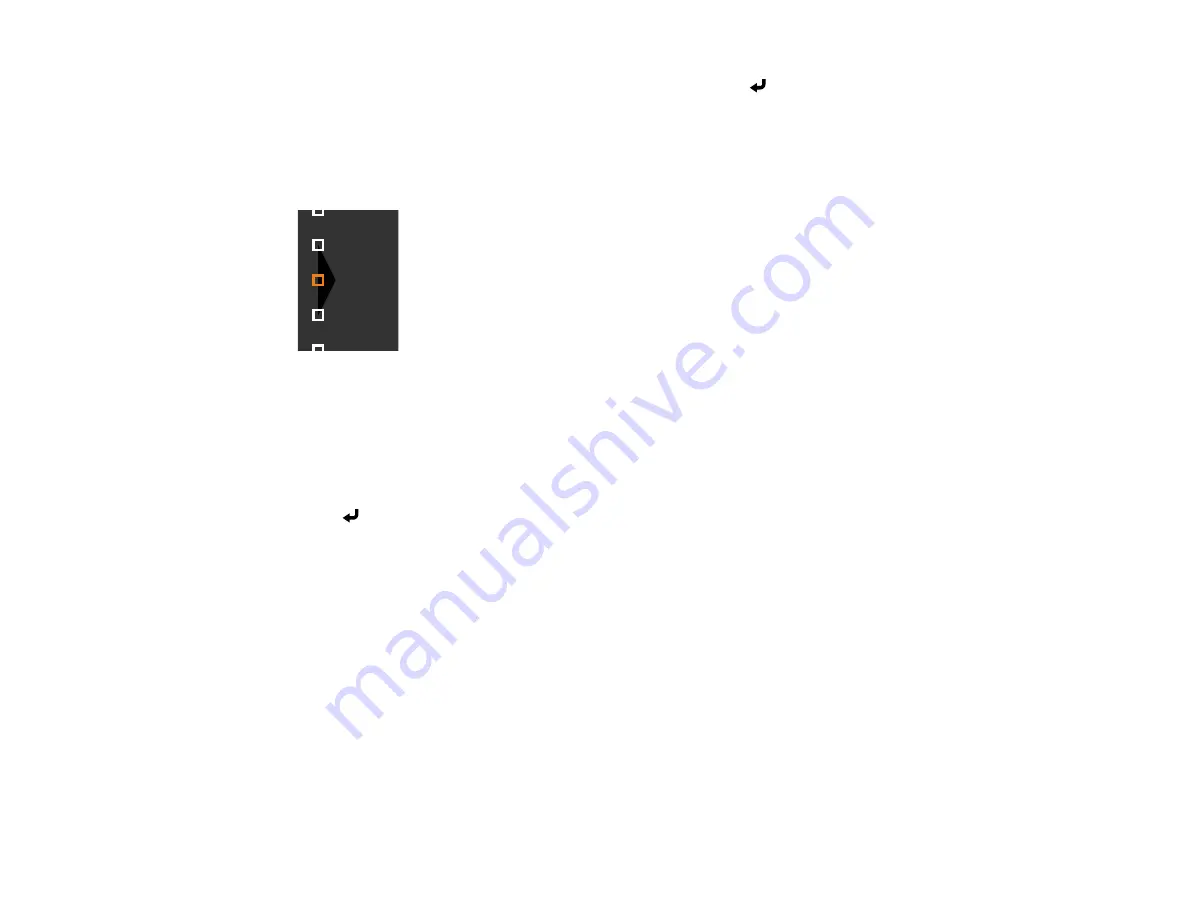
14. Use the arrow buttons to select an adjustment point and press
Enter
.
Note:
You can change the number of adjustment points displayed by changing the
Points
setting in
the Area Correction menu.
The selected point turns orange.
15. Use the arrow buttons to move the point.
16. To move another point, press the
Esc
button and repeat the previous two steps.
17. To move another boundary line, press the
Esc
button repeatedly until you can select a boundary
line.
18. When you are finished, press the
Esc
button until you see a confirmation message. Select
Yes
and
press
Enter
.
19. When you are finished, press the
Menu
button.
Note:
Changing the
Top Edge
,
Bottom Edge
,
Right Edge
, or
Left Edge
settings resets the
Black
Level
setting to its default value.
Parent topic:
Related references
Multiple Projector Operation Settings - Multi-Projection Menu
Matching the Image Colors
You can match the display color of multiple projectors that will project next to one another. Turn on all the
projectors so you can properly adjust the color of the combined screen.
1.
Press the
Menu
button.
Summary of Contents for EB-L520U
Page 1: ...PowerLite EB L520U EB L530U EB L630U EB L630SU EB L635SU EB L730U EB L735U User s Guide ...
Page 2: ......
Page 29: ...29 Front Rear Front ceiling ...
Page 82: ...82 2 Select the Management menu and press Enter 3 Set the Wireless LAN Power setting to On ...
Page 262: ...262 Parent topic Adjusting the Menu Settings Related concepts Updating the Firmware ...