


a
Press the [Menu] button while projecting.
b
Select
Multi-Projection
from
Extended
, and then press the [
]
button.
c
Select
Tiling
, and then press the [
] button.
d
Select
Layout
, and then press the [
] button.
(1)
Set the number of projectors in
Row
and
Column
.
(2)
Select
Set
, and then press the [
] button.
e
Repeat steps 1 to 4 for each projector to be used for tiling.
f
Select
Location Setup
, and then press the [
] button.
(1)
Set the positions of the projected images in
Row Order
and
Column
Order
.
Row Order
: Place screens from top to bottom in the order of
1
,
2
,
3
.
Column Order
: Place screens from left to right in the order of
A
,
B
,
C
.
(2)
Select
Set
, and then press the [
] button.
g
Repeat step 6 for each projector.
h
Input the image signal to display the image.
s
"Automatically Detecting Input Signals and Changing the
Projected Image (Source Search)"
When tiling is complete, adjust any positional gaps and the tint of the
projected images.
s
"Adjusting projected images individually"
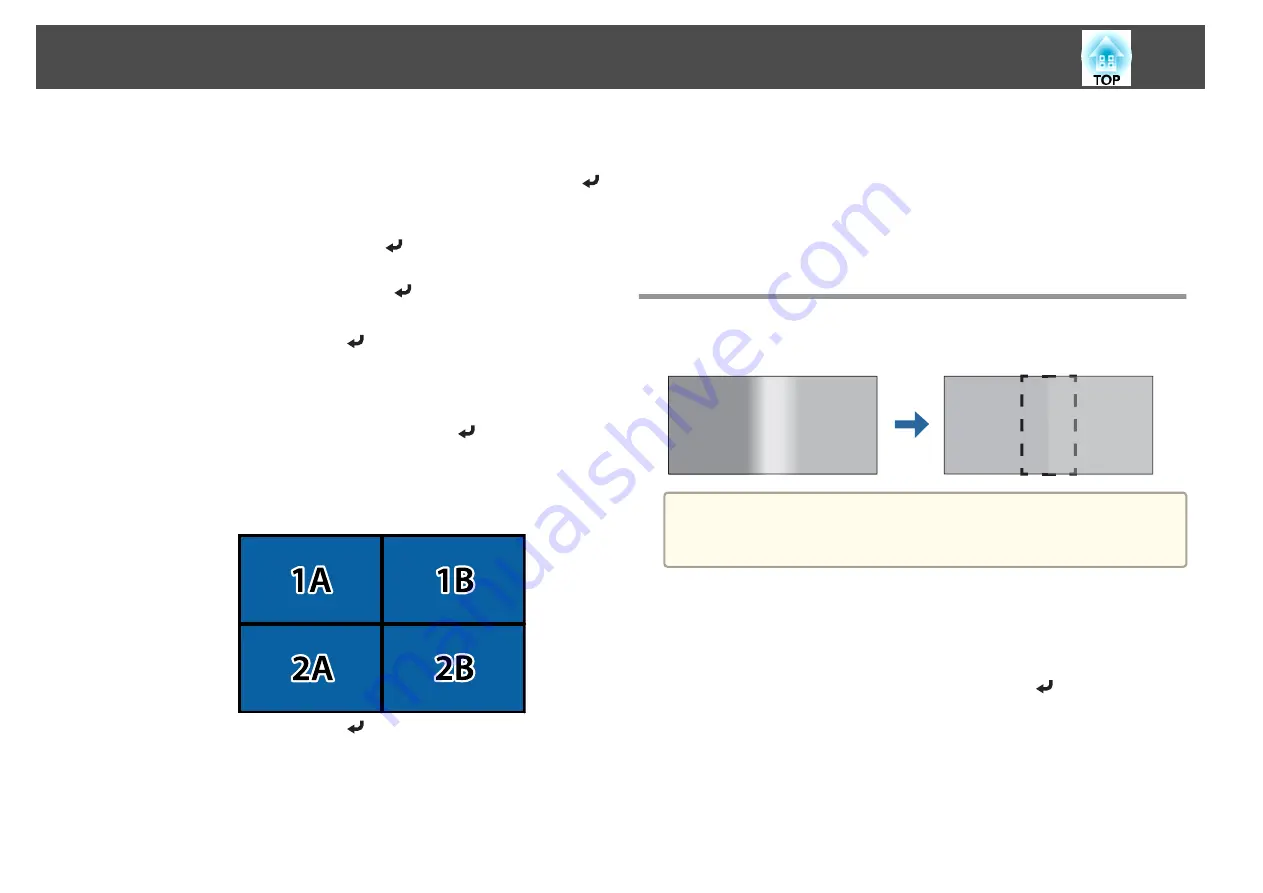
Edge Blending
You can fine tune the overlapping areas to make seamless screen.
a
Before performing edge blending to raise the precision of adjustments,
press the [Color Mode] button on the remote control, and then set
Color Mode
to
Multi-Projection
.
a
Press the [Menu] button while projecting.
b
Select
Multi-Projection
from
Extended
.
c
Select
Edge Blending
, and then press the [
] button.
The following screen is displayed.
Multi-Projection Function
91
Summary of Contents for EB-L30000U
Page 1: ...User s Guide ...
Page 16: ...Introduction This chapter explains the names for each part ...
Page 56: ...Basic Usage This chapter explains how to project and adjust images ...
Page 120: ...Security Functions 120 ...
Page 136: ...Configuration Menu This chapter explains how to use the Configuration menu and its functions ...
Page 229: ...Appendix ...


