a
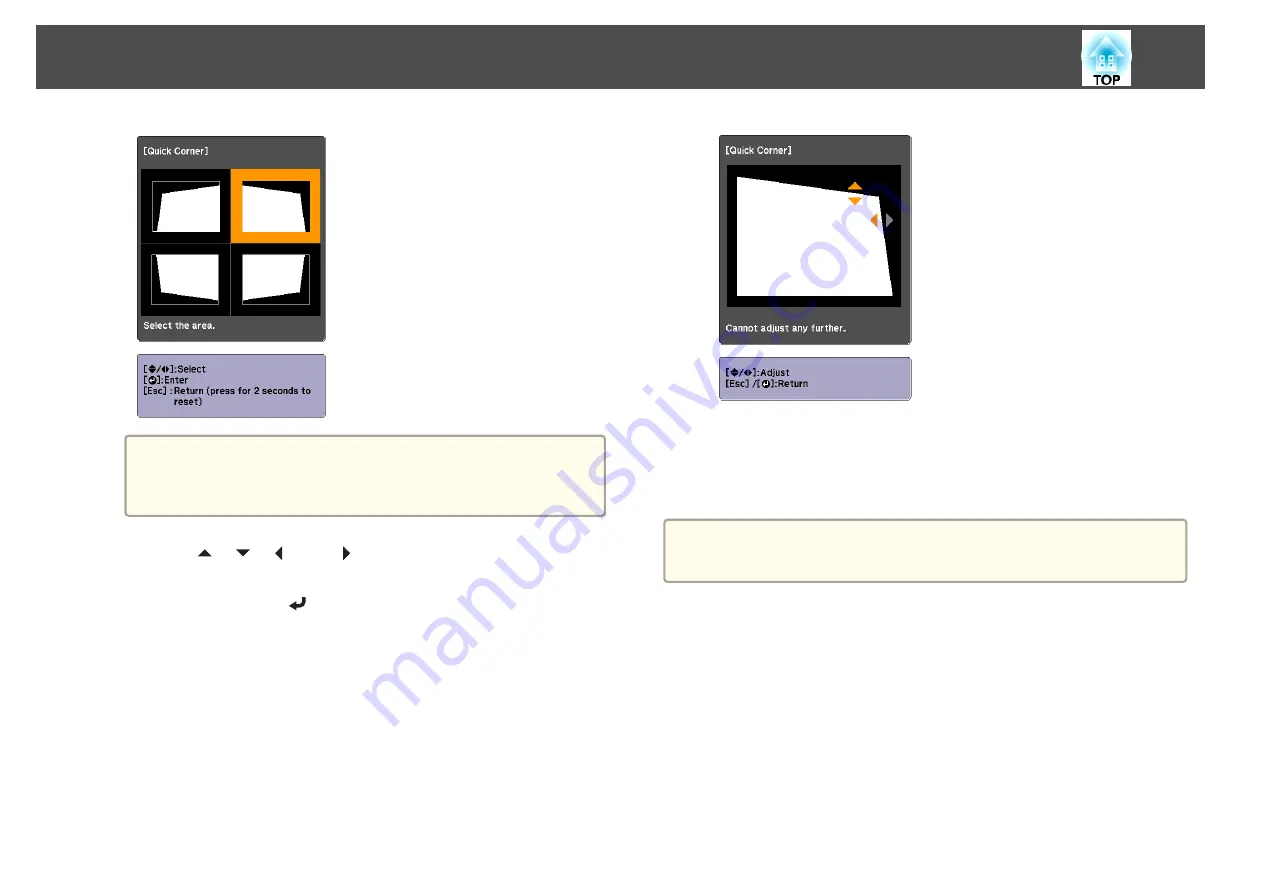
If the [Esc] button is pressed for approximately two seconds,
the confirm default reset screen is displayed.
Select
Yes
to reset the result of Quick Corner corrections.
d
Use the [
], [
], [
], and [
] buttons to correct the position of
the corner.
When you press the [
] button, the screen shown in step 3 that
allows you to select the area to be corrected is displayed.
If the message "Cannot adjust any further." is displayed while
adjusting, you cannot adjust the shape any further in the direction
indicated by the gray triangle.
e
Repeat steps 3 and 4 as needed to adjust any remaining corners.
f
To complete the corrections, press the [Menu] button.
a
Point Correction
allows you to fine tune the corrected results.
s
Curved Surface
This allows you to correct distortion that occurs when projecting on a
curved surface, and adjust the amount of expansion and contraction.
Face the projector directly opposing the screen with the lens position
moved to the home position.
s
"Adjusting the Position of the Projected Image (Lens Shift Adjustment)"
Adjusting Projected Images
65
Summary of Contents for EB-L30000U
Page 1: ...User s Guide ...
Page 16: ...Introduction This chapter explains the names for each part ...
Page 56: ...Basic Usage This chapter explains how to project and adjust images ...
Page 120: ...Security Functions 120 ...
Page 136: ...Configuration Menu This chapter explains how to use the Configuration menu and its functions ...
Page 229: ...Appendix ...


