f
Adjust the scale.
Select the adjustment method with the [
][
] buttons, then adjust
using the [ ][ ] buttons. (Minimum magnification of 0.5 to
maximum magnification of 10)
-+
: Enlarges or reduces an image horizontally and vertically at the
same time.
Scale Vertically
: Enlarges or reduces an image vertically.
Scale Horizontally
: Enlarges or reduces an image horizontally.
g
The image is clipped and adjusted.
(1)
Select
Clip Adjustment
, and then press the [
] button.
If you select
Clip Range
, the range and coordinates of the image that the
projector will project is displayed.
(2)
Use the [
], [
], [
], and [
] buttons to scroll the image.
Adjust the coordinates and size of each image while viewing the screen.
(3)
Press the [Menu] button to finish making settings.
a
You can check the displayed area after clipping for the entire
image from
Clip Range
.
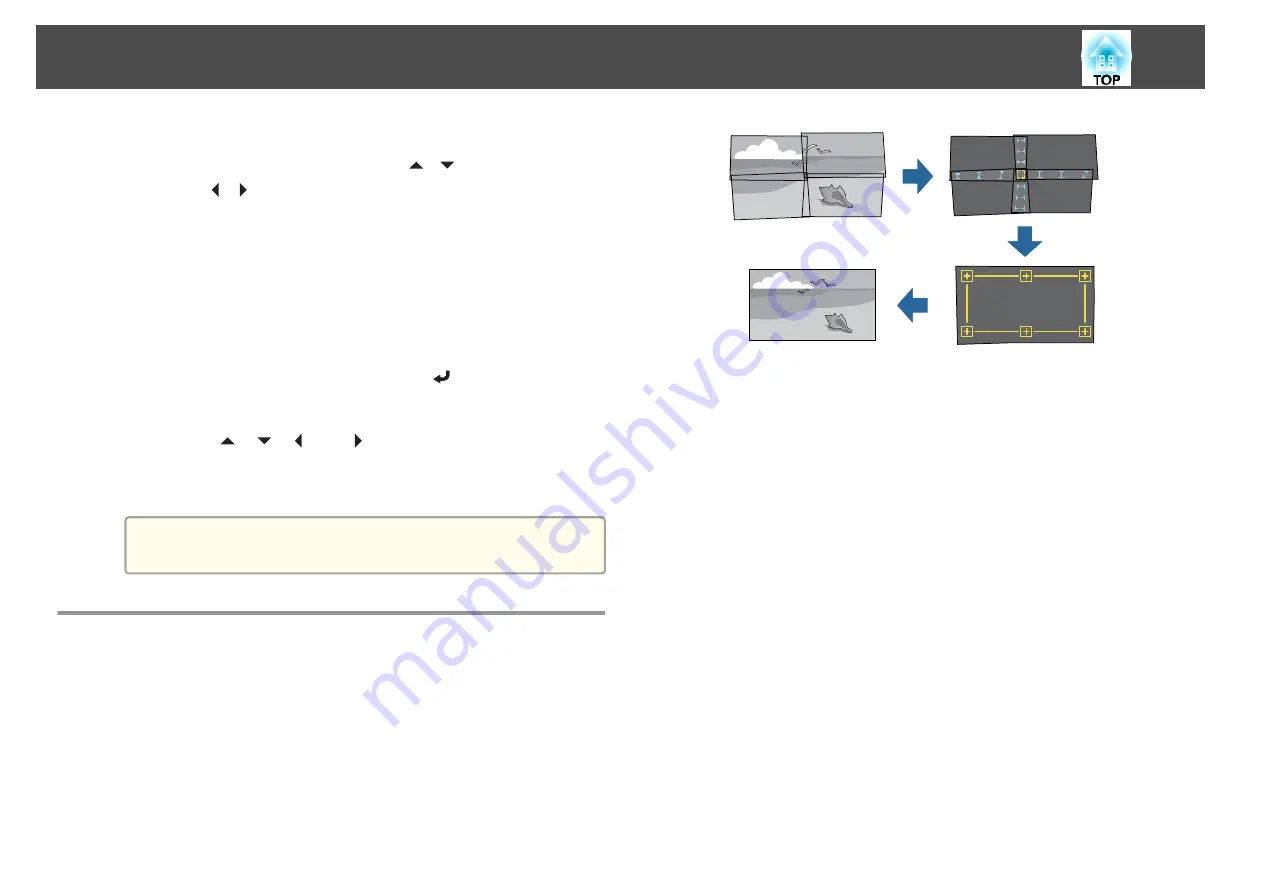
Using Tiling Function of Geometry Correction
Assist
By using the projector's built-in camera and the Edge Blending feature, you
can create a seamless image by automatically adjusting the pixel position in
overlapping areas of the image.
You can run this feature from Epson Projector Professional Tool (version
1.20 or later). Download the software from the following Web site.
Operating conditions for auto adjustment functions
The tiling function of geometry correction assist works under the following
conditions.
The screen surface is flat and not skewed or warped
Using a matte white diffusion screen
The illuminance ratio of the screen when projecting an all-white screen
and when projecting an all-black screen is 8:1 or more
The projection size for each projector is 100 to 500 inches
(When projecting onto a screen surface with an illuminance of 40 lux or
lower with the
Light Source Mode
set to
Normal
)
The projected image after tiling is rectangular
Parts of all projected images are overlapping
The projector is setup parallel to the projection surface
The blend width for edge blending is 15 to 43%
Multi-Projection Function
100
Summary of Contents for EB-L30000U
Page 1: ...User s Guide ...
Page 16: ...Introduction This chapter explains the names for each part ...
Page 56: ...Basic Usage This chapter explains how to project and adjust images ...
Page 120: ...Security Functions 120 ...
Page 136: ...Configuration Menu This chapter explains how to use the Configuration menu and its functions ...
Page 229: ...Appendix ...


