Once the Configuration menu content has been set for one projector, you
can use it to perform batch setup for multiple projectors (batch setup
function). The batch setup function is only for projectors with the same
model number.
Use one of the following methods.
•
Setup using a USB flash drive.
•
Setup by connecting the computer and projector with a USB cable.
•
Setup using EasyMP Network Updater.
This manual explains the USB flash drive and the USB cable methods.
a
•
The following content is not reflected by the batch setup function.
- The Network menu settings (except for the Notifications menu and
the Others menu)
- Status and Light Source Info in the Info menu
•
Perform batch setup before adjusting the projected image.
Adjustment values for the projected image, such as Geometry
Correction are reflected by the batch setup function. If batch setup is
performed after adjusting the projected image, the adjustments you
made may change.
•
By using the batch setup function, the registered User's Logo is set
for the other projectors. Do not register confidential information and
so on as the User's Logo.
Caution
Performing batch setup is the customers responsibility. If batch setup fails due
to a power failure, communication error, and so on, the customer is responsible
for any repair costs incurred.
Setup Using a USB Flash Drive
This section explains how to perform batch setup using a USB flash drive.
a
•
Use a FAT format USB flash drive.
•
The batch setup function cannot be used by USB flash drives that
incorporate security functions. Use a USB flash drive that does not
incorporate security functions.
•
The batch setup function cannot be used by USB card readers or
USB hard disks.
Saving settings to the USB flash drive
a
Turn off the main power switch while the power cord is connected
to the projector, and check that all of the projector's indicators
turn off.
b
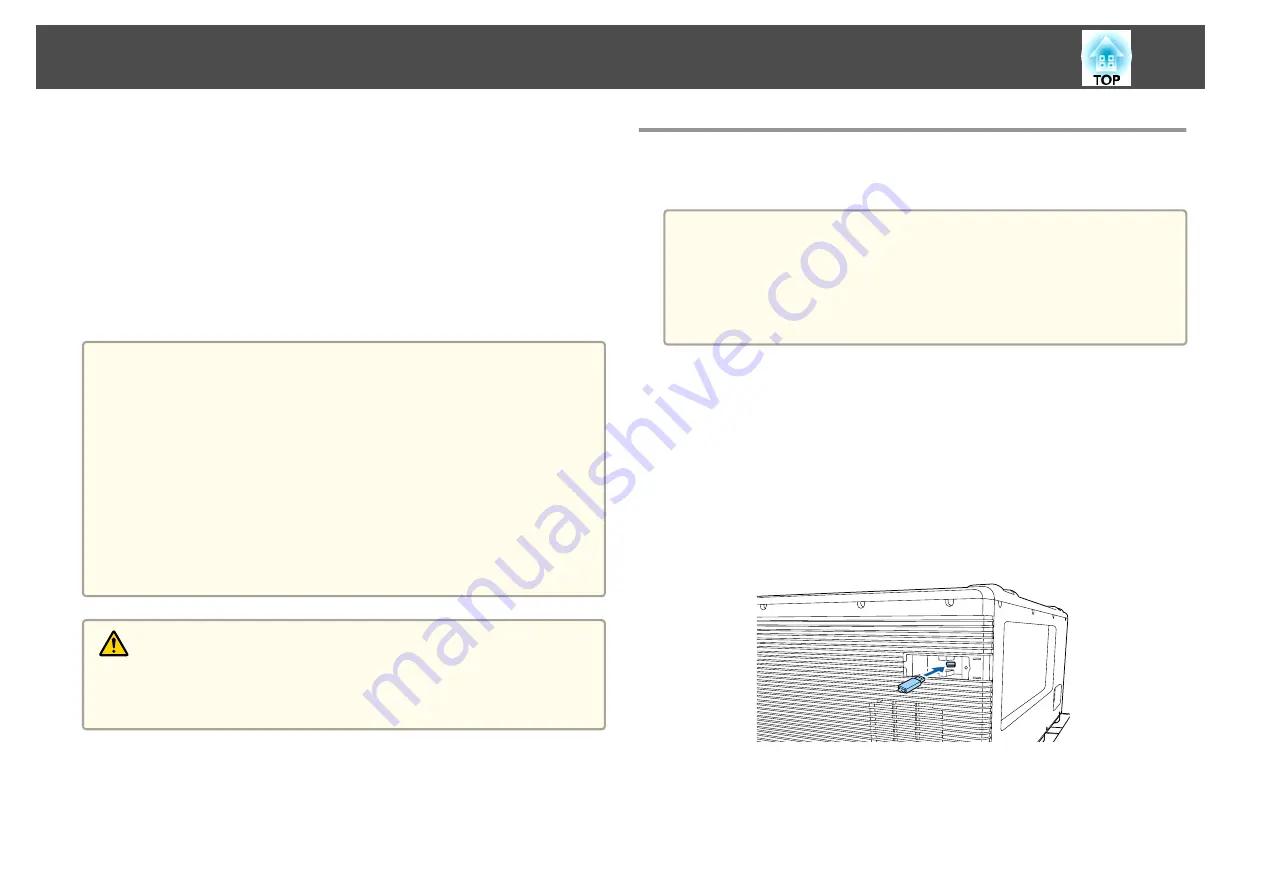
Connect the USB flash drive to the projector's wireless LAN unit
port.
s
"Installing the Wireless LAN Unit"
Batch Setup
138
Summary of Contents for EB-L25000U
Page 1: ...User s Guide ...
Page 13: ...Introduction This chapter explains the names for each part ...
Page 49: ...Basic Usage This chapter explains how to project and adjust images ...
Page 114: ...Security Functions 114 ...
Page 115: ...Configuration Menu This chapter explains how to use the Configuration menu and its functions ...
Page 186: ...m To complete the adjustment press the Menu button Image Maintenance 186 ...
Page 187: ...Appendix ...


