Image Shape
55
a
• You can also select the area by pressing the following numeric
buttons on the remote control:
• [1] selects the upper left area.
• [3] selects the upper right area.
• [7] selects the lower left area.
• [9] selects the lower right area.
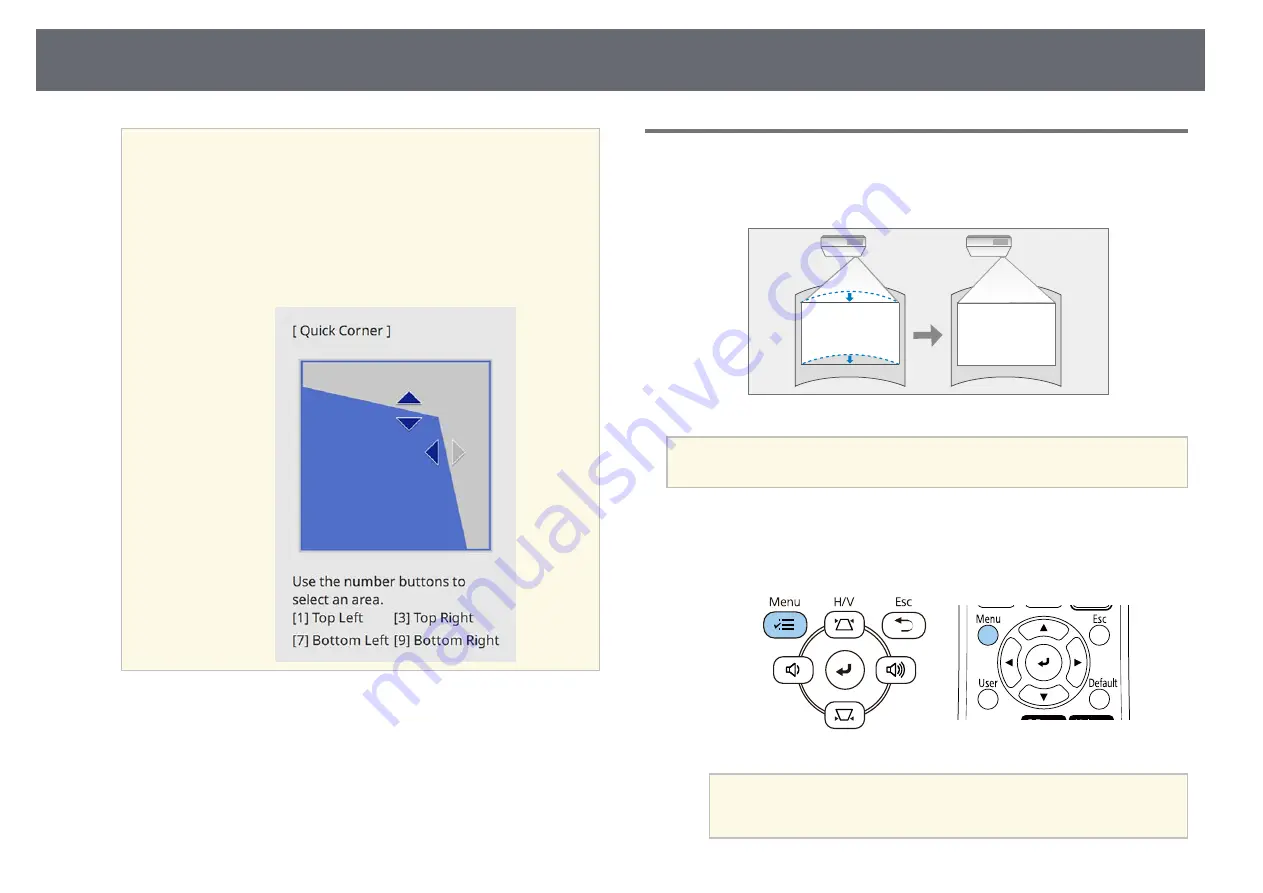
• If you see this screen, you cannot adjust the shape any further
in the direction indicated by the gray triangle.
h
Repeat steps 6 and 7 as needed to adjust any remaining corners.
i
When you are finished, press [Esc].
The
Geometry Correction
setting is now set to
Quick Corner
in the
projector's
Installation
menu. The next time you press the keystone
adjustment buttons on the control panel, the area selection screen is
displayed.
Correcting Image Shape with Arc Correction
You can use the projector's
Arc Correction
setting to adjust the shape of an
image projected on a curved or spherical surface.
a
If you change the
Screen Type
and
Screen Position
settings, the
adjustments are reset.
a
Turn on the projector and display an image.
b
Press the [Menu] button on the control panel or remote control.
a
You can also open the
Geometry Correction
screen using the
[Keystone] button on the remote control (EB
‑
L255F/EB
‑
L250F).
Press the [Keystone] button and go to step 5.
Summary of Contents for EB-L200F
Page 1: ...User s Guide ...


