


f
Return to step 2 and adjust each level.
g
Press the [Esc] button to return to the previous screen.
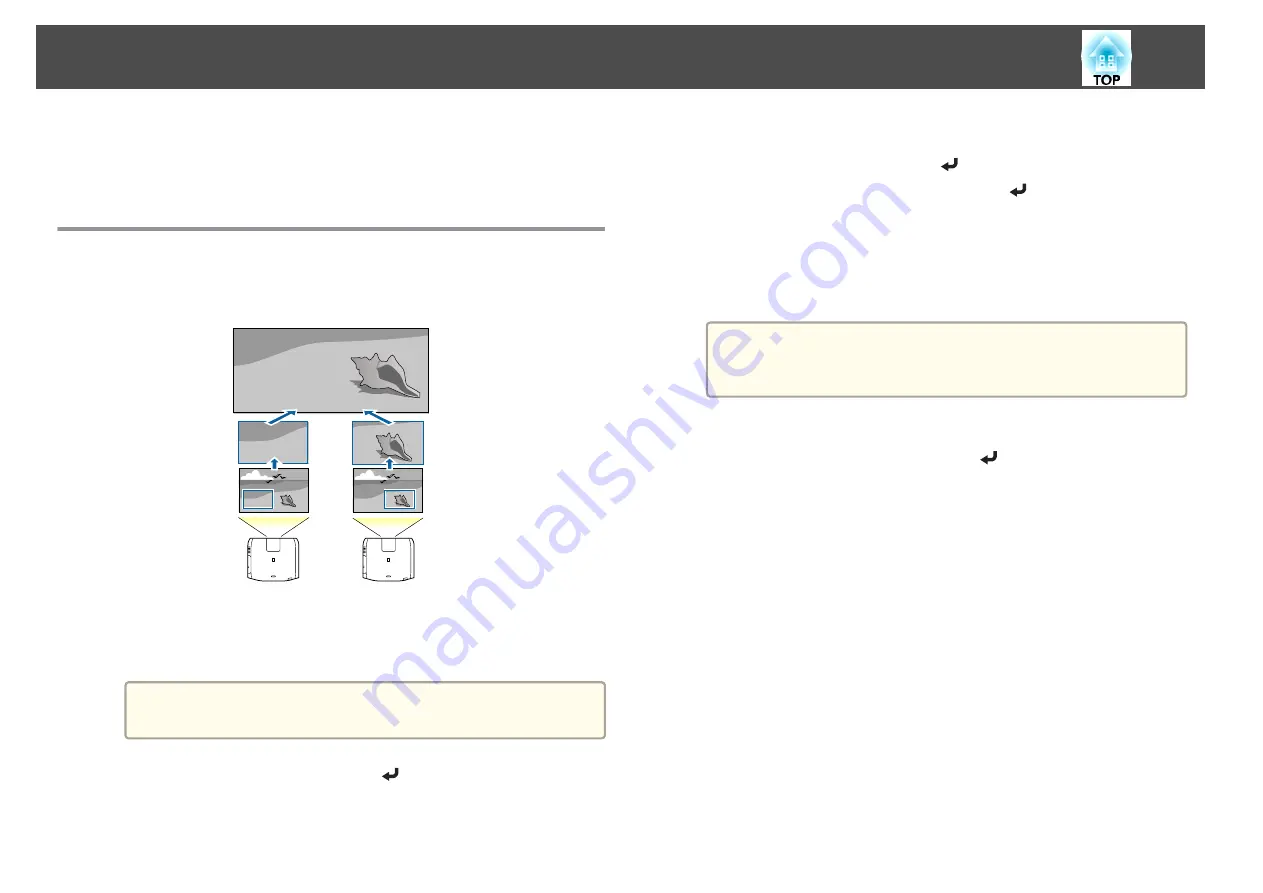
Displaying a Scaled Image
A section of the image is cropped and displayed. This allows you to create
one large image by combining images projected from multiple projectors.
a
Project the image, and then press the [Menu] button.
b
Select
Multi-Projection
from
Extended
.
a
You can also perform the same operation from
Scale
in
Signal
.
c
Select
Scale
, and then press the [
] button.
d
Turn on
Scale
.
(1)
Select
Scale
, and then press the [
] button.
(2)
Select
Auto
or
Manual
, and then press the [
] button.
Auto
: Automatically adjusts the clipped area according to the adjustment
values in Edge Blending and Tiling. You do not need to perform any steps
after step 6.
Manual
: Allows you to adjust the clipped area manually.
(3)
Press the [Esc] button to return to the previous screen.
a
If auto adjustment does not work for the clipped image, adjust
the aspect ratio, and then select
Auto
.
s
"Changing the Aspect Ratio of the Projected Image"
e
Set
Scale Mode
.
(1)
Select
Scale Mode
, and then press the [
] button.
Multi-Projection Function
106
Summary of Contents for EB-L1490U
Page 1: ...User s Guide ...
Page 15: ...Introduction This chapter explains the names for each part ...
Page 58: ...Connecting Equipment 58 ...
Page 59: ...Basic Usage This chapter explains how to project and adjust images ...
Page 140: ...Configuration Menu This chapter explains how to use the Configuration menu and its functions ...
Page 219: ...Appendix ...


