


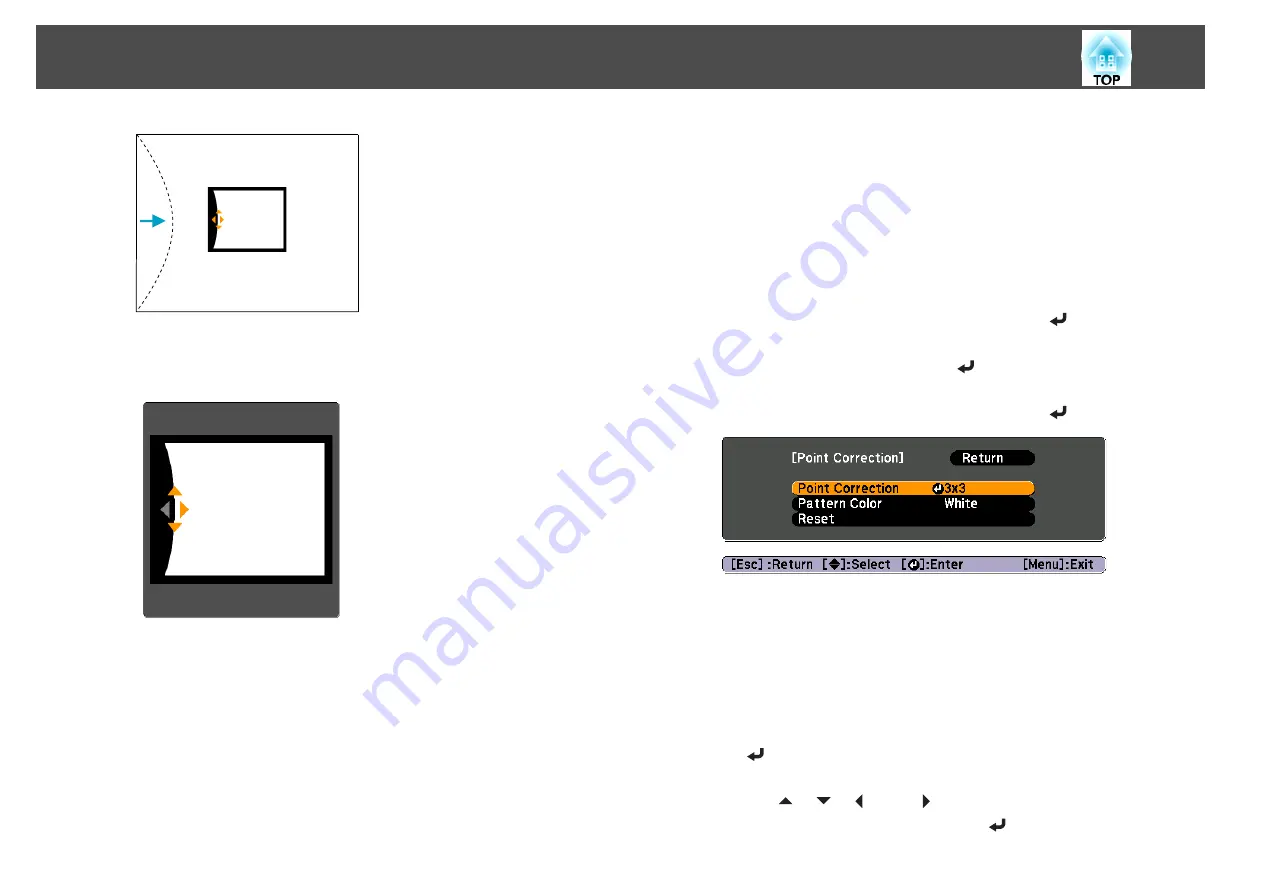
If the triangle in the direction you are adjusting the shape turns gray,
as shown in the screenshot below, you cannot adjust the shape any
further in that direction.
f
Press the [Esc] button to return to the previous screen.
g
Repeat procedures from 4 to 6 as needed to adjust any remaining
parts.
h
When you are done, press the [Menu] button to exit the correction
menu.
Point Correction
Divides the projected image by the grid and corrects the distortion by
moving the point of intersection from side to side and up and down.
a
Press the [Menu] button while projecting.
b
Select
Geometric Correction
from
Settings
.
c
Select
Point Correction
, and then press the [
] button.
If the message "If this setting is changed, the image may be
distorted." is displayed, press the [
] button.
d
Select
Point Correction
, and then press the [
] button.
Point Correction
: Performs point correction.
Pattern Color
: Select the color of the grid when performing
corrections.
Reset
: Resets all corrections for
Point Correction
to their default
values.
e
Select the number of grid lines (
3x3
,
5x5
, or
9x9
), and then press
the [
] button.
f
Use the [
], [
], [
], and [
] buttons to move to the point you
want to correct, and then press the [
] button.
Adjusting Projected Images
43
Summary of Contents for EB-4550
Page 1: ...User s Guide ...
Page 7: ...Introduction This chapter explains the names for each part ...
Page 36: ...Connecting Equipment 36 ...
Page 37: ...Basic Usage This chapter explains how to project and adjust images ...
Page 70: ...Configuration Menu This chapter explains how to use the Configuration menu and its functions ...
Page 125: ...Appendix ...