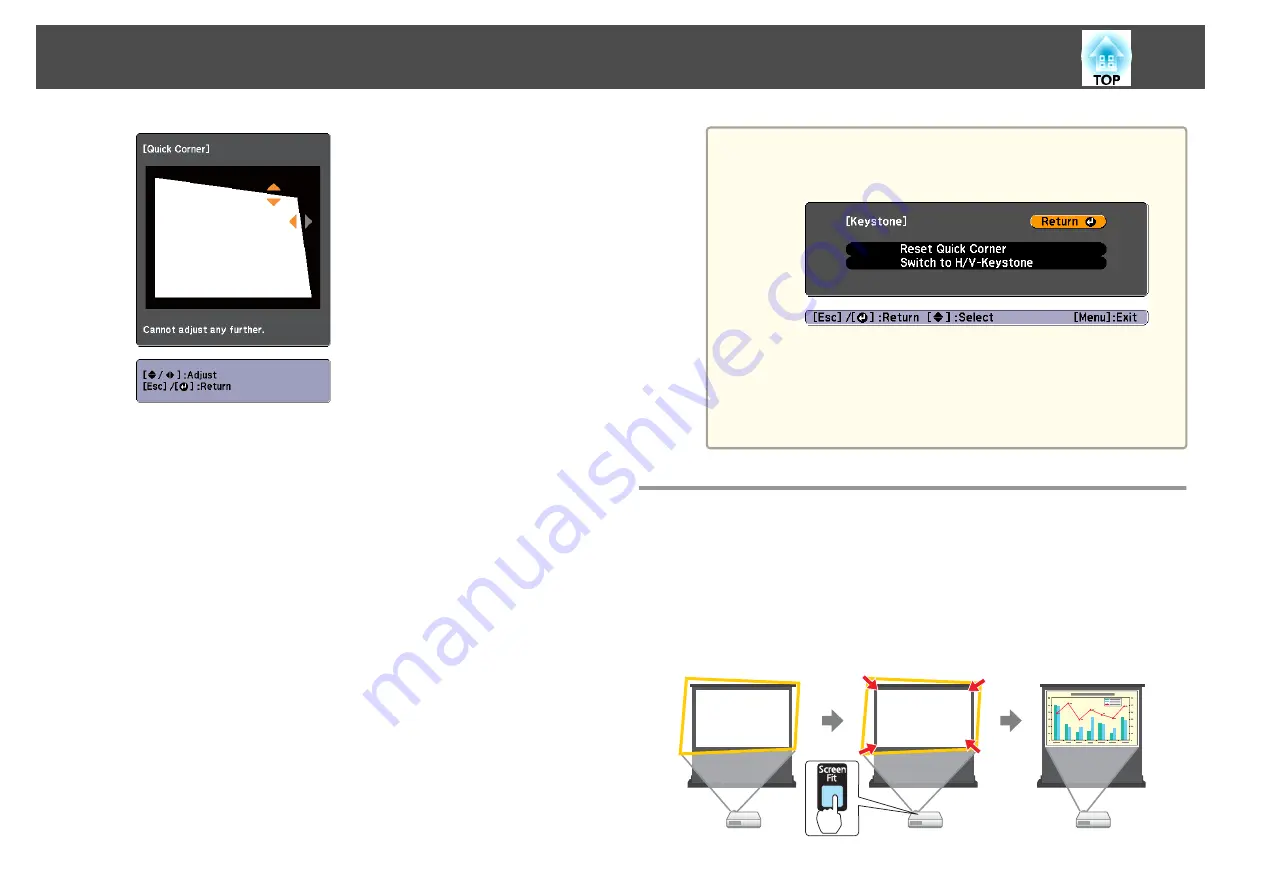
f
Repeat procedures 4 and 5 as needed to adjust any remaining
corners.
g
When you are done, press the [Esc] button to exit the correction
menu.
Because
Keystone
was changed to
Quick Corner
, the corner
selection screen shown in step 4 is displayed the next time you press
the [
w
] or [
v
] button on the control panel. Change
Keystone
to
H/V-Keystone
if you want to perform horizontal and vertical
correction using the [
w
] or [
v
] button on the control panel.
s
Settings
-
Keystone
-
H/V-Keystone
a
If the [Esc] button is held down for about two seconds while
the corner selection screen from step 4 is displayed, the
following screen is displayed.
Reset Quick Corner
: Resets the result of Quick Corner
corrections.
Switch to H/V-Keystone
: Switches the correction method to
H/V-Keystone
.
s
Automatically adjust to fit into the screen frame -
Screen Fit
Screen Fit is a function that corrects the projected image so that it fits to
the frame (border) of the screen, whiteboard, and so on. When you press
the [Screen Fit] button on the remote control or control panel, the
projected image is adjusted to fit the frame of the screen while also
performing keystone correction.
Adjusting Projected Images
42
Summary of Contents for EB-1935
Page 1: ...User s Guide ...
Page 7: ...Introduction This chapter explains the projector s features and the part names ...
Page 24: ...4 3 Screen Size For EB 1965 EB 1964 EB 1955 EB 1954 EB 1935 Installing the Projector 24 ...
Page 32: ...Basic Usage This chapter explains how to project and adjust images ...
Page 73: ...The following screen is displayed Follow the on screen instructions Network Functions 73 ...
Page 87: ...Configuration Menu This chapter explains how to use the Configuration menu and its functions ...
Page 128: ...Event ID Cause Remedy 089D Key exchange failed About Event ID 128 ...
Page 138: ...Appendix ...


