


79
Sending Scenarios
To project a created scenario by the projector, send the scenario to a
USB storage device using "Send Scenario" in EMP SlideMaker2.
Specify a USB storage device that is connected to the computer's
USB port as the destination.
It is also possible to set automatic projection and continuous projection
of a scenario at projector startup. The automatic projection function is
called autorun.
A
Once the scenario is completed, connect a USB
storage device to the computer and then select
"Scenario Options" - "Send Scenario".
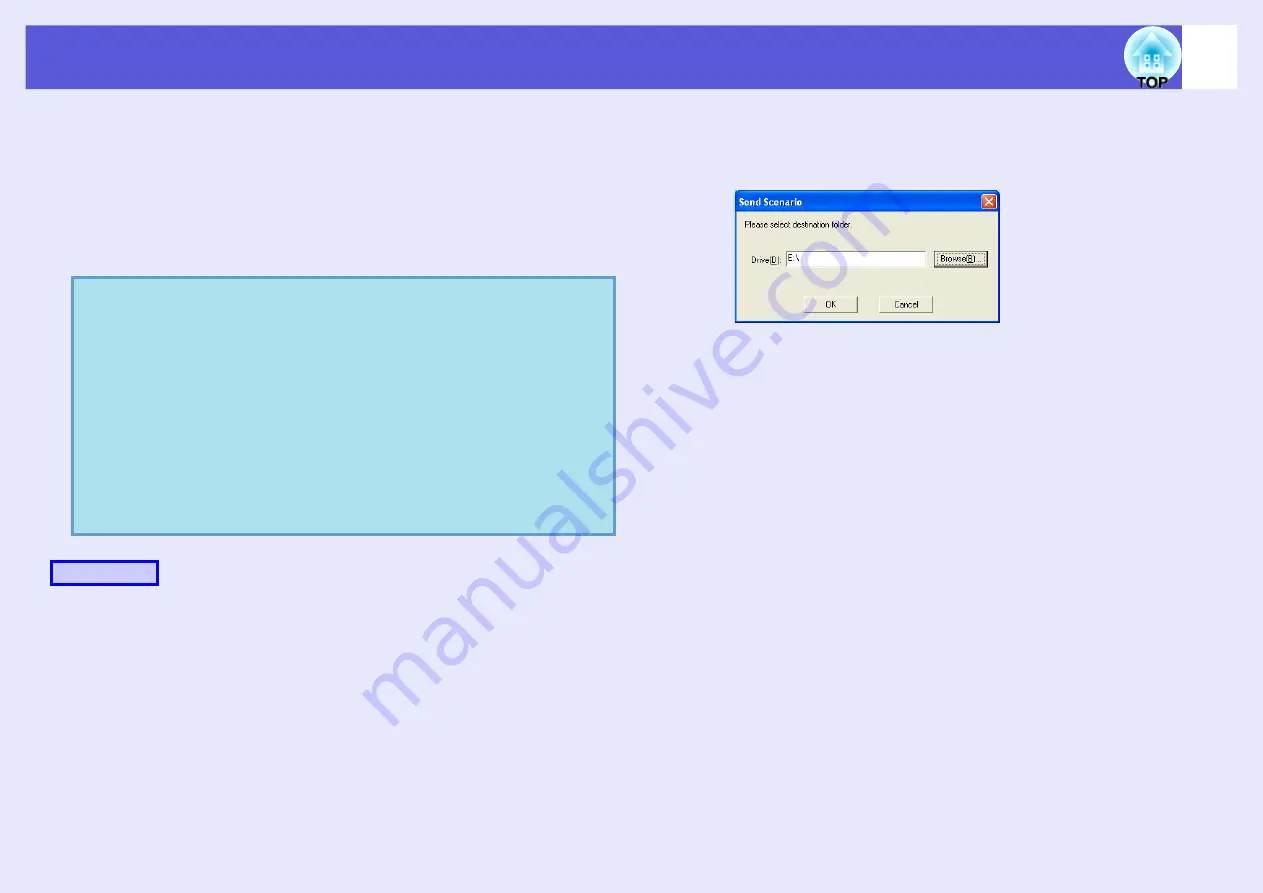
B
A dialog box to specify the destination drive is
displayed. Select the drive and the folder where the
USB storage device is connected and click "OK".
C
When a confirmation message is displayed, click
"OK".
It is sent to the scenario destination selected.
q
• When "Send Scenario" is performed, the scenario file is
saved in the destination under the name "Scenario
name.sit". Also, a folder with the same name as the
scenario is created and each screen is converted to image
files and saved according to image quality. However, in PC
Free a folder with the same name as the scenario is not
displayed.
• If you perform "Send Scenario" without saving, a folder
with the same name as the scenario name and a "scenario
name.sit" file are created in the scenario folder. Each
screen is converted to image files and saved in the created
folder according to the image quality.
Procedure


