


•
Write or draw on the projection surface in annotation mode and
whiteboard mode.
•
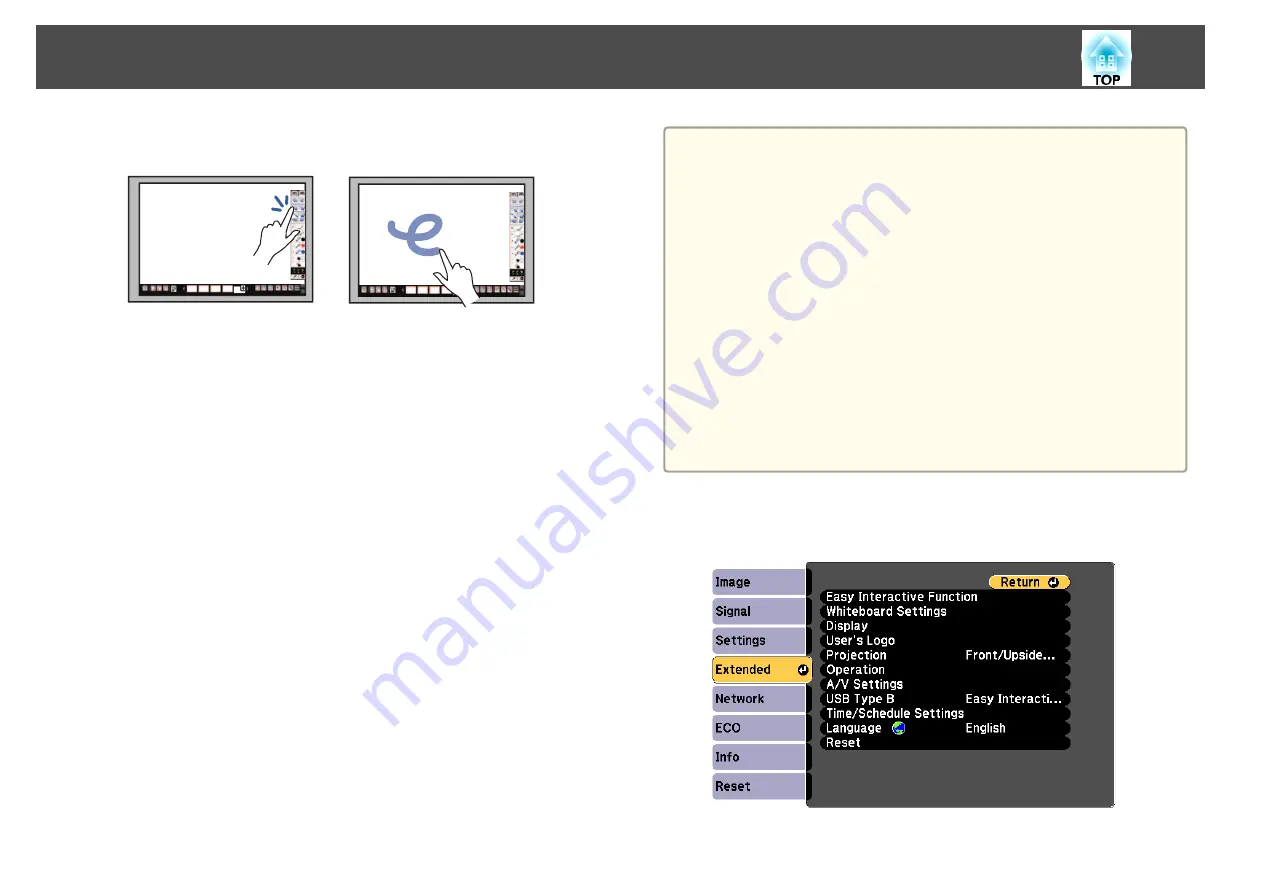
To select a projected item, such as an icon, tap the projection
surface with your finger.
•
To draw on the projected screen for the first time after turning
on the projector, select a pen in the toolbar and tap the
projection surface with your finger. If you do not do this, your
finger works as an eraser the first time you use touch operations.
•
To zoom in or out, touch an item using two fingers, and either
move your fingers away from each other (stretch to zoom out) or
toward each other (pinch to zoom in).
Calibrating for Touch Operations with Your Finger
Calibration coordinates the positioning of your finger with the location of
your cursor (EB-1430Wi). If the cursor location and your finger position do
not match, you need to calibrate again.
a
•
The positioning of your finger is usually adjusted when the Touch
Unit is installed. See the
Installation Guide
for details.
s
•
Make sure you have calibrated the system for the pen using
Auto
Calibration
or
Manual Calibration
before calibrating for touch
operations with your finger.
s
•
Calibrate for touch operations with your finger again if you notice
any discrepancy in positioning after doing any of the following:
- Calibrating the system for use with the pen (automatically or
manually)
- Performing angle adjustments for the Touch Unit
- Performing Keystone correction
- Adjusting the image size
- Using the Image Shift feature
- Changing the projector position
a
Press the [Menu] button, select the
Extended
menu, and press
the [Enter] button.
Preparing Before Using Interactive Features
81
Summary of Contents for EB-1420Wi
Page 1: ...User s Guide ...
Page 8: ...Introduction This chapter explains the projector s features and the part names ...
Page 52: ...Basic Projection Methods This chapter explains how to project and adjust images ...
Page 171: ...Configuration Menu This chapter explains how to use the Configuration menu and its functions ...
Page 239: ...d Install the new air filter e Close the air filter cover Replacing Consumables 239 ...
Page 241: ...Appendix ...
Page 252: ...Units mm Appearance 252 ...
Page 253: ...Without feet With feet Units mm Appearance 253 ...


