Related Information
&
“Obtaining a CA-signed Certificate” on page 358
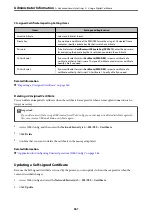
Importing a CA-signed Certificate
c
Important:
❏
Make sure that the printer’s date and time is set correctly.
❏
If you obtain a certificate using a CSR created from Web Config, you can import a certificate one time.
1.
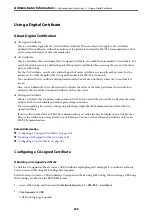
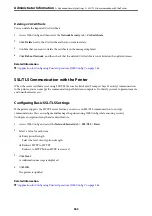
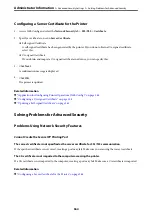
Access Web Config and then select the
Network Security
tab >
SSL/TLS
>
Certificate
.
2.
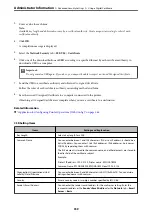
Click
Import
A certificate importing page is opened.
3.
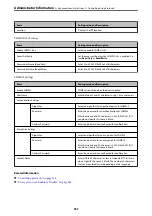
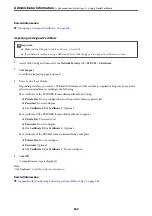
Enter a value for each item.
Depending on where you create a CSR and the file format of the certificate, required settings may vary. Enter
values to required items according to the following.
❏
A certificate of the PEM/DER format obtained from Web Config
❏
Private Key
: Do not configure because the printer contains a private key.
❏
Password
: Do not configure.
❏
CA Certificate 1
/
CA Certificate 2
: Optional
❏
A certificate of the PEM/DER format obtained from a computer
❏
Private Key
: You need to set.
❏
Password
: Do not configure.
❏
CA Certificate 1
/
CA Certificate 2
: Optional
❏
A certificate of the PKCS#12 format obtained from a computer
❏
Private Key
: Do not configure.
❏
Password
: Optional
❏
CA Certificate 1
/
CA Certificate 2
: Do not configure.
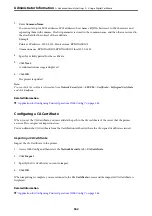
4.
Click
OK
.
A completion message is displayed.
Note:
Click
Confirm
to verify the certificate information.
Related Information
&
“Application for Configuring Printer Operations (Web Config)” on page 266
>
>
360
Summary of Contents for C11CH68401
Page 17: ...Part Names and Functions Front 18 Inside 20 Rear 21 ...
Page 29: ...Loading Paper Paper Handling Precautions 30 Paper Size and Type Settings 30 Loading Paper 31 ...
Page 34: ...Placing Originals Placing Originals 35 Originals that are not Supported by the ADF 36 ...
Page 369: ...Where to Get Help Technical Support Web Site 370 Contacting Epson Support 370 ...

