226
•
macOS 10.12.x or 10.13.x
: You can manually update the software by opening the
App Store
,
selecting
Updates
, searching for a software update option for Epson Software, and selecting
Update
.
Parent topic:
Product Status Messages
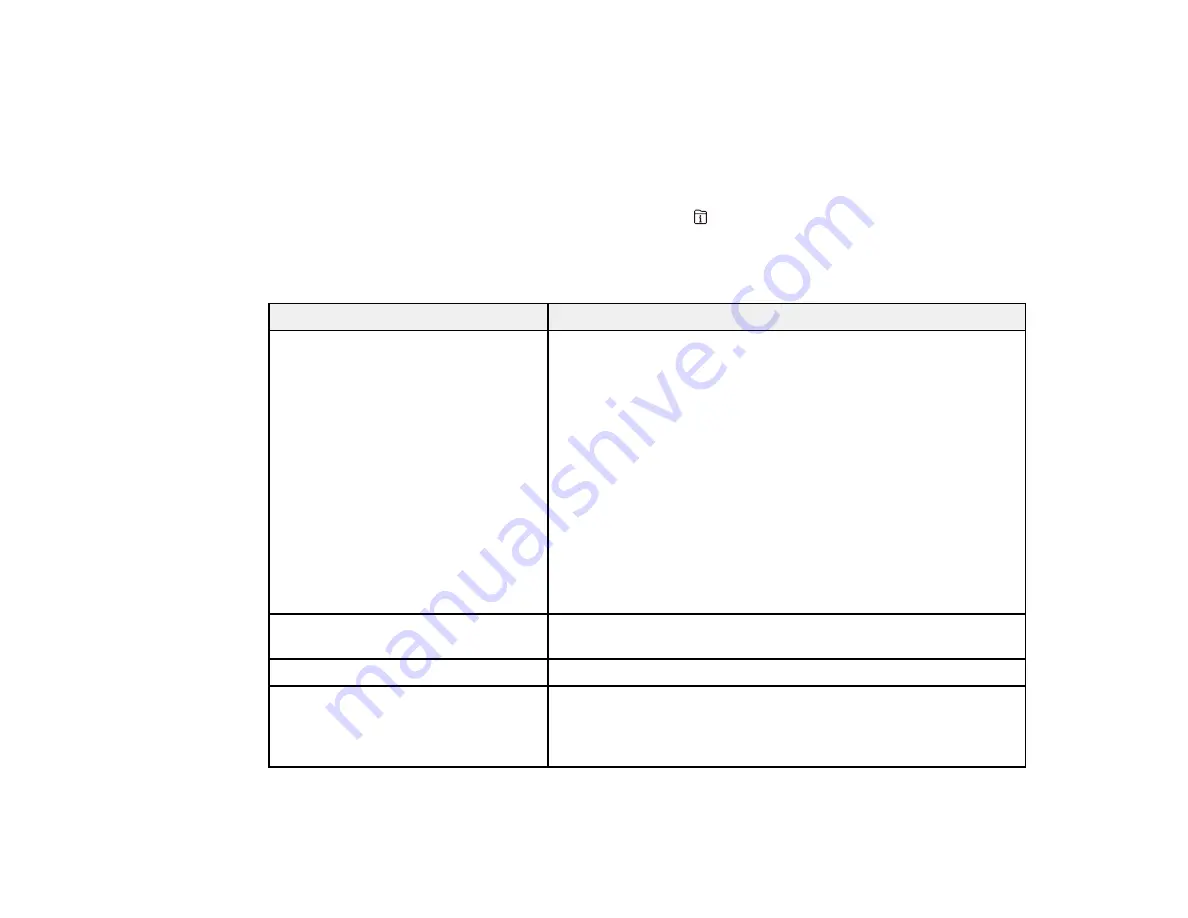
You can often diagnose problems with your product by checking the messages and status icons on its
LCD screen. You can also check for errors by pressing the
Job/Status
button and selecting
Printer
Status
.
Note:
If the screen is dark, press the screen to wake the product from sleep mode.
LCD screen message
Condition/solution
Printer error. Turn on the printer
again. See your documentation for
more details.
Turn the product off and then back on again. If the error persists,
check for and remove any jammed paper or protective materials
from the product. If the error still persists, contact Epson for
support.
If you see any of the following error codes, make sure you have
not exceeded the loading capacity for any paper source:
• 000181
• 000184
• 000201
• 000204
• 000221
• 000224
Printer error. Contact Epson Support.
Non-printing features are available.
The product may be damaged, but non-printing features are still
available. Contact Epson for support.
Paper out in XX.
Load the size and type of paper in the paper source indicated.
Too many paper cassette units are
installed. Turn the power off and
uninstall the extra units. See your
documentation for details.
You can install up to three optional paper cassette units.
Remove any extra units.
Summary of Contents for C11CG70201
Page 1: ...WF C8190 User s Guide ...
Page 2: ......
Page 16: ...16 8 Attach the front cover to the stands 9 Remove the output tray from the product ...
Page 21: ...21 5 Remove the output tray 6 Remove the paper cassette from the product ...
Page 39: ...39 3 Optional cabinet 1 Rear paper feed edge guides 2 Paper support and extension ...
Page 116: ...116 You see the maintenance options 4 Click the Extended Settings button ...
Page 194: ...194 4 Pull out paper cassette 1 5 Open rear cover 1 D1 ...
Page 195: ...195 6 Pull out rear cover 2 D2 7 Remove the roller cover inside the product ...
Page 200: ...200 4 Pull out the paper cassette ...
Page 201: ...201 5 Open the rear cover E that matches with the paper cassette you removed ...


