193
• Do not remove the film on the top of the box or ink may leak.
• Do not tilt the maintenance box after removing it or ink may leak.
• Do not touch the openings in the maintenance box or you may get ink on you.
• Do not drop the maintenance box or subject it to strong shocks.
• Do not store the maintenance box in high or freezing temperatures.
Caution:
Do not reuse a maintenance box that has been removed and left uninstalled for a long period.
Keep the maintenance box away from direct sunlight.
Note:
The maintenance box is a user-replaceable part and is not covered by the product warranty.
Parent topic:
Replacing Ink Cartridges, Maintenance Boxes, and Cassette Rollers
Related concepts
Purchase Epson Ink Cartridges and Maintenance Box
Replacing the Rollers for Paper Cassette 1
When the rollers in paper cassette 1 need to be replaced, you see a message on the LCD screen. There
are three rollers for paper cassette 1: two on the back of the product and one on the cassette.
Note:
Check that the arrows on the rollers point clockwise before installing them in paper cassette 1.
There are different rollers for paper cassette 1 and the other paper cassettes.
1.
Turn off the product.
2.
Wait for the
power light to turn off, then unplug the power cord.
3.
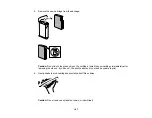
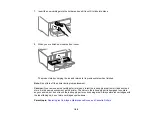
Remove the replacement rollers from their package.
Caution:
If there is any dirt or dust on the rollers, clean them with a soft, moist cloth. Using a dry
cloth can damage the surface of the roller.
Summary of Contents for C11CG70201
Page 1: ...WF C8190 User s Guide ...
Page 2: ......
Page 16: ...16 8 Attach the front cover to the stands 9 Remove the output tray from the product ...
Page 21: ...21 5 Remove the output tray 6 Remove the paper cassette from the product ...
Page 39: ...39 3 Optional cabinet 1 Rear paper feed edge guides 2 Paper support and extension ...
Page 116: ...116 You see the maintenance options 4 Click the Extended Settings button ...
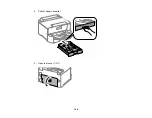
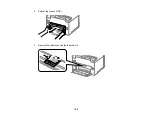
Page 194: ...194 4 Pull out paper cassette 1 5 Open rear cover 1 D1 ...
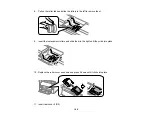
Page 195: ...195 6 Pull out rear cover 2 D2 7 Remove the roller cover inside the product ...
Page 200: ...200 4 Pull out the paper cassette ...
Page 201: ...201 5 Open the rear cover E that matches with the paper cassette you removed ...


