236
8.
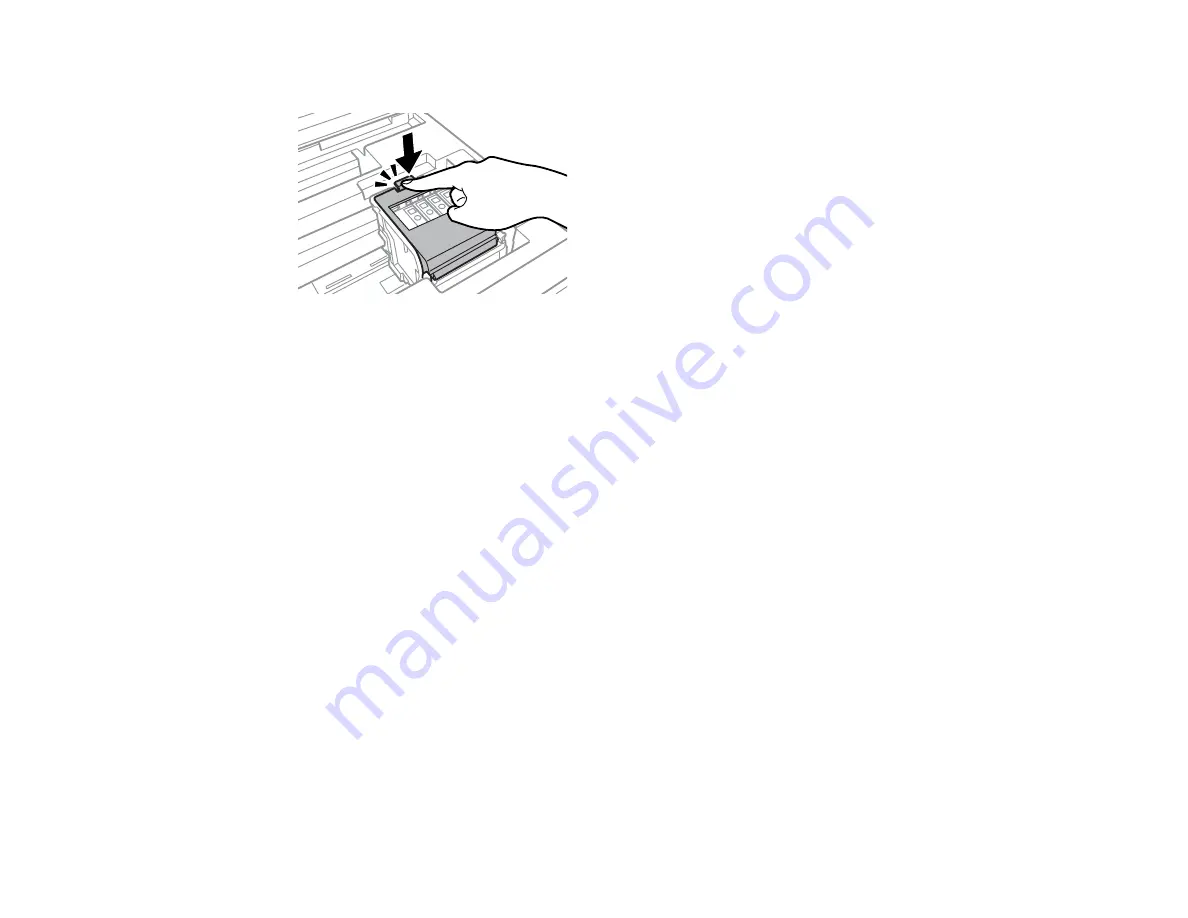
Close the cartridge cover and push it down until it clicks into place.
9.
Lower the scanner unit.
Caution:
If you see a message that an ink cartridge is installed incorrectly, lift up the scanner unit,
open the cartridge cover, and press the ink cartridge down until it clicks into place. Then close the
cartridge cover.
The product starts charging the ink. This takes a few minutes. When you see a completion message
on the LCD screen, ink replacement is complete.
Note:
Do not turn off the product while charging or you will waste ink.
Caution:
If you remove an ink cartridge for later use, protect the ink supply area from dirt and dust and
store it in the same environment as the printer. The valve in the ink supply port is designed to contain
any excess ink, but do not touch the ink supply port or surrounding area. Always store ink cartridges with
the label facing up; do not store cartridges upside-down.
Parent topic:
Replacing Ink Cartridges and Maintenance Boxes
Related concepts
Purchase Epson Ink Cartridges and Maintenance Box
Printing with Black Ink and Expended Color Cartridges
When a color ink cartridge is expended, you can temporarily continue printing from your computer using
black ink. Replace the expended color cartridge as soon as possible for future printing.
Summary of Contents for C11CG36201
Page 1: ...WF 7710 WF 7720 User s Guide ...
Page 2: ......
Page 67: ...67 3 Slide the edge guides outward 4 Slide the edge guide to your paper size ...
Page 76: ...76 3 Open the rear paper feed slot and push it back 4 Slide out the edge guides ...
Page 151: ...151 You see an Epson Scan 2 window like this ...
Page 153: ...153 You see an Epson Scan 2 window like this ...
Page 155: ...155 1 Start Epson Scan 2 You see this window ...
Page 166: ...166 DSL connection 1 Telephone wall jack 2 DSL filter 3 DSL modem ...
Page 167: ...167 ISDN connection 1 ISDN wall jack 2 Terminal adapter or ISDN router ...
Page 247: ...247 You see a window like this 5 Click Print ...
Page 285: ...285 Front 6 Open the duplexer ...
Page 286: ...286 7 Carefully remove any jammed paper stuck inside 8 Reinstall the duplexer ...


