


295
Laser Safety Information
This projector is a Class 1 laser product that complies with the IEC/EN60825-1:2014 international
standard for lasers. Follow these safety instructions when using the projector.
• If an error occurs in the projector or Touch Unit, turn off the power and unplug the projector and Touch
Unit immediately. Continuing to use the projector or Touch Unit could result in an electric shock, fire,
or visual impairment. Contact Epson support.
• Do not attempt to disassemble or modify the projector or Touch Unit. The projector contains a high-
power laser component. Serious injury could result.
• Do not look into the lens during projection. Also, do not look into the lens using optical devices, such
as a magnifying glass or telescope. This could cause visual impairment.
• When turning on the projector at a distance using the remote control, make sure no one is looking into
the lens.
• Do not allow small children to operate the projector. Children must be accompanied by an adult.
• Do not apply optical devices, such as a magnifying glass or reflector, to the projected image. Using the
projector may result in physical harm, fire, or an accident.
• Before using the projector, make sure there is nothing in the area that could reflect the projected
image.
• When disposing of the projector, do not disassemble it. Dispose of the projector in accordance with
your local or national laws and regulations.
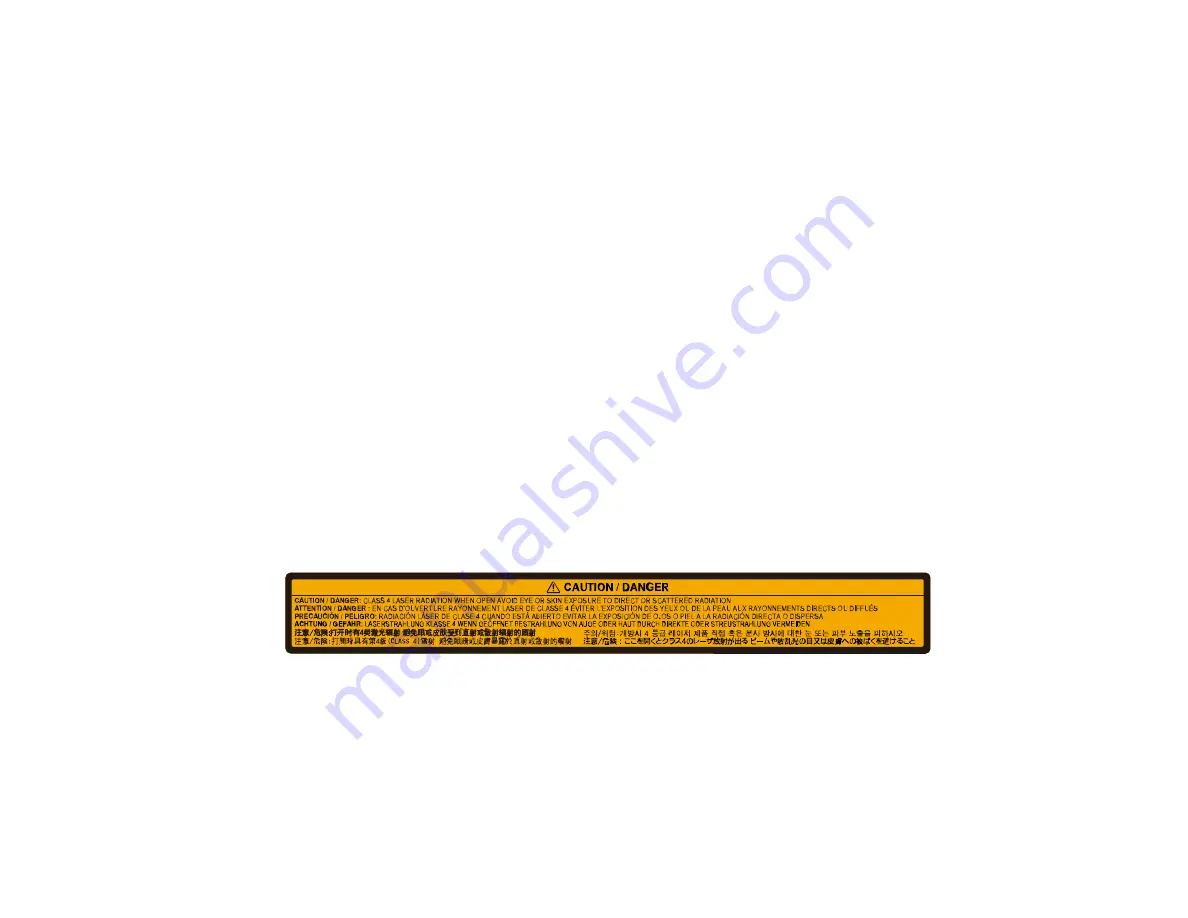
Laser warning labels are attached to the projector in the following locations:
•
Inside
Summary of Contents for BrightLink 710Ui
Page 1: ...BrightLink 710Ui User s Guide ...
Page 2: ......
Page 28: ...28 Projector Parts Remote Control ...
Page 33: ...33 Rear 1 Laser diffusion ports 2 Installation magnets Parent topic Projector Part Locations ...
Page 57: ...57 1 Remove the battery cover 2 Insert the batteries with the and ends facing as shown ...
Page 66: ...66 2 Unscrew and remove the cable cover if it is attached screwdriver not included ...
Page 186: ...186 3 Select Touch Unit Setup and press Enter 4 Select Touch Calibration and press Enter ...
Page 251: ...251 2 Slide the air filter cover latch and open the air filter cover ...
Page 255: ...255 1 Twist off the tip of the pen to remove it ...
Page 257: ...257 1 Twist off the tip of the pen to remove it 2 Remove the soft tip ...
Page 296: ...296 Side ...