


134
4.
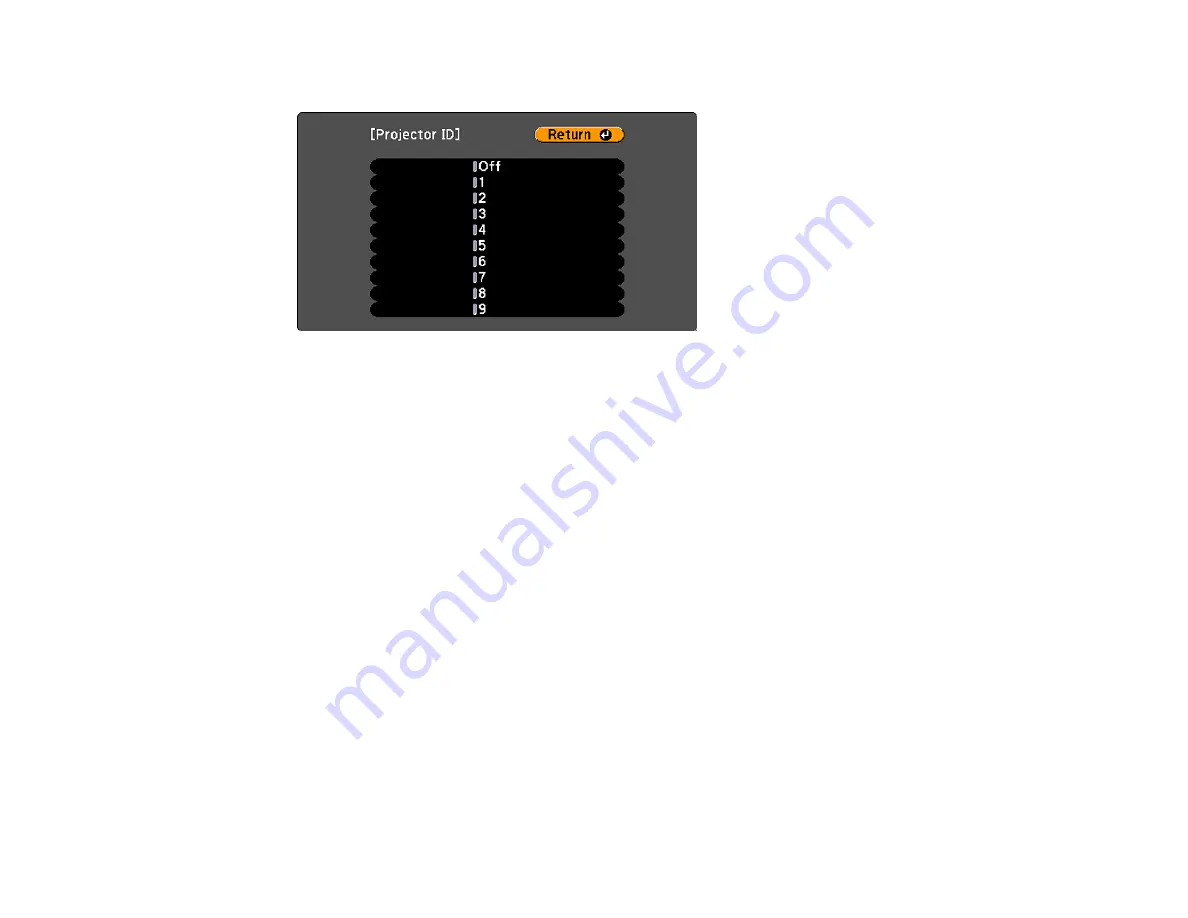
Select
Projector ID
and press
Enter
.
5.
Press the arrow buttons on the remote control to select the identification number you want to use for
the projector. Then press
Enter
.
Repeat these steps for all the other projectors you want to operate from one remote control.
Note:
If you don't know the projector's ID, aim the remote control at the projector and press the
ID
button
to temporarily display the projector's ID on the screen.
Parent topic:
Projector Identification System for Multiple Projector Control
Setting the Remote Control ID
The remote control's ID is set to zero by default so it can operate any compatible projector. If you want to
set the remote control to operate only a particular projector, you need to set the remote control's ID to
match the projector's ID.
Note:
You must set the remote control ID to match the projector ID each time you turn on the projector
you have set it to control.
1.
Turn on the projector you want the remote control to operate with exclusively.
2.
Make sure you know the projector's ID number as set in the Extended menu
Projector ID
setting.
Note:
If you have forgotten the projector's ID, aim the remote control at the projector and press the
ID
button to temporarily display the projector's ID on the screen. If you turn off the
Projector ID
setting, the remote control will operate the projector regardless of the ID selected on the remote.
Summary of Contents for BrightLink 710Ui
Page 1: ...BrightLink 710Ui User s Guide ...
Page 2: ......
Page 28: ...28 Projector Parts Remote Control ...
Page 33: ...33 Rear 1 Laser diffusion ports 2 Installation magnets Parent topic Projector Part Locations ...
Page 57: ...57 1 Remove the battery cover 2 Insert the batteries with the and ends facing as shown ...
Page 66: ...66 2 Unscrew and remove the cable cover if it is attached screwdriver not included ...
Page 186: ...186 3 Select Touch Unit Setup and press Enter 4 Select Touch Calibration and press Enter ...
Page 251: ...251 2 Slide the air filter cover latch and open the air filter cover ...
Page 255: ...255 1 Twist off the tip of the pen to remove it ...
Page 257: ...257 1 Twist off the tip of the pen to remove it 2 Remove the soft tip ...
Page 296: ...296 Side ...