


115
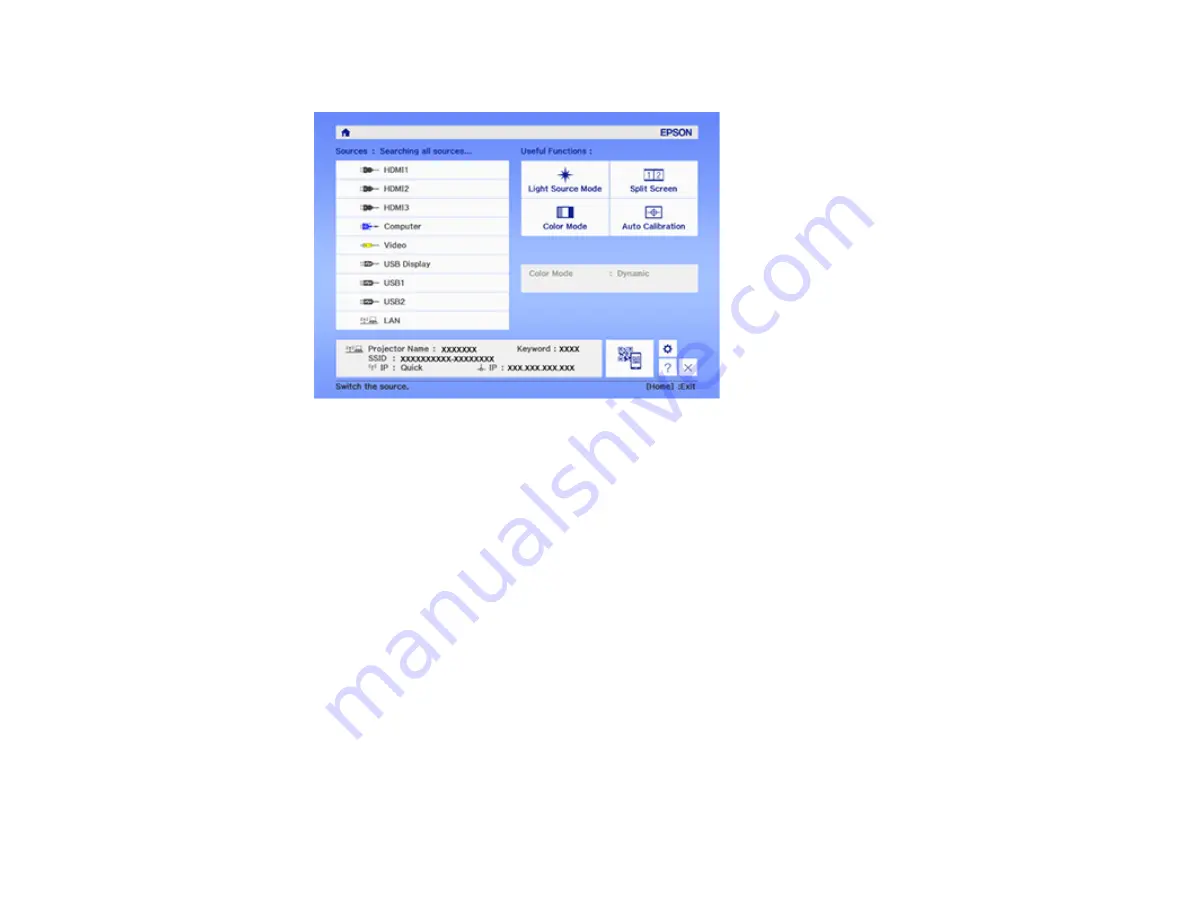
• Press the
Home
button on the remote control and select your image source.
Parent topic:
Using Basic Projector Features
Related references
Projector Setup Settings - Extended Menu
Related tasks
Projection Modes
Depending on how you positioned the projector, you may need to change the projection mode so your
images project correctly.
•
Front
lets you project from a table in front of the screen.
•
Front/Upside Down
flips the image over top-to-bottom to project upside-down from a wall or ceiling
mount. Also use this mode when you mount the projector vertically on a table to create an interactive
work surface.
•
Rear
flips the image horizontally to project from behind a translucent screen.
•
Rear/Upside Down
flips the image over top-to-bottom and horizontally to project from the wall or
ceiling and behind a translucent screen.
Summary of Contents for BrightLink 710Ui
Page 1: ...BrightLink 710Ui User s Guide ...
Page 2: ......
Page 28: ...28 Projector Parts Remote Control ...
Page 33: ...33 Rear 1 Laser diffusion ports 2 Installation magnets Parent topic Projector Part Locations ...
Page 57: ...57 1 Remove the battery cover 2 Insert the batteries with the and ends facing as shown ...
Page 66: ...66 2 Unscrew and remove the cable cover if it is attached screwdriver not included ...
Page 186: ...186 3 Select Touch Unit Setup and press Enter 4 Select Touch Calibration and press Enter ...
Page 251: ...251 2 Slide the air filter cover latch and open the air filter cover ...
Page 255: ...255 1 Twist off the tip of the pen to remove it ...
Page 257: ...257 1 Twist off the tip of the pen to remove it 2 Remove the soft tip ...
Page 296: ...296 Side ...