


107
4.
Select the
Geometry Correction
setting and press
Enter
.
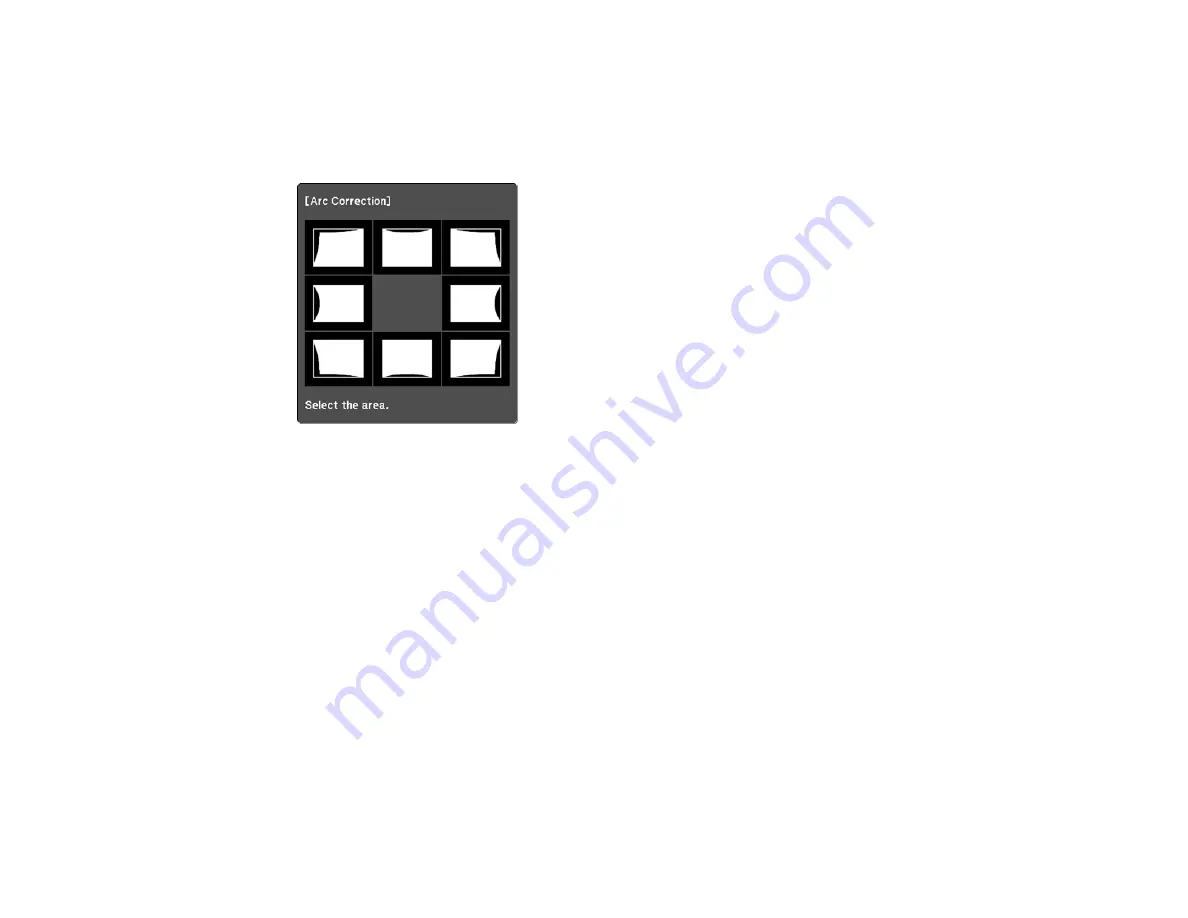
5.
Select the
Arc Correction
setting and press
Enter
. Then select the
Arc Correction
setting and
press
Enter
again.
You see the Arc Correction adjustment screen:
Note:
To reset your adjustments, press the
Esc
button for at least 2 seconds to display a reset
screen, and select
Yes
.
6.
Use the arrow buttons on the projector or the remote control to select the corner or side of the image
you want to adjust. Then press
Enter
.
7.
Press the arrow buttons to adjust the image shape as necessary.
8.
When you are finished, press
Esc
.
9.
To save your adjusted image position, select
Save Memory
and select an entry. You can save up to
three image positions.
Parent topic:
Related references
Projector Feature Settings - Settings Menu
Resizing the Image with the Wide and Tele Buttons
You can resize the image using the Wide and Tele buttons.
Summary of Contents for BrightLink 710Ui
Page 1: ...BrightLink 710Ui User s Guide ...
Page 2: ......
Page 28: ...28 Projector Parts Remote Control ...
Page 33: ...33 Rear 1 Laser diffusion ports 2 Installation magnets Parent topic Projector Part Locations ...
Page 57: ...57 1 Remove the battery cover 2 Insert the batteries with the and ends facing as shown ...
Page 66: ...66 2 Unscrew and remove the cable cover if it is attached screwdriver not included ...
Page 186: ...186 3 Select Touch Unit Setup and press Enter 4 Select Touch Calibration and press Enter ...
Page 251: ...251 2 Slide the air filter cover latch and open the air filter cover ...
Page 255: ...255 1 Twist off the tip of the pen to remove it ...
Page 257: ...257 1 Twist off the tip of the pen to remove it 2 Remove the soft tip ...
Page 296: ...296 Side ...