


Scanning
179
2. Make sure the product is turned on, and then place your original either on the document
table or in the Auto Document Feeder. For details, see "Setting Your Originals" on page
129.
c
Caution:
To scan an original correctly, set the transportation lock on the left side of the document
table in the
unlocked position. For details, see "Scanner parts" on page 26.
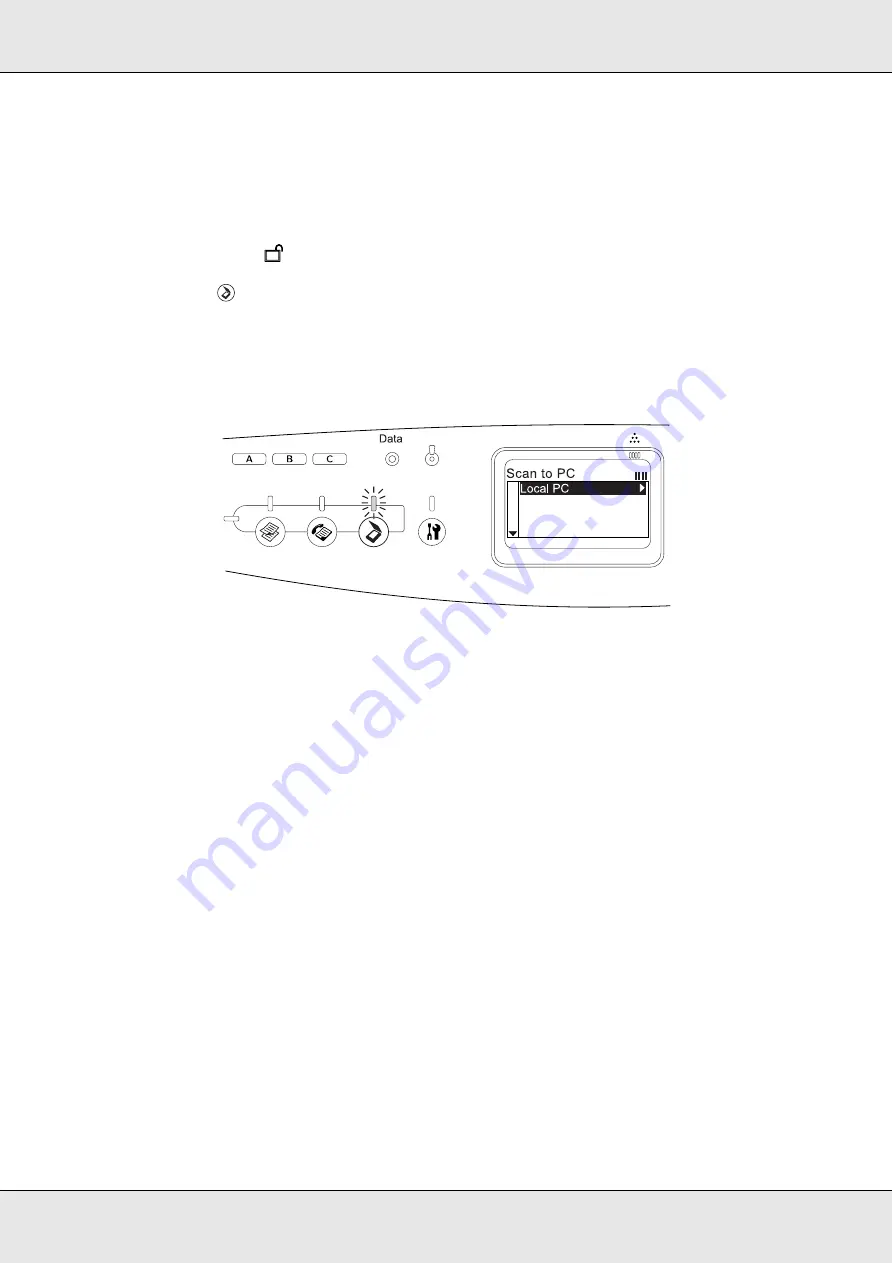
3. Press the
Scan button on the control panel.
The Scan light is lit and the Scan menu appears in the LCD panel.
4. When
Local PC
is displayed, press the
r
Right button.
When a proper connection to the local computer is confirmed, a message to notify that
the device is ready appears and scanning starts.
Assigning a different application on Windows
This section explains how to make settings that control which application to open when you
select
Local PC
and press the
r
Right
button on the control panel. You can specify one
application to open automatically when you select
Local PC
and press the
r
Right
button,
or you can have a window open allowing you to choose from a list of applications. Follow
the steps below to make these settings.
Note:
Before using this feature, make sure you have installed EPSON Scan and EPSON Creativity Suite
on your computer.
Note for Mac OS users:
You cannot assign any application to the
r
Right button when
Local PC
is displayed on the control
panel on the product.
For Windows XP users
1. Click
Start
, and then point to
Control Panel
.
Summary of Contents for Aculaser CX21N Series
Page 1: ...EPSON AcuLaser CX21 Series User s Guide NPD2571 00 ...
Page 143: ...Scanning 143 Office Mode ...
Page 144: ...Scanning 144 Home Mode ...
Page 168: ...Scanning 168 Home Mode Click the Backlight Correction check box ...
Page 234: ...Faxing Fax Model Only 234 The recipient assigned for the one touch dial is deleted ...
Page 338: ...Other Problems 338 5 Push down the two green levers of the fuser unit 6 Close cover C ...
Page 394: ...Information about Fonts 394 Symbol 621 N ZapfDigbats 460 N ...


