5-2
Using EPSON Scan! II
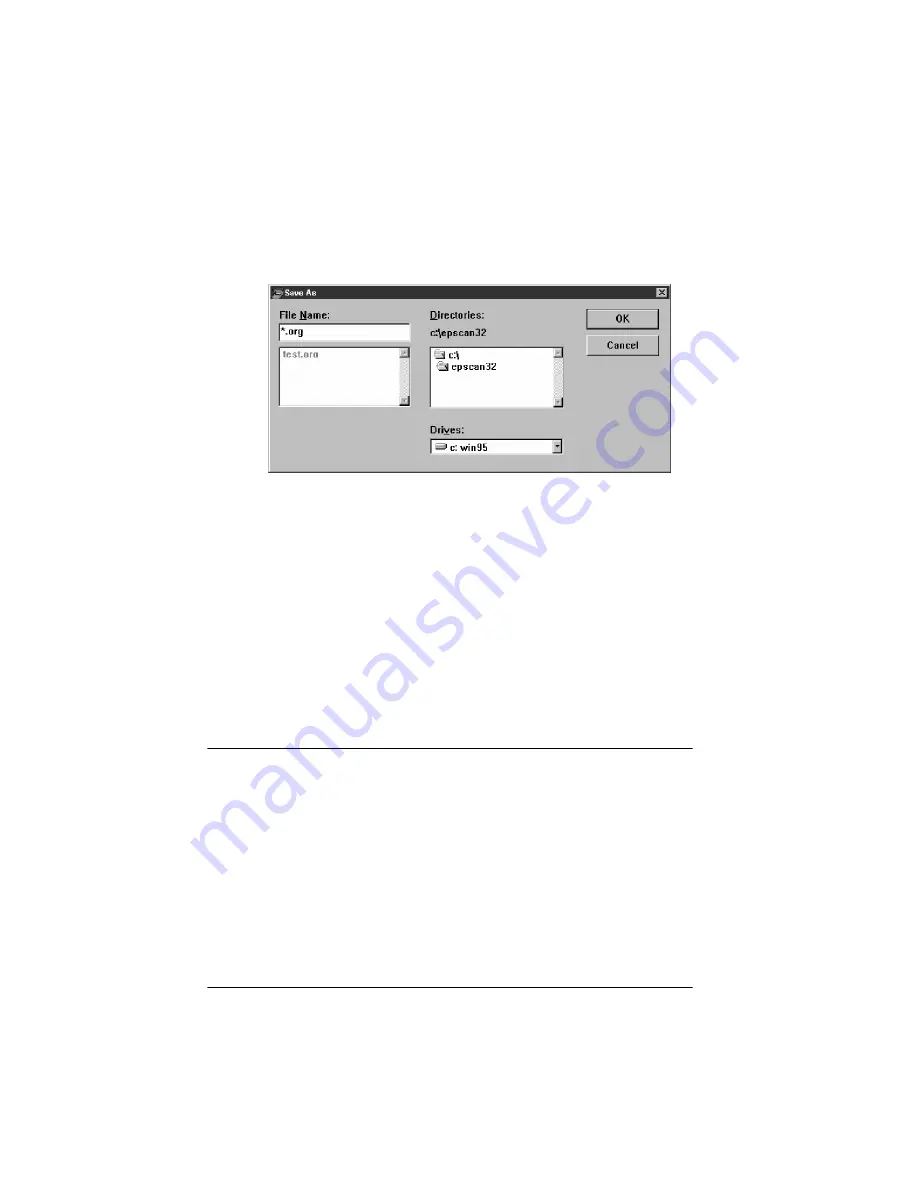
5. Choose
Save As
from the File menu. You see the following
dialog box:
6. Choose the drive and directory where you want to save the
image.
7. Type a filename for your image in the
File Name
field. Make
sure to use the file extension
.org
.
8. Click
OK
.
The image is saved in the EPSON Scan! II file format. You can
now open this file in EPSON Scan! II and export it in a different
format, as described below.
Exporting an Image
EPSON Scan! II allows you to export an image in a file format
your application software can use. For information on file
formats your software can open, see your software manual.
Note:
Your application software cannot open images saved in the EPSON
Scan! II file format and EPSON Scan! II cannot open an exported image
file. Always save an image in EPSON Scan! II before exporting it.
Summary of Contents for ActionScanner II
Page 1: ...i Printed on recycled paper with at least 10 post consumer content ...
Page 6: ...vi ...
Page 14: ...8 Introduction ...
Page 20: ...1 6 Installing Your Software ...
Page 50: ...3 22 Capturing Images From Within Applications ...
Page 62: ...4 12 Using Special Effects ...
Page 70: ...5 8 Using EPSON Scan II ...
Page 90: ...A 4 Default Settings ...
Page 124: ...10 Term Glossary ...


