Choosing a Paper Size
Changing the paper-size setting
1. Press the
SelecType
button until the message SelecType LEVEL1
appears.
2. Press or until P-SIZE appears.
3.
Press
.
4. Press or until the paper size you wish to print on appears.
5. Press to set
the new
paper size.
6. To exit SelecType, press
the
SelecType
button.
Saving the new paper-size setting
The paper-size setting returns to
the
factory setting
once the
printer
is turned off and then on again unless you use SelecType’s Level 1
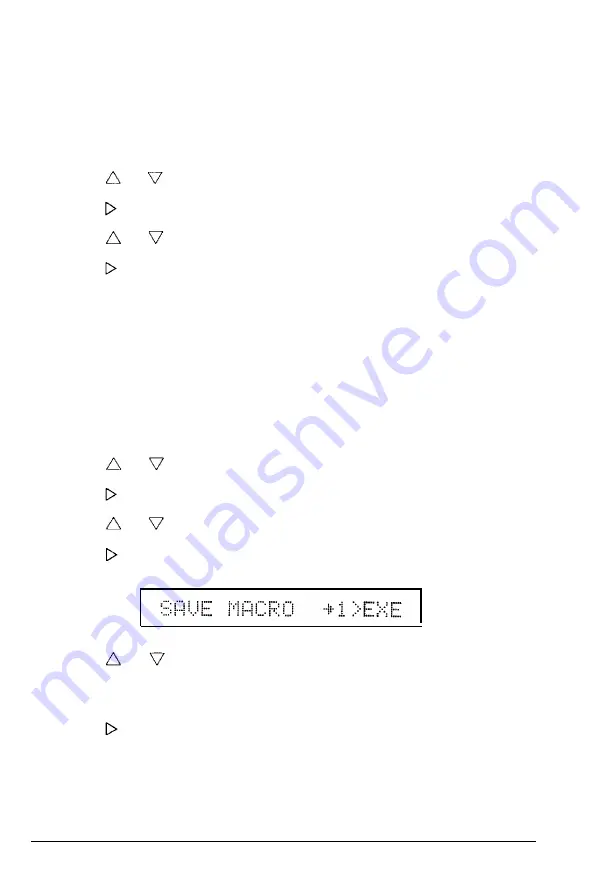
SAVE MACRO setting to save it.
1. Press the
SelecType
button to enter Level 1.
2. Press or until SYSTEM CONFIG appears.
3. Press to enter the submenu.
4. Press or until SAVE MACRO appears.
5. Press so that you can select the MACRO ID.
6. Press or until
the
macro number you wish to save appears.
Use number 1 unless you have already used
that
number for a
macro.
7.
Press
.
5-12
Paper Handling
Summary of Contents for Action Scanner II
Page 1: ......
Page 2: ......
Page 11: ...X ...
Page 197: ...Interface Specifications 8 14 Technical Specifications ...
Page 251: ...HP Emulation Mode HP Roman 8 Set Symbol Set ID 8U Character Samples and Symbol Sets C 9 ...
Page 256: ...LQ and FX Emulation Modes Pc USA C 14 Character Samples and Symbol Sets ...
Page 297: ......
Page 298: ......
Page 299: ...Epson America Inc 20770 Madrona Avenue Torrance CA 90503 Printed in Japan 91 11 30 ...


