EPSON Stylus COLOR 900/900N
Chapter 5 Adjustments
127
5.2.4 Printhead ID Input
You need to input the printhead ID under the following circumstances:
If you replace the printhead.
If you replace the C265 Main board.
If you replace an older PROM (version TEE012A, 01B, or 01C)
with a new one (TEE01D or later).
Follow these steps to input the printhead ID:
1. Before running the adjustment program, you need to determine the
current printhead ID. If you’re putting in a new printhead, write down
its 22-digit ID before you install it in the printer. If you need to
remove the printhead to see its ID, follow the instructions in
2. You also need to determine the last digit of the PROM’s serial
number. If you’re putting in a new main board or ROM chip, write
down the last digit of the chip’s serial number (A, B, C, etc.) before
you install it in the printer. Otherwise, remove the Type-B interface
card (if one is installed) or the interface cover plate to view the chip
from the back of the printer.
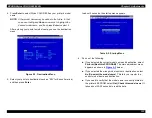
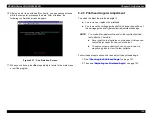
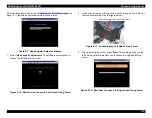
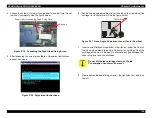
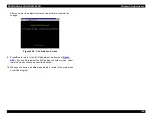
3. Perform the actions described in
on page 122. You see the main menu:
Table 5-5. Main Menu
C A U T I O N
If you replace the printhead, carefully follow the
instructions in
on page 119, or the printer
may display an Ink Out error even after you install new
ink cartridges.
Summary of Contents for 900N
Page 1: ...EPSONStylusCOLOR900 900N Color ink jet printer TM SC900 N 6 59 0 18 ...
Page 8: ... 37 5 PRODUCTDESCRIPTION ...
Page 37: ... 37 5 OPERATINGPRINCIPLES ...
Page 67: ... 37 5 TROUBLESHOOTING ...
Page 89: ... 37 5 DISASSEMBLYANDASSEMBLY ...
Page 121: ... 37 5 ADJUSTMENTS ...
Page 156: ... 37 5 MAINTENANCE ...
Page 169: ... 37 5 APPENDIX ...
Page 179: ...EPSON Stylus COLOR 900 900N Chapter 7 Appendix 176 Figure 7 3 C265 Main Board Soldering side ...
Page 181: ...EPSON Stylus COLOR 900 900N Chapter 7 Appendix 178 Figure 7 6 C265 PNL Board ...
Page 195: ...06 03 01 02 for S E ASIA 03 03 05 03 04 EPSON STYLUS COLOR 900 No 7 10056 Rev 01 ...
Page 197: ......
Page 198: ......
Page 199: ......
Page 200: ......
Page 201: ......


