


23
4 x 6-inch Photo Paper
The EPSON 4
×
6-inch Photo Paper that came with your printer is micro-perforated
around the edges so you can trim your printouts and “bleed” the photo—extend it
beyond the perforations—on all sides. This procedure explains how to print your
photos from most applications so that they bleed a little beyond the perforations. (If
you’re using Image Expert, follow the instructions below to load the paper, then go to
page 41 for details about printing. The procedure is slightly different.)
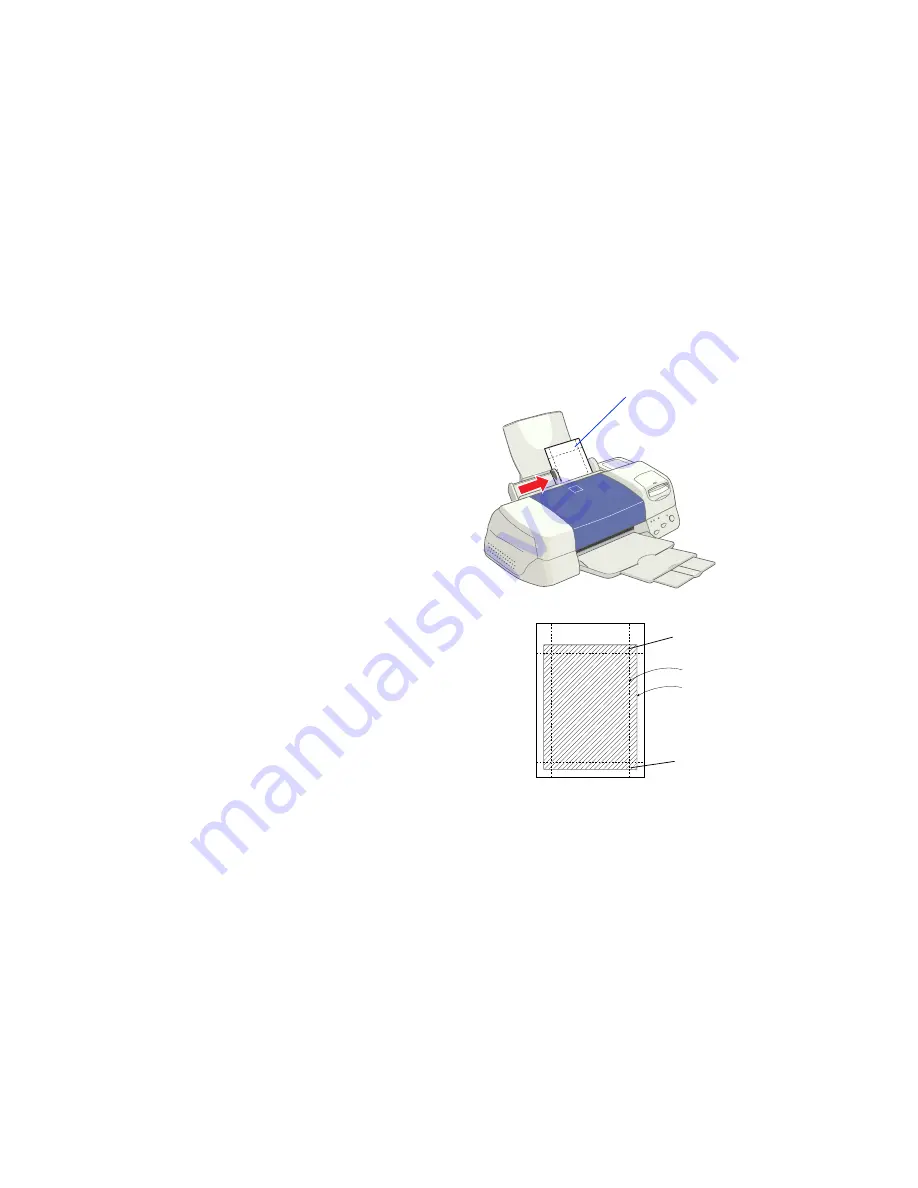
1. Load the paper against the right
edge guide with the glossy side
facing up and the perforated
margins positioned as shown. Then
slide the left edge guide against the
paper.
You can load up to 20 sheets at a
time, with the included support
sheets A and B beneath the stack.
(If you don’t have the support
sheets, use plain paper cut to size.)
2. In your application software, size
your photo slightly larger than 4
×
6 inches.
(If you’re using PhotoDeluxe, use the
Advanced menus to size your photo. See your
PhotoDeluxe online help for details.)
3. Choose
Photo Paper
as the Media Type
setting.
The larger margin
should be at the top
Trim size
Printed
image size
Bottom of
printed image
Top of
printed image
Summary of Contents for 875DCS - Stylus Photo Color Inkjet Printer
Page 1: ...Printer Basics Printed on recycled paper ...
Page 6: ...vi Limited Warranty 83 Declaration of Conformity 84 FCC Compliance Statement 84 Index 85 ...
Page 34: ...28 ...
Page 54: ...48 ...
Page 64: ...58 ...
Page 84: ...78 ...


