


54
2.
Windows:
Click the
Get & Fix Photo
tab, then click the
Get Photo
icon and
select
Open File
.
Macintosh:
Click the
Get Photo
button, then click the
Get Photo
tab and select
Open File
.
3. Windows applies the label
Removable Disk
to the drive assigned to your memory
card, and Macintosh labels it
Unknown
or
Untitled
. Locate this drive and open it.
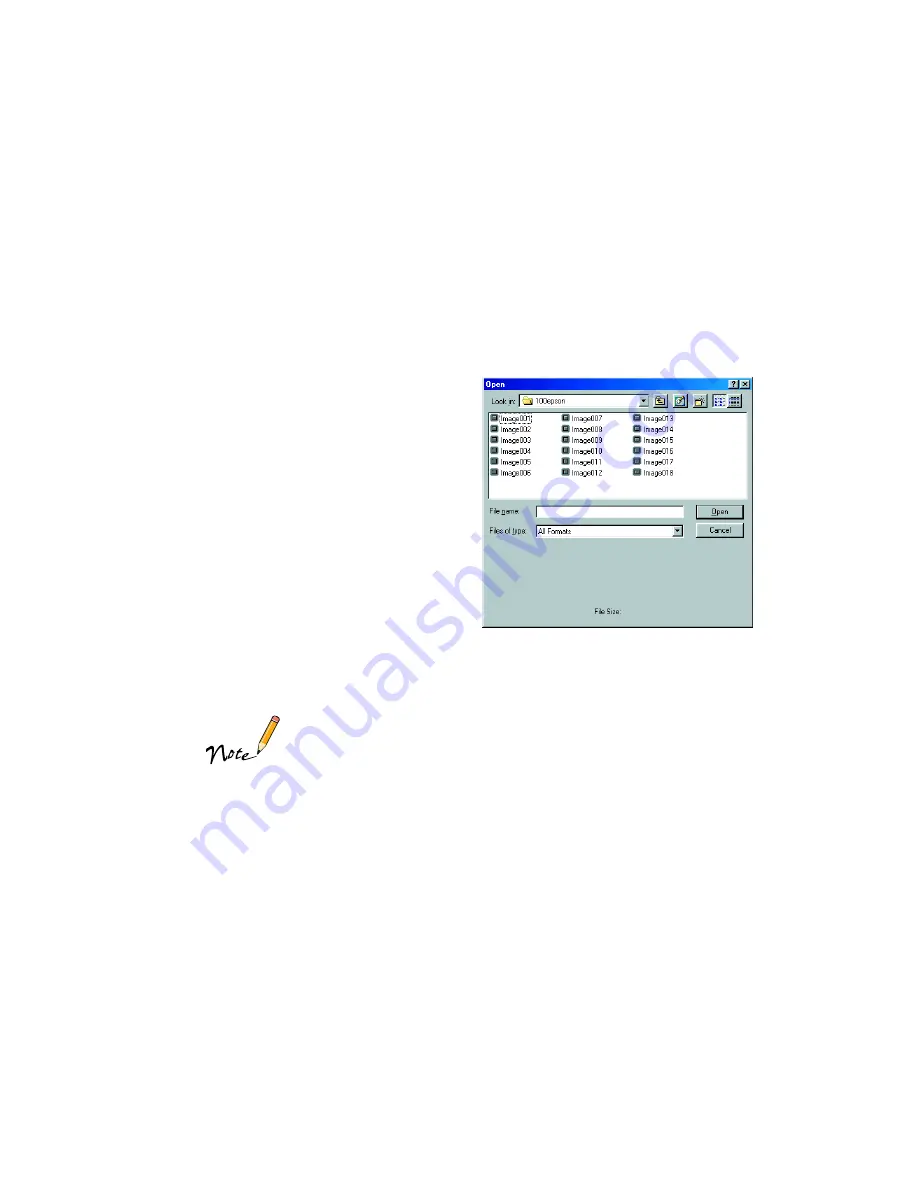
4. Navigate to the
100epson
folder in the
Dcim
folder. (If your camera was made
by a different manufacturer, your
photos will be located in a different
folder.)
5. Select the images you want to print and
click
Open
(Windows) or
OK
(Macintosh).
Your images open, one on top of the
other, in the PhotoDeluxe work area.
Follow the instructions in your
PhotoDeluxe online help to edit and
print them.
Use PhotoDeluxe’s Advanced menus to resize your photos.
See your online help for details.
If you save your changes, be sure to save them to your hard
drive rather than your memory card. Your camera can’t use
the type of file created by PhotoDeluxe.
Summary of Contents for 875DC - Stylus Photo Color Inkjet Printer
Page 1: ...Printer Basics Printed on recycled paper with at least 15 post consumer content ...
Page 18: ...12 ...
Page 42: ...36 ...
Page 63: ...57 You see one of the screens below 8 Click OK Windows Macintosh ...
Page 64: ...58 ...
Page 94: ...88 ...
Page 100: ...94 ...


