32
4. Choose
Photo Paper 4
×
6 in
as the Paper Size
setting.
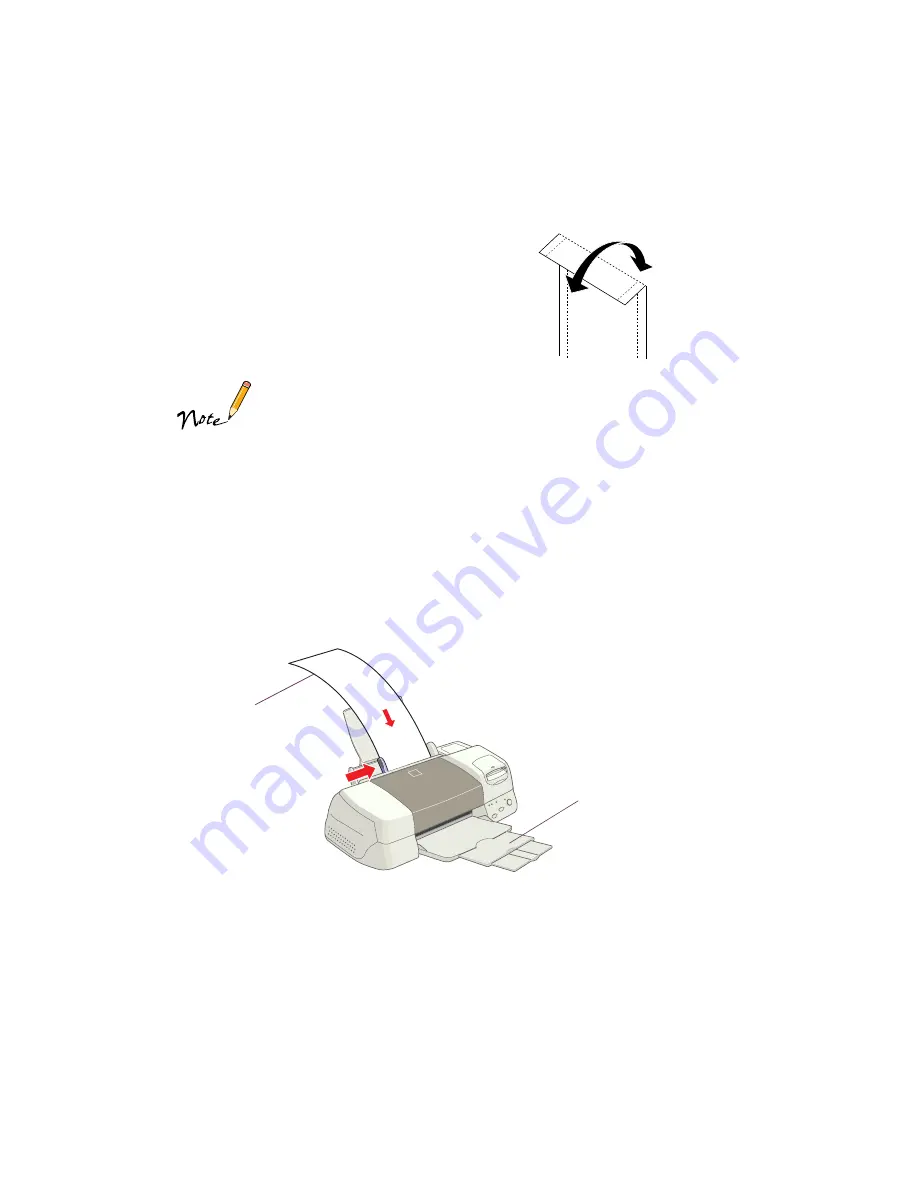
5. After you print your picture, fold the paper
back and forth along the perforations and
carefully tear off the margins.
If your printout doesn’t extend beyond the perforations on the
paper, try setting the print orientation in your printer driver. Choose
Landscape as the orientation if the photo appears in your application
software in landscape orientation, and Portrait if your photo appears
in portrait orientation.
Panoramic Photo Paper
1. Pull up the paper support extension. Load one sheet of Panoramic paper
glossy side up.
2. Hold up the paper’s top edge and press the
E
load/eject button to feed it into the
printer.
3. Choose
Photo Paper
as the Media Type
setting and
Panoramic 210
×
594 mm
as
the Paper Size setting.
Remove the
margins
Support the paper as it
ejects from the printer so it
doesn’t fall onto the floor
Support the
paper as it
feeds into the
printer
Summary of Contents for 875DC - Stylus Photo Color Inkjet Printer
Page 1: ...Printer Basics Printed on recycled paper with at least 15 post consumer content ...
Page 18: ...12 ...
Page 42: ...36 ...
Page 63: ...57 You see one of the screens below 8 Click OK Windows Macintosh ...
Page 64: ...58 ...
Page 94: ...88 ...
Page 100: ...94 ...


