


Pearl Mini User Guide
Enable AFU and set parameters
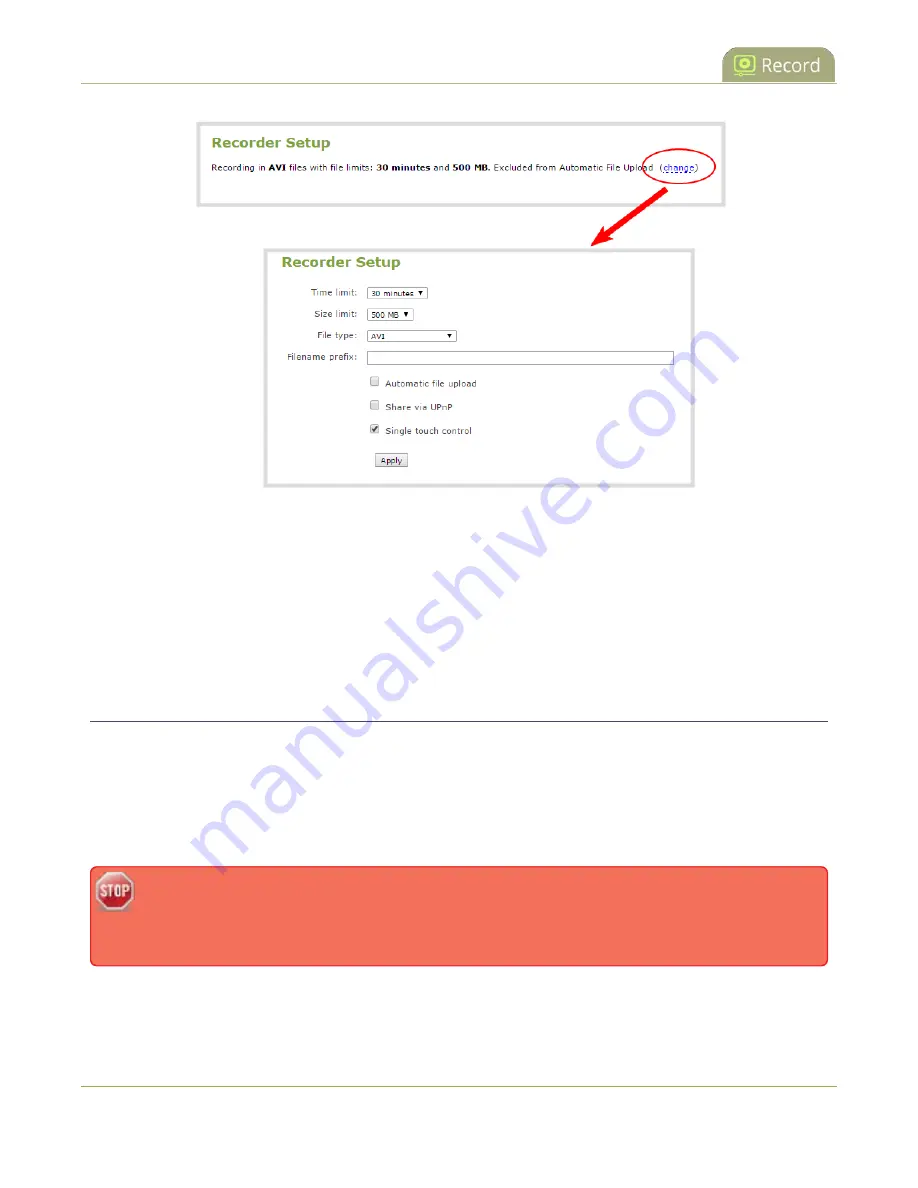
4. Check
Automatic file upload
and click
Apply
.
What's Next
After you've enabled AFU for your channels and recorders, enable AFU and configure the AFU settings for the
location type (i.e. FTP, USB, AWS, etc).
Enable AFU and set parameters
After configuring the channels and recorders you want included in your Automatic File Upload (AFU) schedule,
you must enable AFU and configure the frequency of file transfers.
The first transfer takes place when the configured frequency is reached. All recorded files that complete
during that time period are included in the transfer. Currently recording files are not included in an AFU
transfer until the recording has ended.
Files saved before you complete automatic file upload configuration are not included as part of
the automatic upload. You can manually transfer those files, see
.
The following table describes the available AFU options.
342
Summary of Contents for Pearl Mini
Page 117: ...Pearl Mini User Guide Disable the network discovery utility 105 ...
Page 137: ...Pearl Mini User Guide Mute audio 4 Click Apply 125 ...
Page 149: ...Pearl Mini User Guide Mirror the video output port display 137 ...
Page 187: ...Pearl Mini User Guide Delete a configuration preset 175 ...
Page 309: ...Pearl Mini User Guide Use RTMPS for a Kaltura webcasting event 297 ...
Page 447: ... and 2019 Epiphan Systems Inc ...


