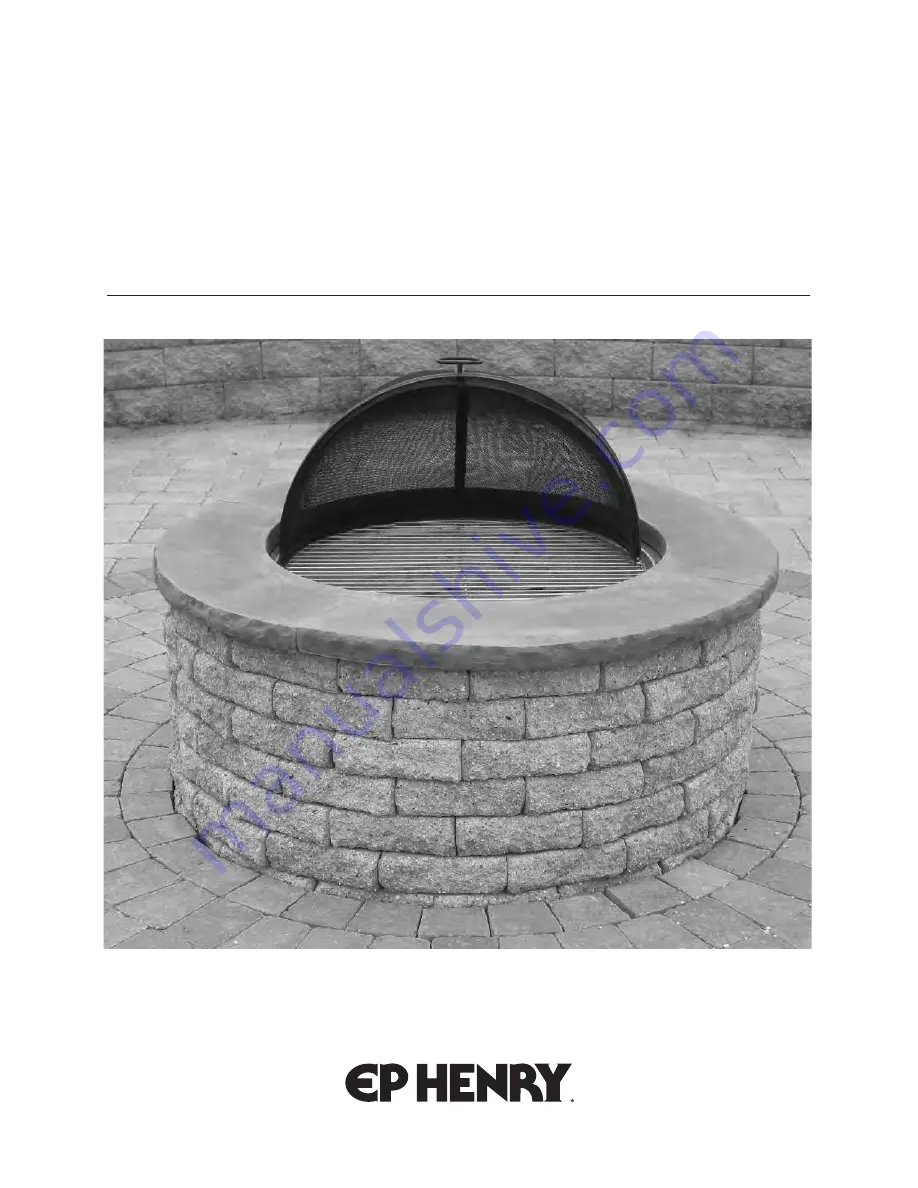
EP HENRY FIRE PIT INSTALLATION GUIDELINES
E X C E L L E N C E S I N C E 1 9 0 3
Page 1: ...EP HENRY FIRE PIT INSTALLATION GUIDELINES E X C E L L E N C E S I N C E 1 9 0 3...
Page 2: ...wl Drainage and Construction Options first Make sure all units are dry and dust free before applying adhesives All adhesive should be applied on the upward facing horizontal flat surface toward the ou...
Page 3: ...an sand to a depth of 4 This will help prevent ash particles from washing out of the bottom of the fire pit and staining the surrounding surface Continue to page 6 3 1 Establish location of Fire Pit 2...
Page 4: ...e sand Repeat this process until the entire surface is covered with a uniform layer of coarse concrete sand 1 thick Pick up the pipes and fill in the void left by the pipe with sand smoothing it with...
Page 5: ...irst course is perfectly level prior to laying further courses 5 Lay second and additional courses 6 Level and align blocks vertically 7 Place copper bowl 8 Cap wall and add grates 9 Add spark screen...
Page 6: ...inage and Construction Options The fire bowl is a solid unit and does not have a drain hole in the bottom of it As a result it may fill with rain water and overflow causing ash or debris left in the f...
Page 7: ...your fire pit Only burn dry hardwoods Do not use lighter fluid gasoline or other fire accelerants to start or maintain fires Always use the spark screen to cover a fire Always use the fire poker to op...
Page 8: ...that all ash is completely cold before disposing of it EP HENRY IS NOT RESPONSIBLE FOR Damages injuries or expenses caused by use of the fire pit or its use in areas where there are hazardous or flam...