6-7
Repairs
8.
Remove the cover for the
RVM
Controller.
9.
Unplug the hard drive.
10.
Remove the hard drive from the
RVM
Controller by unscrewing the mount from
the
RVM
Controller Box.
11.
Take the hard drive out of the machine, and set it aside.
12.
Unplug the electrical and data wires from the
RVM
Controller Box.
13.
Unscrew the
RVM
Controller Box, and remove it from the machine.
14.
With the power switch in the off position and the cover off, screw the new
RVM
Controller Box into the machine.
15.
Screw the existing hard drive into the new
RVM
Controller Box.
16.
Screw new
RVM
Controller Box to the machine.
17.
Connect all of the data and electrical wires to the new
RVM
Controller.
18.
Screw in the
RVM
Controller Box cover.
19.
Replace the printer, and reconnect it to the new
RVM
Controller Box.
20.
Flip the
RVM
Controller Box power switch to the “On” position, and wait for it to
power on. This may take a few moments.
21.
Load paper into the printer.
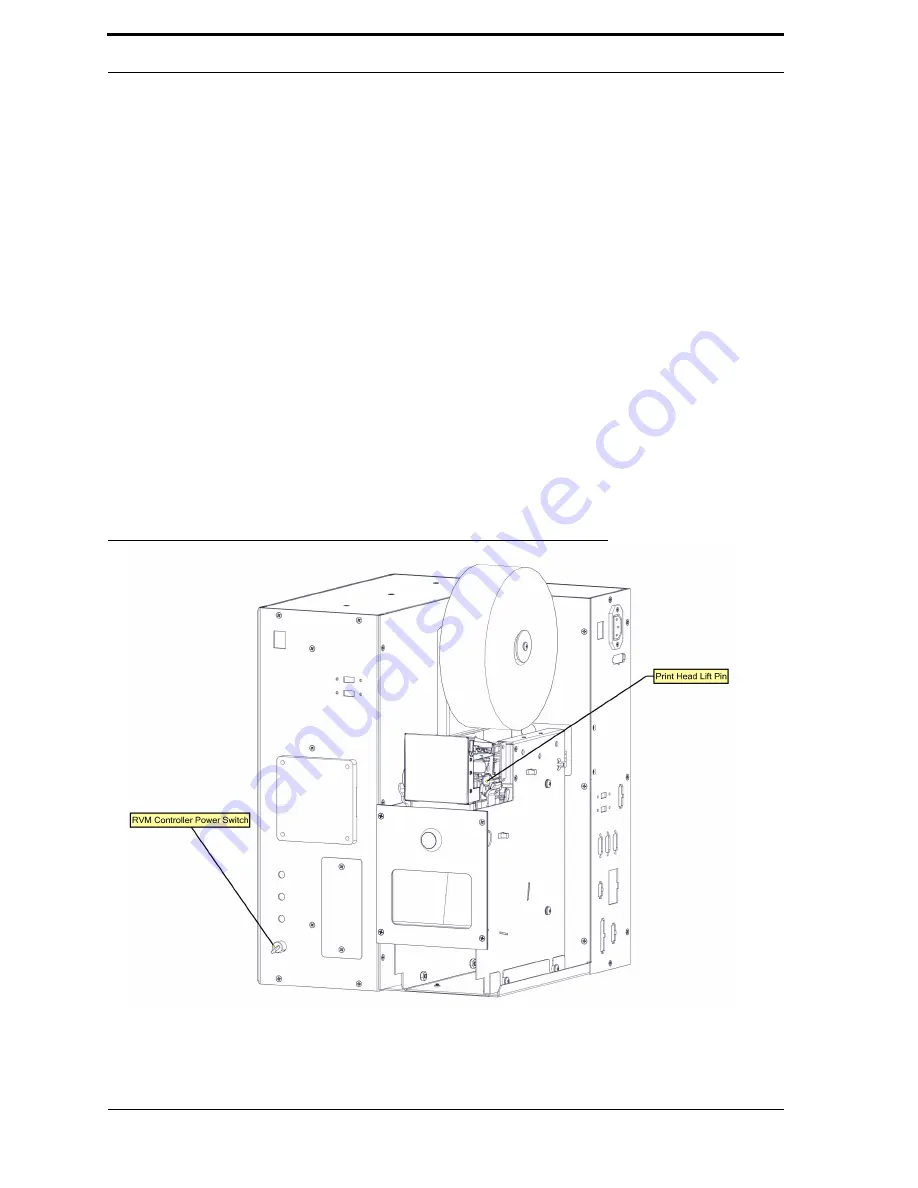
FIGURE 6-1.
RVM Controller and Printer
Summary of Contents for U48DFF
Page 1: ...ULTRA Series Service Manual May 6 2014...
Page 2: ......
Page 18: ...Chapter 2 Specifications 2 2 FIGURE 2 2 ULTRA 48 Configuration...
Page 40: ...Chapter 3 Hardware Components 3 18 FIGURE 3 17 MC1 Board Layout FIGURE 3 18 MC5 Board Layout...
Page 41: ...3 19 RVM Controller Box FIGURE 3 19 MD5 Board Layout...
Page 52: ...Chapter 4 RVM Software 4 6 FIGURE 4 6 Service Mode Time Out Screen...
Page 68: ...Chapter 4 RVM Software 4 22 FIGURE 4 18 Software Processes Overview...
Page 69: ...4 23 Software Theory of Operation FIGURE 4 19 Circuit Board Locations...


