Quick Installation Guide
Disclaimer: Information may be subject to changes without prior notifi cation
Follow us
www.engenius-europe.com
EAP350 - 802.11b/g/n/ Wireless Accesspoint
Package Contents
Unpack the box and verify the contenst:
• EAP350 802.11b/g/n Gigabit Wired Wireless Access Point
• Category 5 Ethernet Cable
• Power Adaptor
• Wall Mount Kit
• EAP350 802.11b/g/n Wireless Access Point Quick Installation Guide
• EAP350 802.11b/g/n Wireless Access Point Instruction Manual
• Resource CD
Setting up the EAP350
After verifying the contents of the box, continue on to setting up the EAP350.
Hardware Installation
1. Ensure that the computer in use has an Ethernet Card (RJ-45 Ethernet Port). For more
information, verify with User Manual.
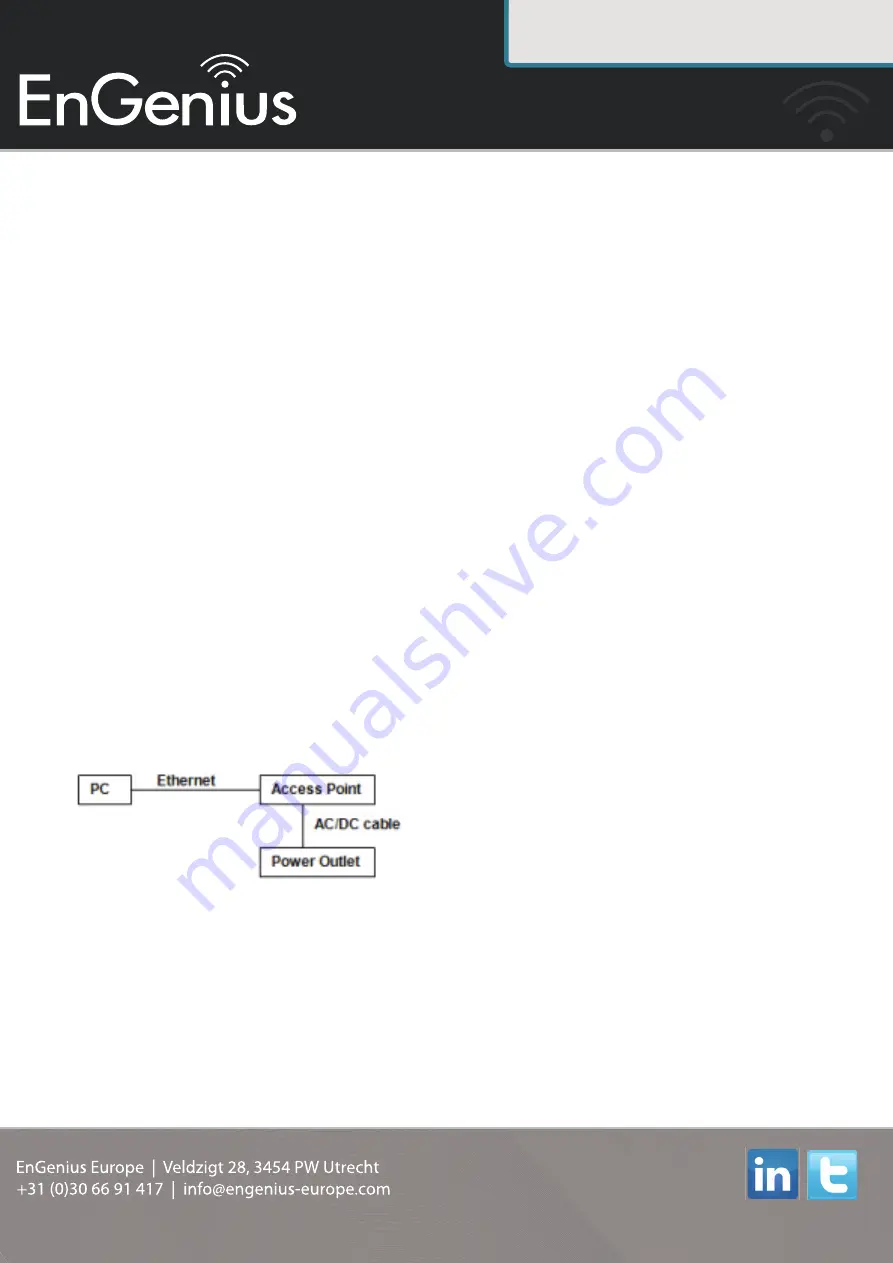
2. Connect one end of the Category 5e Ethernet cable into RJ-45 port of the EAP350 and the other
end to the RJ-45 port on the computer that will use the EAP350. Ensure that the cable is securely
connected to both the EAP350 and the Computer.
3. Connect the Power Adaptor DC Inlet to the DC-IN port of the EAP350 and the Power Adaptor to
the electrical out. Once both connections are secure, verify the following:
a. Ensure that the Power light on the right is on (it will be blue).
b. Ensure that the Wireless light on the left is on (it will be blue).
c. Ensure that the LAN (Computer/EAP350 Connection) light in the middle is on (it will be
blue).
d. Once all three lights are on, proceed to setting up the computer.
Computer Setup
1. After ensuring the EnGenius device is powered on and plugged in, ensure that your computer is on.
2. For the next steps, refer to your Operating System User Manual
3. Once your computer is on, ensure that your TCP/IP is set to On or Enabled. (In the control panel,
double click Network Connections and then double click on the connection of your Network
Interface Card (NIC). Select Internet Protocol (TCP/IP) and then click on the Properties button.)
4. If your PC is already on a computer network, ensure that you have set it to a Static IP Address on
the interface (or Ethernet card that will use the EAP350) as 192.168.1.21 and the Subnet Mask
address as 255.255.255.0. (Select Use the following IP Address radio button). Once the
computer has been prepared, proceed to setting up the EAP350.


