Installation and Operating Manual
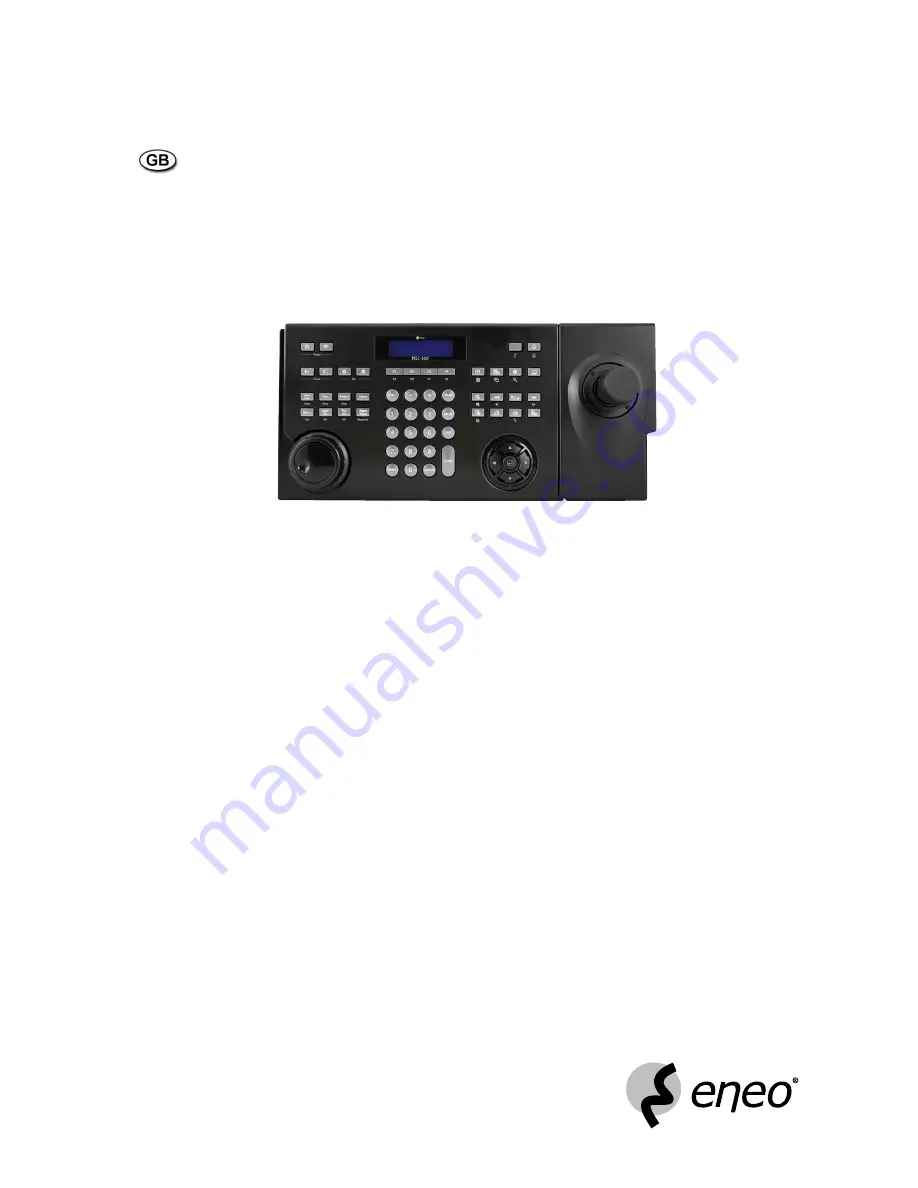
Network System Controller with 3-Axis Joystick and Jog Shuttle
KBD-NSC-100
Page 1: ...Installation and Operating Manual Network System Controller with 3 Axis Joystick and Jog Shuttle KBD NSC 100...
Page 2: ...l 19 4 LCD Menu Configuration 24 4 1 Buttons for LCD Menu Configuration 24 4 2 Entering or Exiting LCD Menu 24 4 3 Setup Menu 25 5 Remote Configuration 26 5 1 System 26 5 2 Network 28 5 3 Device 29 5...
Page 3: ...Videor E Hartig GmbH Only use original parts and original accessories from Videor E Hartig GmbH Do not use strong or abrasive detergents when cleaning the dome Use a dry cloth to clean the dome surfac...
Page 4: ...Z cameras connected to the DVRs via RS 485 connection Refer to Chapter 2 Installation 2 2 DVR System Registration Basic Mode and Chapter 3 Operation 3 3 DVR System Control for details on installation...
Page 5: ...onnection Refer to Chapter 2 Installation 2 2 DVR System Registration Advanced Mode and Chapter 3 Operation 3 3 DVR System Control for details Cameras 1 16 Network Keyboard Spot Monitor Main Monitor S...
Page 6: ...32 Cameras 225 240 16 Loop Out DVR 2 16 Loop Out DVR 15 16 Loop Out Master MMX 0 1 Main Out Slave MMX 1 4 Quad Out Slave MMX 14 4 Quad Out Slave MMX 15 4 Quad Out 15x1 Main Out Quad Monitor 16x4 Spot...
Page 7: ...ot designed to be connected directly with cable or wire intended for outdoor use Do NOT connect or disconnect the joystick cable while the network keyboard is powered up The network keyboard must be p...
Page 8: ...85 communication environment is not good and the connection is not made when controlling a PTZ camera via RS 485 connection CAUTION Do NOT connect or disconnect the joystick cable while the network ke...
Page 9: ...Control Buttons Controls remote devices including DVRs Refer to Appendix 2 Buttons Device Control for details 5 Arrow Buttons Allows you to navigate through setup menus or adjust number s value durin...
Page 10: ...iguration 5 3 Device for details on the remote registration The following is about the registration by using the LCD menus 1 Connect a PTZ camera to RS485 PTZ port of the network keyboard referring to...
Page 11: ...nication referring to the settings in the DVR 4 Check the DVR s system ID set in the DVR You have to change the DVR s system ID in the DVR if the system ID is in use in more than one DVR or set to 0 T...
Page 12: ...sword for the connection to the DVR if the DVR is connected to a network The user ID and password is for the connection to the DVR and you can use any user ID and password registered on the DVR It is...
Page 13: ...etup Device General Select Advanced from the Setup Type drop down list 5 Go to the following menus Setup Remote Setup Device Setup 5 1 Click Digital Video Recorder in the device list and then the Add...
Page 14: ...in the device list and then the Scan or Add button to register the master MMX 6 1 Set up the registration information ID The network keyboard assigns the ID automatically when the MMX is registered a...
Page 15: ...can change the ID The ID will be used to distinguish the camera from other cameras when controlling it by using a network keyboard so each camera should have its own unique ID Type Select Device Outpu...
Page 16: ...onitor pane device or camera as the previous command Press just the number or ID button and then the command button For example giving 1 1 commands display video from the camera 1 in the monitor 1 and...
Page 17: ...on to unlock the buttons 3 Press the user password and press the button 4 The buttons are unlocked Cancelling Command Pressing the button after pressing an ID or number button cancels the entry and re...
Page 18: ...to Appendix 2 Buttons for details on each control button Controlling PTZ Camera 1 Press the camera ID 2 Press the button You can control the camera by using PTZ control buttons Cameras 1 16 DVR Video...
Page 19: ...s connected to the DVRs via network connection It is required to log in a user with the authority over the function to control depending on the function when controlling DVRs and PTZ cameras connected...
Page 20: ...e camera ID 4 Press the button Video from the camera is displayed in the selected monitor and you can control the camera by using PTZ control buttons if the camera is a PTZ camera Controlling Camera o...
Page 21: ...nique pane ID should be set up to each pain of a main monitor connected to the MMX Run the INIT program Connect to the Remote Setup menu of the network keyboard Set up the main monitor Cameras 1 16 Ma...
Page 22: ...you can control the DVR by using device control buttons 5 Press the camera number of the DVR 6 Press the button Video from the camera is displayed in the selected monitor and you can control the came...
Page 23: ...itor with pressing a pane ID without pressing the monitor ID For this control a unique pane ID should be set up to each pain of a main monitor connected to the MMX Run the INIT program Connect to the...
Page 24: ...e setting changes Pressing the button repeatedly until the screen displays Save Setup allows you to save or cancel the changes Arrow buttons Navigates through setup menus or adjust number s value 0 to...
Page 25: ...not work if the time is set to 0 Audio Volume Adjusts the volume of audio input and output Upgrade Setting the value to Yes upgrades the software Refer to Chapter 1 Introduction Software Upgrade for...
Page 26: ...ssword max four digit numbers for the connection to the network keyboard and LCD menu setup Entering the current password allows you to enter a new password There is no default password User Pwd Click...
Page 27: ...is not set up or the time is set to Never LCD Audio Contrast Select the contrast of the LCD screen in the network keyboard from the drop down list Backlight Off The backlight of the LCD screen will b...
Page 28: ...to the network keyboard The network keyboard periodically will be issued a new IP address automatically DNS Server Enter the IP address of the DNS server If you set up the DNS server the domain name...
Page 29: ...following Setup General Advanced Mode for details on registration in the Advanced mode Setup The setup screen differs depending on the setup type set during the Device General setup General Basic Mode...
Page 30: ...the information for connection to the device ID The network keyboard assigns the ID automatically when the device is registered and you can change the ID The ID will be used to distinguish the device...
Page 31: ...a MMX the camera ID should be the same as the camera ID of the DVR connected to the MMX Otherwise two different IDs will be assigned to the one camera When clicking the OK button displays a message bo...
Page 32: ...ng the device via RS 485 connection the device should be connected to the network keyboard via the RS 485 port of the network keyboard properly When controlling the device via network connection both...
Page 33: ...ons Selection Device Number 0 9 in decremental DVR Jog Shuttle Direction Display Playback Emergency Panic Alarm PTZ Joystick Preset Focus Iris Motion Control Autopan Tour Pattern Home Advanced Macro S...
Page 34: ...34 APPENDIX 1 RS 485 Connector Pin Outs RS485 PTZ Connector RS485 DVR Connector Master Unit Slave Unit to TX RX to TX RX Master Unit Slave Unit to TX RX to TX RX...
Page 35: ...arm out of all alarm out channels of all devices registered on the network keyboard Shift Button Performs the secondary function of the button if the button supports two functions Locks buttons of the...
Page 36: ...r Focus Near Focuses on near or far image Focus Far Iris Open Opens or closes the iris of a camera lens Iris Close Auto Pan Performs the auto pan set to the number 1 Auto Pan No Performs the auto pan...
Page 37: ...o 6 1 12 No 7 4x4 No 8 PIP No 9 1 5 and No 10 1 12 When controlling a MMX the layout number preset in the MMX is used Cameo Enters the cameo mode Group Moves to the next camera group Group No Changes...
Page 38: ...s value when in the setup mode Changes the layout group while controlling a DVR Changes the location of the PIP when in the PIP display mode and increases or decreases the number values when in the s...
Page 39: ...gyang 27 CDC2400 DynaColor 28 Ultra VI Sensormatic 29 ZC SD622J CBC 30 Siemens SCU Siemens 31 PTC 200C CVAS ELMO 32 DRX 500 Dongyang Unitech 33 GHSD 7425 Series GSP 34 GHSD 7344 Series GSP 35 GHSD 744...
Page 40: ...ge on the USB device failed 102 Extracting package failed 402 Copying upgrade package on the USB device failed 105 Invalid package 403 USB device is not connected 300 Remote connection failed 404 USB...