Operating Manual
Network Server, Video/Audio, 1 Channel,
H.264, MPEG-4, MJPEGGLS-2302H
Page 1: ...Operating Manual Network Server Video Audio 1 Channel H 264 MPEG 4 MJPEG GLS 2302H...
Page 2: ...Betriebsanleitung Installation and Operating Instructions Mode d emploi Instrukcja instalacji i obs ugi www videor com www eneo security com...
Page 3: ...ork Settings 12 5 2 1 Enable DHCP Function 12 5 2 2 Set IP Address 13 5 3 TCP IP Communication Software 14 5 4 TCP IP Installation 16 5 5 TCP IP Configuration Setting 17 5 6 Connection Testing 18 6 Op...
Page 4: ...t dust damp and vibration Do not place any heavy objects on the unit To disconnect the power cord of the unit pull it out by the plug Never pull the cord itself Pay attention when laying the connectio...
Page 5: ...in the NTSC PAL systems respectively In addition users based on different bandwidths can choose multi profile video streaming at different resolutions The video server provides stable reliable and co...
Page 6: ...ion 720 x 576 max Simultaneous video streaming H 264 MJPEG MPEG 4 USB connector for configuration Shared access up to 10 simultaneously Up to 3 password levels Integral motion detection Audio and alar...
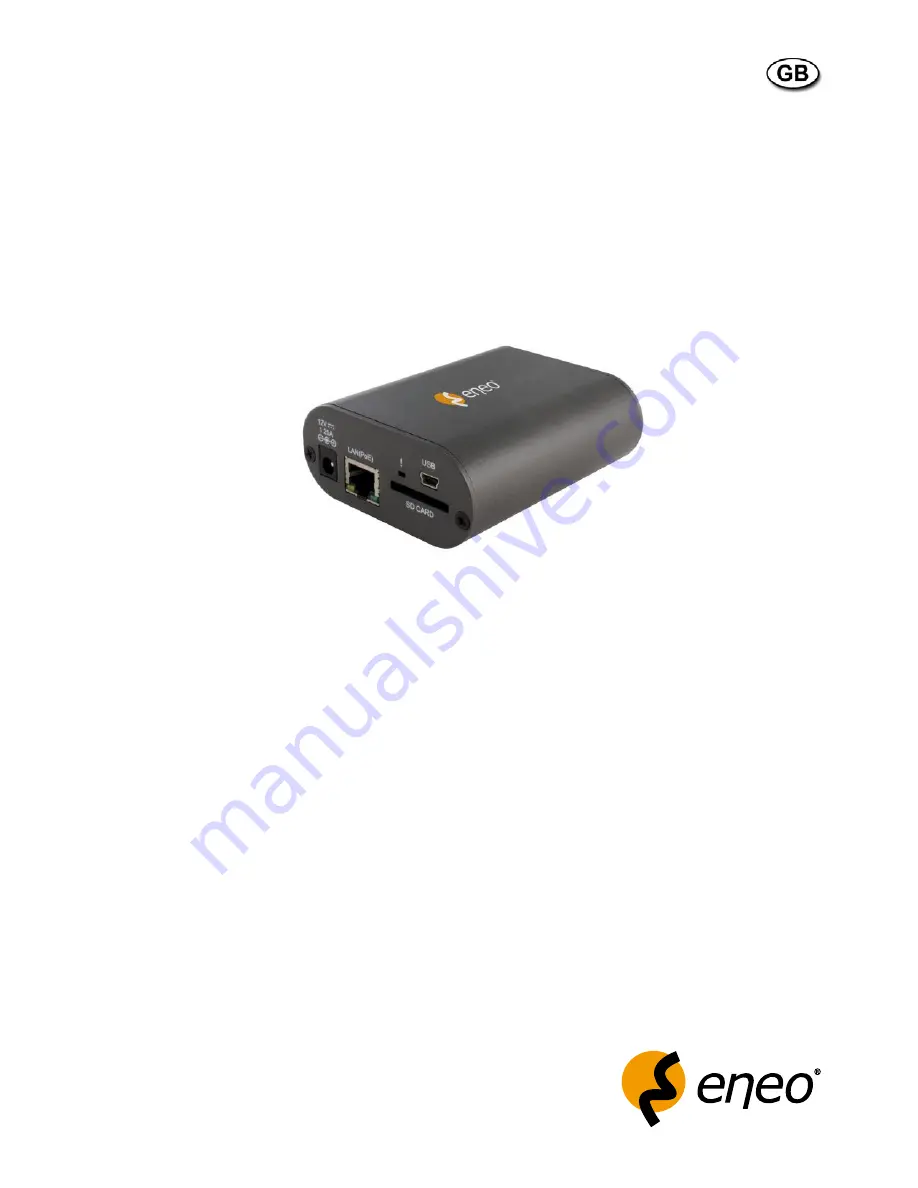
Page 7: ...for updating system software and archiving accessing critical images 5 USB port The user can use a USB device cable to connect the Video Server to the USB port on the PC 1 AUDIO IN The connector is u...
Page 8: ...O Connects to an alarm or buzzer 485 485 Connects to an RS 485 interface for controlling auxiliary equipment such as an external camera enclosure for pan tilt and zoom functionality Photo Relay Photo...
Page 9: ...words if the user connects the Video Server with an SD card and the PC via the USB connector the Video Server can be used as a normal card reader 2 Remove an SD card As a configuring tool By connecti...
Page 10: ...s will not appear on the monitor screen 4 1 Connecting with a Camera to camera BNC connector Digital or analog camera 4 2 Updating System Software If the system software of the Video Server needs to b...
Page 11: ...R will not work normally after being updated 3 If the power of the VIDEO SERVER is suddenly lost in step 8 please remove the SD card first and turn on the VIDEO SERVER next to test its operation If th...
Page 12: ...twork hardware you need to activate the network function and configure the proper network settings of the Video Server 5 2 1 Enable DHCP Function The user can use the USB function refer to section 3 4...
Page 13: ...permanent IP address and correctly configure the MASK and GATEWAY settings according to your network architecture If you have any questions regarding those settings please contact a qualified MIS prof...
Page 14: ...unication Software Follow the instructions below to install the TCP IP communication program into your computer 1 Click Start and then click Control panel 2 Double click the Network Connection icon to...
Page 15: ...Internet Protocol TCP IP is included in the list If the TCP IP is included please process section 5 5 If it is not included please follow section 5 4 to install the TCP IP 3 Right click your network...
Page 16: ...click Internet Protocol TCP IP Then click Install Select Protocol from the network component type then click Add Select Microsoft TCP IP from the network protocol then click OK Click Close to return t...
Page 17: ...se select Obtain an IP address automatically Any assigned IP address for the connected Video Servers must be in the same class type as the server If there is no DHCP server please select specify an IP...
Page 18: ...ther you have established the connection successfully 1 Click Start All Programs Accessories Command Prompt 2 Enter ping XXX XXX XXX XXX the Video Server s IP address then enter See the sample screen...
Page 19: ...ction If you receive a response as in the sample screen below the connection hasn t been successfully established Please re check all the hardware and software installation by repeating sections 5 4 t...
Page 20: ...toring remote zones or watching recorded data through the TCP IP protocol The details are listed as follows Wire Type Cat 5 Connector Type RJ 45 Max Cable Length 100m Hub Wiring Configuration Straight...
Page 21: ...exit the page NOTE The default User Name and Password are admin and 9999 respectively NOTE The page headlined Enter Network Password is shown below Please enter the user name and password of the Video...
Page 22: ...serted the icon becomes red Motion on icon When there is a detection of motion the icon will appear in the upper right corner to warn the user When the motion detection is triggered the icon will blin...
Page 23: ...o a blue colour while working effectively Audio switch Click on the button to start stop the audio in function listen stop listening The icon will change to a blue colour while working effectively Tal...
Page 24: ...up Click on the Setup button on the home page to proceed to the advanced settings 6 1 3 1 Setup Wizard To quickly configure your Video Server click Wizard on the top of the Setup pages This wizard wil...
Page 25: ...default static IP is 192 168 1 168 You can set an IP address for the Video Server if the LAN unit isn t connected to a DHCP server If your Internet Service Provider has provided you with connection s...
Page 26: ...ess automatically select Enable and enter your host information Click Next to continue Step 4 Enter a name for your Video Server and click Next to continue Step 5 Configure the correct time to ensure...
Page 27: ...have selected DHCP you will see a summary of your Video Server s settings Please note down all this information as you will need it for accessing your Video Server within the network Click Apply to sa...
Page 28: ...ng page 2 Adjust the Viewer Type Click to choose the viewer type of the AJAX or ActiveX mode 3 Adjust the Image Settings including Mirror Flip Brightness Contrast and Saturation as necessary 4 Adjust...
Page 29: ...r colour intensity strength Saturation This setting controls the strength of colours from black and white to bold colours Timestamp Location Click to open the list of four location modes to choose fro...
Page 30: ...Video Server Hence you may setup different profiles for your computer and mobile displays In addition you may also configure your audio setup for your Video Server Click Submit to activate and save y...
Page 31: ...h Medium Low and Lowest Intra Frame Period In the H 264 or MPEG4 mode if there is little motion and most of the video content does not change from frame to frame the H 264 MPEG4 encoding can compress...
Page 32: ...e Network Settings Please follow the steps below to change the network settings through the network as necessary Set the network options and IP address 1 Click on the Network button in the home page t...
Page 33: ...Enable this setting to allow the Video Server to add port forwarding entries into the router automatically on a UPnP capable network Change the Network Settings PPPoE The Network page has on its upper...
Page 34: ...It allows you to specify and reserve the ports for both the HTTP and RSTP streaming Please follow the steps below to change the Port Detail setting through the network as necessary 1 Click on the Por...
Page 35: ...the IP address of your Video Server NOTE Using a RSTP player to view the video streams To view the MPEG4 streaming media by using RTSP players you can use the players that support RTSP streaming such...
Page 36: ...lic IP address of the modem when it has been modified The user name and password are required when using the DDNS service The Network page has on its upper left the DDNS icon Please follow the steps b...
Page 37: ...d Enter your password again to connect to the DDNS server Timeout Enter the DNS Timeout values for registering the IP address Status Indicate the connection status automatically determined by the syst...
Page 38: ...http to https in the address bar and press Enter on your keyboard Some Security Alert dialogs will pop up Click OK or Yes to enable HTTPS 2 Create self signed certificate manually 1 Enable HTTPS secur...
Page 39: ...on the Submit button to submit the new setting Description of function keys Allow List Start IP Address The starting IP Address of the devices such as a computer which have permission to access the vi...
Page 40: ...1 Click on the System button to enter the Time And Date page default From this section you may automatically or manually configure update and maintain the internal system clock for your Video Server 2...
Page 41: ...ze with NTP server Enable this feature to obtain time configuration automatically from the NTP server NTP Server The Network Time Protocol NTP synchronizes the device with an Internet time server Choo...
Page 42: ...external Video Server enclosure to perform the PAN and TILT movement Click on the RS485 Setting button on the left side of the System page to enter the RS485 Setting page NOTE Checkmark Support PAN T...
Page 43: ...its to a certain value to ensure that the transmission has an even or odd number of logic high bits For example if the data is 011 for even parity the parity bit is 0 to keep the number of logic high...
Page 44: ...e to enter the Users page User List The list shows the registered user s and the corresponding authority Delete Deletes a selected user Name Enter the user s name which will be added or modified Passw...
Page 45: ...configuration files to the local hard drive Load Configuration Browse and click on the Load Configuration to load the configuration files to the local hard drive Restore Factory Defaults Click on Rest...
Page 46: ...file is appropriate to the model of the unit Updating with the wrong UPDATE BIN file may cause physical damage to the device NOTE The Temporary Internet Files or cache folder contains Web page content...
Page 47: ...ssary Change the Application Setting Language Setting Please follow the steps below to change the Language setting via the network as necessary 1 Click on the Language button on the left side to enter...
Page 48: ...You can set more than one targeted zone depending on your requirement 3 Enables disables the motion detection function 4 Set up the signal level 5 Click on the Submit button to submit the new setting...
Page 49: ...ings Or click on Delete to erase the settings The Event Setup page includes 4 different sections Server Media Event and Recording 1 To add a new item event server or media click Add 2 To delete the se...
Page 50: ...The string must conform to that of the external FTP server Some FTP servers cannot accept a preceding slash symbol before the path without virtual path mapping Refer to the instructions for the extern...
Page 51: ...media files to an FTP server when a trigger is activated a Server address Enter the domain or IP address of the FTP server b Port The default FTP server port is 21 It can also be assigned to another p...
Page 52: ...te Note that only when the server setting is not being applied to an event setting Application Event Event The Action option can it be deleted or the Video Server won t take any action when a trigger...
Page 53: ...elect one of the media types Snapshot Select to send snapshots when a trigger is activated a Source Select to take snapshots from the video profile b Send pre event image s 0 4 The Video Server has a...
Page 54: ...on Event Event The Attached media item can it be deleted or you can t get the images logs when a trigger is activated Video Clip Select to send video clips when a trigger is activated a Source Select...
Page 55: ...ion Select the windows which need to be monitored Periodic The event is triggered in specified intervals The unit of a triggering interval is a minute Digital input The event is triggered when the DI...
Page 56: ...r System log via the server type as your settings b Periodic This option allows the Video Server to trigger periodically for every other defined minute s Up to 99999 minutes c Digital input This optio...
Page 57: ...deo Server to make video clips continuously From The time range specified for the video clip 4 Click on Submit to save or click on Don t Submit to go back to the Event main page Record settings 1 Clic...
Page 58: ...prevent malfunction The limited value is 1000 200000000 Kbytes c Size of each file for recording Set the maximum file size of each recording video files d File Name Prefix Enter the text that will be...
Page 59: ...sub date folder 5 Click the desired file to display the images therein 6 Each file can be deleted by checking and by pressing the OK button 6 1 3 7 Device information The Device Information This page...
Page 60: ...ys the log information of your Video Server 1 Click on the Device info button of the Status page to enter the Device info screen 2 Click on the Clear to erase all of the logs You may also download the...
Page 61: ...nd Password 9999 Click OK 2 Choose PPPoE PPPoE mode Select ON Enter Account Enter Password Submit Unplug the power connection 3 Plug in the Video Server and it will receive an IP address from the ISP...
Page 62: ...ver can be found and click to go online to the Video Server s first page 2 Perform the step 5 above make the Route UPnP port forwarding setting 3 Your PC can connect to the Video Server webpage via th...
Page 63: ...mic DNS setting page 3 Check on the Enable DDNS Function to activate it 4 Enter the DDNS Host Name DDNS Account and DDNS Password which you created in the www dyndns com website 5 Click on the Submit...
Page 64: ...want to modify on the USER LIST 2 Enter the password the confirmed password and choose the authority 3 Click the Add Modify User button to submit the new setting Delete a user 1 Click the user name y...
Page 65: ...ser Picture adjustments colour brightness contrast Stream types H 264 MPEG 4 MJPEG multiple Frame rate Max 25 frames sec Resolution 720x576 4 3 352x288 4 3 Resolution max 720x576 Image transmission ra...
Page 66: ...panish Swedish Finnish Hungarian Czech Polish Portugese Russian Turkish Chinese Password protection yes 3 password levels Power over Ethernet yes IEEE 802 3af Supply voltage 12VDC PoE Management Softw...
Page 67: ...67 9 Dimensional Drawings Dimensions mm 94 80 34...
Page 68: ...ess of this device is Now the Video Server supports the UPnP Universal Plug and Play protocol which makes it easier for you to examine it however it is a pity that Microsoft Windows XP doesn t start t...
Page 69: ...ask of 255 255 255 0 There won t be any communication due to different IP class domains and you have to modify the relative settings or the UPnP protocol won t work however checking your own IP addres...
Page 70: ...70 Step 3 Click the Properties tab in the Network Connections dialog box Step 4 When the Local Area Connection Properties dialog box shows up choose Internet Protocol TCP IP and click Properties...
Page 71: ...roperties dialog box choose Use the following IP Address to indicate that you do not wish to use DHCP and assign IP Address 192 168 1 200 with Subnet mask 255 255 255 0 Click OK when you finish it Ste...
Page 72: ...lt however we have to install some packets before we initialize it The following steps will help you to install them Step1 From the Start menu point to Set Program Access and Default and then click it...
Page 73: ...73 Step 3 Check the Network Services in the Windows Component Wizard dialog box and then click Details Step 4 Check UPnP User Interface and choose OK...
Page 74: ...74 Step 5 When the original Network Component Wizard dialog box returns click Next Step 6 After about one minute the UPnP installation will be done and choose Finish to close it...
Page 75: ...es to start the UPnP protocol The following procedures will teach you how to do it Step 1 From the Start menu point to Settings and then click Control Panel Step 2 When Control Panel appears double cl...
Page 76: ...76 Step 3 Click the Services icon in the Administrative Tools dialog box Step 4 When the Services dialog box shows up double click the SSDP Discovery Service icon...
Page 77: ...77 Step 5 Choose Automatic in the Startup type and click OK to start it Step 6 When the Services dialog box appears again double click the Universal Plug and Play Device Host icon...
Page 78: ...n Video Server through My Network Place After your installation and starting services the UPnP protocol will take effect You can scan all devices in My Network Place like below Just double click the d...
Page 79: ...g for a DDNS Enter the URL www dyndns com In the upper right hand corner of the main page where there is an item Create Account as shown below Create an account After clicking Create Account you will...
Page 80: ...eating the account successfully please enter your user name and password in the upper right hand corner of the main page to login as shown below After you login successfully a text will appear saying...
Page 81: ...e My Hosts item as shown below Click Add Host Service and its service items will appear The Add Dynamic DNS Host item helps to add a new DDNS Each member may have only one free account and one free ac...
Page 82: ...e as s he likes from the right hand side of the Hostname s drop down list NOTE You don t have to set the IP Address in the same format as the Video Server s IP Address It will renew the IP Address aut...
Page 83: ...0 25 QVGA 0 66 0 56 0 44 0 38 0 22 ZOOM 2 3 2 5 2 1 5 1 ZOOM 3 3 2 5 2 1 5 1 ZOOM 4 3 2 5 2 1 5 1 2 When frame rate is lower or equal to 15 frames second Highest High Medium Low Lowest FULL D1 2 25 1...
Page 84: ...Video Server Ethernet CAT5 UTP Straight through cable Operating Manual CD Technical changes reserved Copyright by Videor E Hartig GmbH 01 2012 eneo is a registered trademark of Videor E Hartig GmbH E...