CRONOTERMOSTATO DIGITALE SETTIMANALE A BATTERIE
BATTERY-POWERED DIGITAL WEEKLY CHRONOSTAT
Page 1: ...CRONOTERMOSTATO DIGITALE SETTIMANALE A BATTERIE BATTERY POWERED DIGITAL WEEKLY CHRONOSTAT ...
Page 2: ...15 INSTALLATION ENGLISH Fig 1 Fig 2 Method for releasing the wall mount plate from the base of the chronostat ...
Page 3: ...eth of the plate click into place then fix the chronostat body to the wall mount plate through the two screws supplied which must be mounted in the battery holder Fig 2 5 Insert the batteries in the battery compartment O in Fig 4 see paragraph HOW TO INSERT REPLACE THE BATTERIES WARNING To adjust properly room temperature install the thermostat far from heat sources airstreams or particularly cold ...
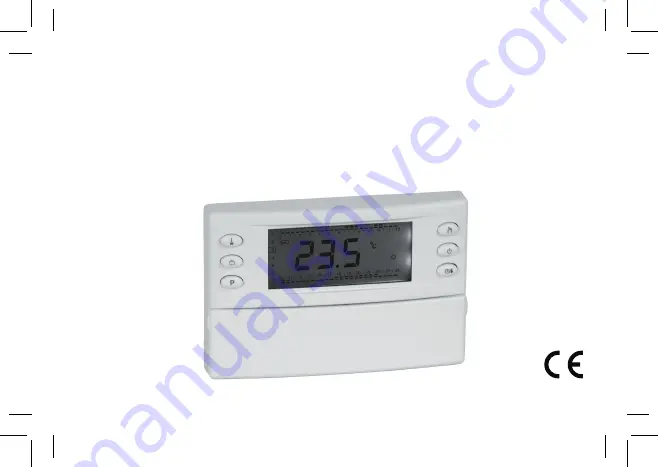
Page 4: ...programming sets the regulation temperature into Economy mode E Button with double function In normal operation turns on and off the chronostat In schedule programming sets the regulation temperature into Off Antifreeze mode F Button with double function In normal operation displays current time or temperature In schedule programming sets the regulation temperature into Comfort mode G Forward butt...
Page 5: ...shows OFF Heating mode enabled Cooling mode enabled Temperature regulation in Comfort mode for 24 hours Permanent temperature regulation in Comfort mode The chronostat is in programming mode Flashing Cleaning program active the remaining time is shown on the display Flashing Vacation program active the remaining time is shown on the display Fixed Indicates that the telephone interface is active Fl...
Page 6: ...ramming the time and current day of the week I in Fig 4 Forward G in Fig 4 Back L in Fig 4 Setting the current time and day To set the clock of the chronostat carry out the following steps 1 Open the flap of the battery compartment 2 Keep the OK button pressed for at least 2 seconds the hour digits will start flashing 3 Set the hour using buttons and 4 Confirm by pressing OK the minute digits will st...
Page 7: ...mode for setting the chronostat parameters proceed as follows 1 Press the P button the display will show the P icon bottom right and the word PrOG 2 Press the P button repeatedly to scroll through the user parameters Schedule Programming PrOG Antifreeze Setting AFr Optimization Function Setting OPt Offset Setting OFS 3 Press the OK button to modify the selected parameter 4 Configure the data associ...
Page 8: ... same for all days within each single group 3 Press the OK button to confirm the setting made the display will show the schedule previously programmed for the set day or group of days and the time 00 00 cursor flashing on the interval between 00 00 and 00 30 4 Set the operating mode to make the programming operation easier the chronostat leaves the factory preset with 4 time slots Press the button t...
Page 9: ...esponds to a half hour set the operating mode by pressing one of the following buttons Comfort mode Press the button Off Antifreeze Press the button Economy mode Press the button Moving the time cursor Press button or Each time the button which sets the regulation mode is depressed the time cursor automatically jumps into the next half hour Confirm Economy Off Comfort 6 After programming the schedu...
Page 10: ...dvance may be 60 minutes at most and is calculated based on the average gradient of the previous 24 hours To set the optimization function carry out the following steps 1 Select the parameter OPt and press the OK button 2 The display will show On or Off QUICK GUIDE FOR SETTING THE TIME SCHEDULE Press button P The display shows PrOG with the icon turned on Press button OK The display shows dAY Pres...
Page 11: ...on again or else wait 10 seconds without pressing any button The display will show the flashing icon and the time remaining 3 Press button to activate On or to deactivate Off the function every change will be automatically memorized 4 To exit press the OK button or else wait 10 seconds without pressing any button OFS OFFSET SETTING With the Offset function it is possible to correct the temperature ...
Page 12: ...de and the chronostat will remain in this mode until the time 23 59 is reached after which it will go back into the Automatic mode Note If the device is set in the 24h Manual mode and the Vacation program is activated after the Vacation period has elapsed if it is past the time 23 59 the chronostat will go back into the Automatic mode and follow the set program schedule Pressing the button a secon...
Page 13: ...d along with the symbol If the Antifreeze function is active the symbol will be displayed IMPORTANT the commands input by pressing the control buttons will always have priority over the commands received from the telephone interface If you press the or button on the chronostat the device will change its status and the icon will flash to indicate that the interface command has been overridden by a c...
Page 14: ...voltage category II Operating temperature 0 C 40 C Storage temperature 10 C 50 C Humidity limits 20 80 RH non condensing Enclosure Material ABS PC V0 self extinguishing Colour Cover Signal white RAL 9003 Base Anthracite RAL 7016 Weight 250 gr NORMATIVE REFERENCES The product complies with the following standards EMC 2004 108 EC and LVD 2006 95 EC CEI EN 60730 1 2002 CEI EN 60730 2 7 1998 CEI EN 60...
Page 15: ... IST01550AAN 019307A0 230511 ...