Before starting shroud assembly check around the body outside diameter to be sure all of
the transducer cables have been postponed within the transducer machined pockets and
the cable grooves on the body surface. If the cables are not positioned correctly the cable
may become damaged and shroud assembly may not be possible.
Procedure
1. Assemble a lock washer onto the four shroud bolts and place all of the bolts within
reach of the meter.
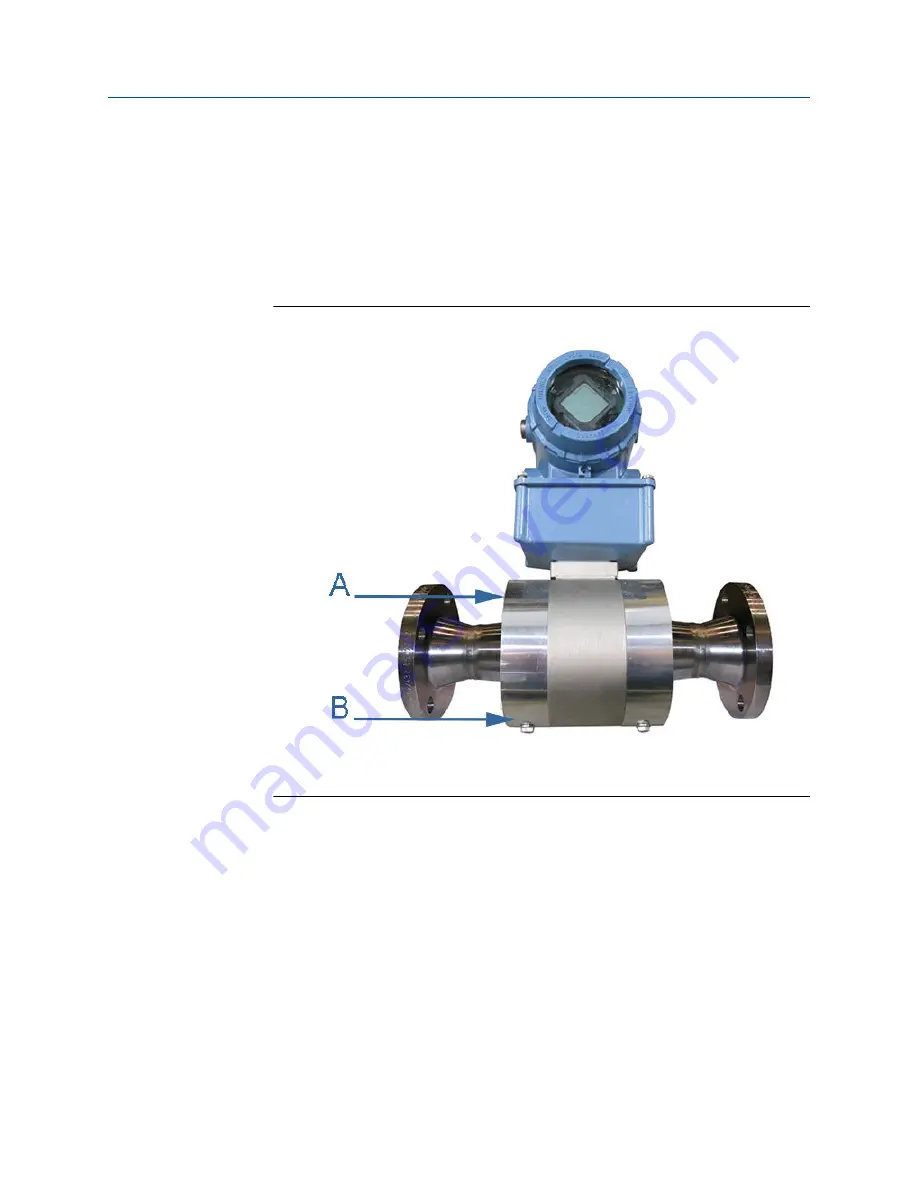
Figure 3-67: Bolted band shroud
A. End shroud installed
B. Bolted band shroud
2. Bolted band shroud assembly:
a) New bolted band shrouds: grasp the shroud by the end edges and bow the
shroud with the brushed finish side of the shroud as the outside surface.
Position the bowed shroud (center of the length) over the top of meter body,
under the electronics enclosures and over the end of the meter body.
b) Used bolted band shrouds: previously installed bolted band shrouds will
already be bowed. Grasp the end edges and position the bowed shroud
(center of the length) over the top of the meter body, under the electronics
enclosures and over the end of the meter body.
3. Align the hole near the end of the shroud with the tapped hole in the body OD and
insert the bolt with lock washer into the meter body hole.
Maintenance and Troubleshooting Manual
Meter maintenance
00809-0100-3812
April 2022
Rosemount 3812 Liquid Ultrasonic Flow Meter
107


