


CAUTION
Do not remove the wrong drive on a running system. Doing so causes the removed drive
to be marked as failed.
Procedure
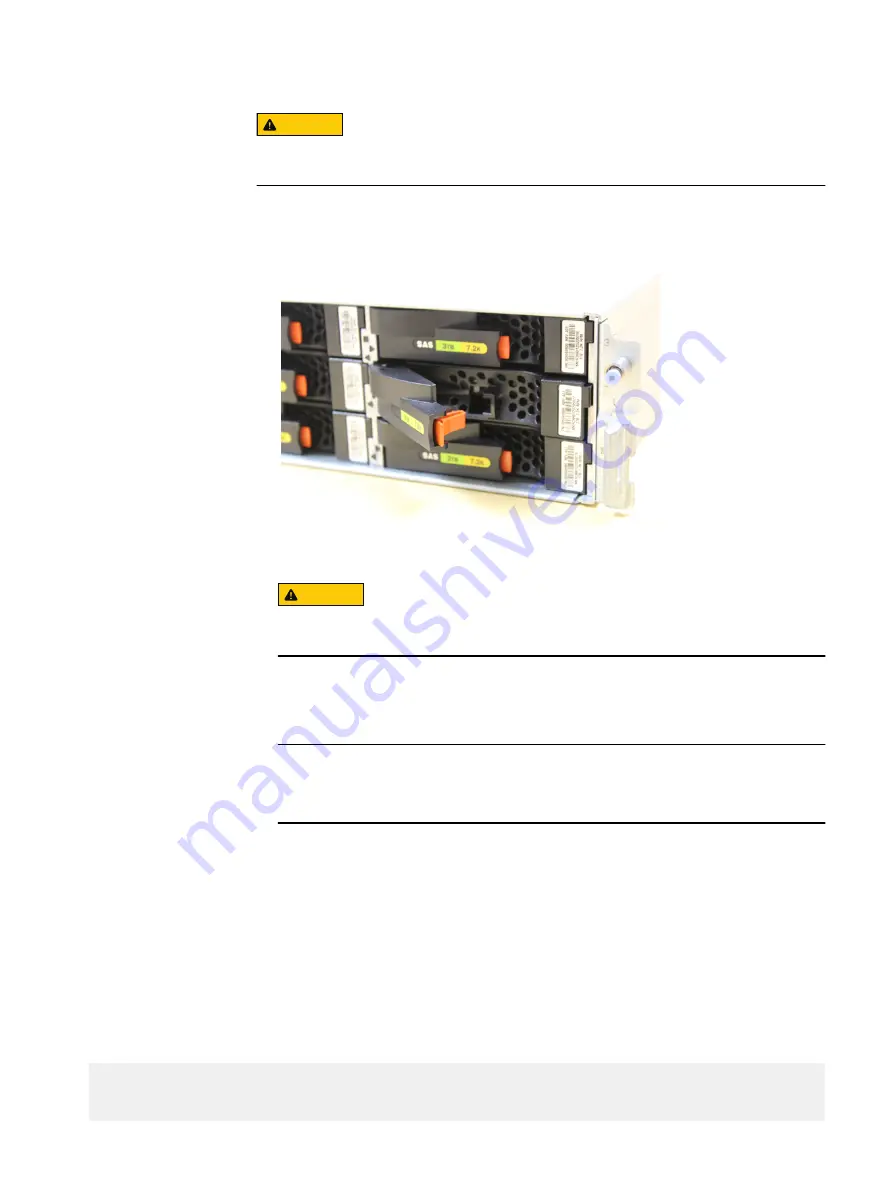
1. Press the orange button and pull the release latch.
Figure 3 Removing a disk drive
2. Pull the drive from the chassis.
CAUTION
Allow at least one minute to pass between removal of the old disk and insertion of
the new disk.
3. With the latch open, install a disk drive by pushing it fully into the drive bay until it
clicks into place.
4. Close the release latch.
Note
If the drive requires excessive force to install, remove the disk drive from the bay and
repeat the installation. Never force-fit the drive into the chassis.
Verify the replacement disk
A replacement disk drive that is inserted into the system is recognized as a failed disk
drive and is noted as failed when first installed. An auto-spare process should change the
status to OK in a few minutes.
Procedure
1. At the CLI for the CloudBoost appliance, type
support system-report
, then after
the system report is displayed, type
disk
.
The state of all disk drives is displayed. Note the status line in the command output.
Enter the data item to view details, or press <ENTER> to return
System Report>
disk
- id: Viper LCC
Disk Drive Replacement
18
EMC CloudBoost 100
2.0
Hardware Component Replacement Guide
Summary of Contents for CloudBoost 100
Page 1: ...EMC CloudBoost 100 Version 2 0 Hardware Component Replacement Guide P N 302 002 471 REV 02 ...
Page 6: ...FIGURES 6 EMC CloudBoost 100 2 0 Hardware Component Replacement Guide ...
Page 8: ...TABLES 8 EMC CloudBoost 100 2 0 Hardware Component Replacement Guide ...
Page 14: ...CloudBoost 100 Overview 14 EMC CloudBoost 100 2 0 Hardware Component Replacement Guide ...
Page 20: ...Disk Drive Replacement 20 EMC CloudBoost 100 2 0 Hardware Component Replacement Guide ...


