1
Rev.122411-AS
www.elitescreens.com
[email protected]
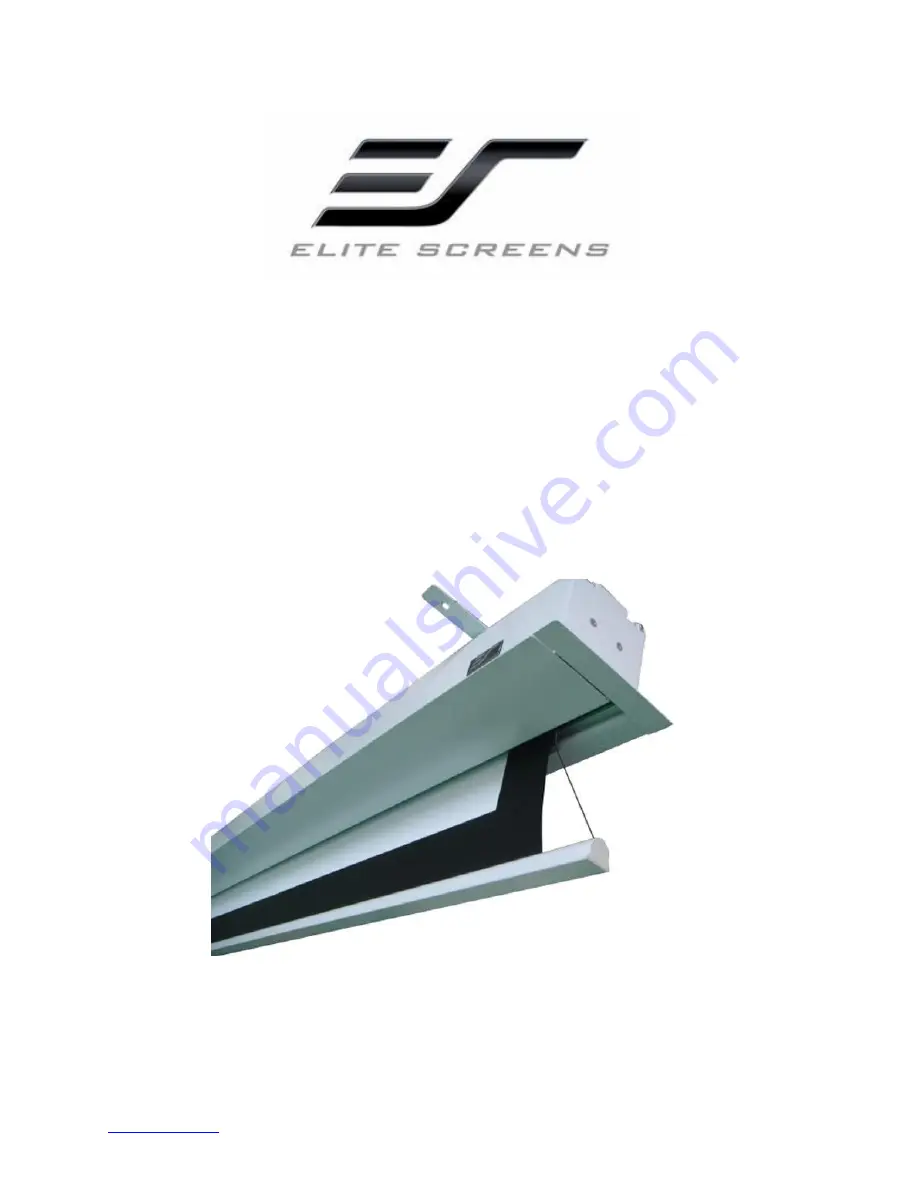
In-Ceiling Electric Motorized Front Projection Screen
Evanesce Tension Series
User’s Guide
Page 1: ...1 Rev 122411 AS www elitescreens com info elitescreens com In Ceiling Electric Motorized Front Projection Screen Evanesce Tension Series User s Guide...
Page 2: ...Do not place any heavy objects over the power cord Position the power cord properly to avoid creating a trip obstacle To avoid an electrical shock or fire due to a loose contact or short circuit do no...
Page 3: ...nstallation This equipment generates and can radiate radio frequency energy and if not installed and used in accordance with the instructions may cause harmful interference to radio communications How...
Page 4: ...Please make sure all accessories listed below are included before proceeding A B C D IR Remote RF Remote 3 Way Wall Switch IR Eye Receiver G AAA Batteries Red Green E F H 12V Trigger In Wall RJ 45 Mo...
Page 5: ...ufacturer of the projector The trigger feature will not work without an output cable from the projector but it can be tested by connecting the Red and Green cable to a 9 volt battery 2 3 Way Wall Swit...
Page 6: ...switch as shown in diagram above 2 Attach an RJ 45 Ethernet cable not included to the ZIW Module and the other end to the RJ 45 input on your Elite electric screen 3 After testing the connection place...
Page 7: ...a 3 Prong Power Cord for use in a non concealed power outlet If your installation will be entirely concealed including power outlet Elite Screens strongly recommends a hardwire connection Please refe...
Page 8: ...with the Case Rail Nut A Slide the Hanging Bracket C through the railing on top of the case 3 Place the Suspension Bar D on the Hanging Bracket C and align with the hole as shown below Secure the Sus...
Page 9: ...ach the Suspension Bar J Hook G to the bottom of the Suspension Bar D and secure with the Hex Screw B Washer E and Hex Nut F 2 Attach the Suspension Bar J Hook G to the Hanging Bracket C as shown in f...
Page 10: ...e the Hanging Bracket C in the desired location on the screen s housing and measure the distance as shown below L Distance 2 Mark the location of where the screen will be installed according to the di...
Page 11: ...Height B Top Border B1 B2 Case H B3 Overall Height B4 B5 Case Width C C1 C2 C3 C4 C5 C6 ITE100VW2 E8 100 4 3 80 0 3 7 92 4 94 8 76 7 92 2 60 0 8 0 71 9 4 6 76 6 3 9 3 9 2 0 36 4 5 7 7 1 45 1 47 4 5 8...
Page 12: ...the original product covered by this limited warranty What is Not Covered This warranty is not transferable and does not cover product purchased by another end user This warranty does not cover incid...