11
Chapter 2 Settings and Adjustments
2-2 Screen
Adjustment
Digital Input
When digital signals are input, images are displayed correctly based on the
preset data of the monitor.
Analog Input
The monitor screen adjustment is used to suppress fl ickering of the screen or
adjust screen position and screen size correctly according to the PC to be used.
To use the monitor comfortably, adjust the screen when the monitor is set up for
the fi rst time or when the settings of the PC in use are updated.
The auto-adjustment function works in the following cases:
• When a signal is input into the monitor for the fi rst time
• When a signal is input into the monitor for the fi rst time after the
resolution or refresh rate of input signals is changed
[Adjustment Procedure]
Automatic
Adjustment
1
To adjust screen automatically [Screen]
(1) Choose <Screen> from the <Auto Adjustment> menu, and press
.
(2) Select “Execute” with
or
, and press
.
(3) Flickering, screen position, and screen size are corrected by the auto-
adjustment function.
If satisfactory adjustment cannot be obtained with the auto-
adjustment function, perform the adjustment following the
procedure below. When the screen is displayed correctly, go to step
4 “Range Adjustment”.
Advanced
Adjustment
2
Run the Screen Adjustment Program.
Load the EIZO LCD Utility Disk on the PC, and start the Screen
Adjustment Program compatible with the PC in use.
After the program starts up, perform the adjustment in step 3 following the
instructions of the program.
Attention
• Wait 30 minutes or more from
monitor power on before starting
adjustments.
Attention
• This function works correctly when
an image is fully displayed over
the display area. It does not work
properly when an image is displayed
only on a part of the screen (DOS
prompt window, for example) or
when a black background (wallpaper,
etc.) is in use.
• This function does not work correctly
with some graphics boards.
• “Auto in Progress” appears on the
screen during auto adjustment.
NOTE
• Use “Screen Adjustment Program” on
the supplied EIZO LCD Utility Disk.
NOTE
• For how to start the Screen
Adjustment Program, refer to
“Readme.txt” or the “Readme” fi le.
You can run the program directly
from the start menu of the disk.
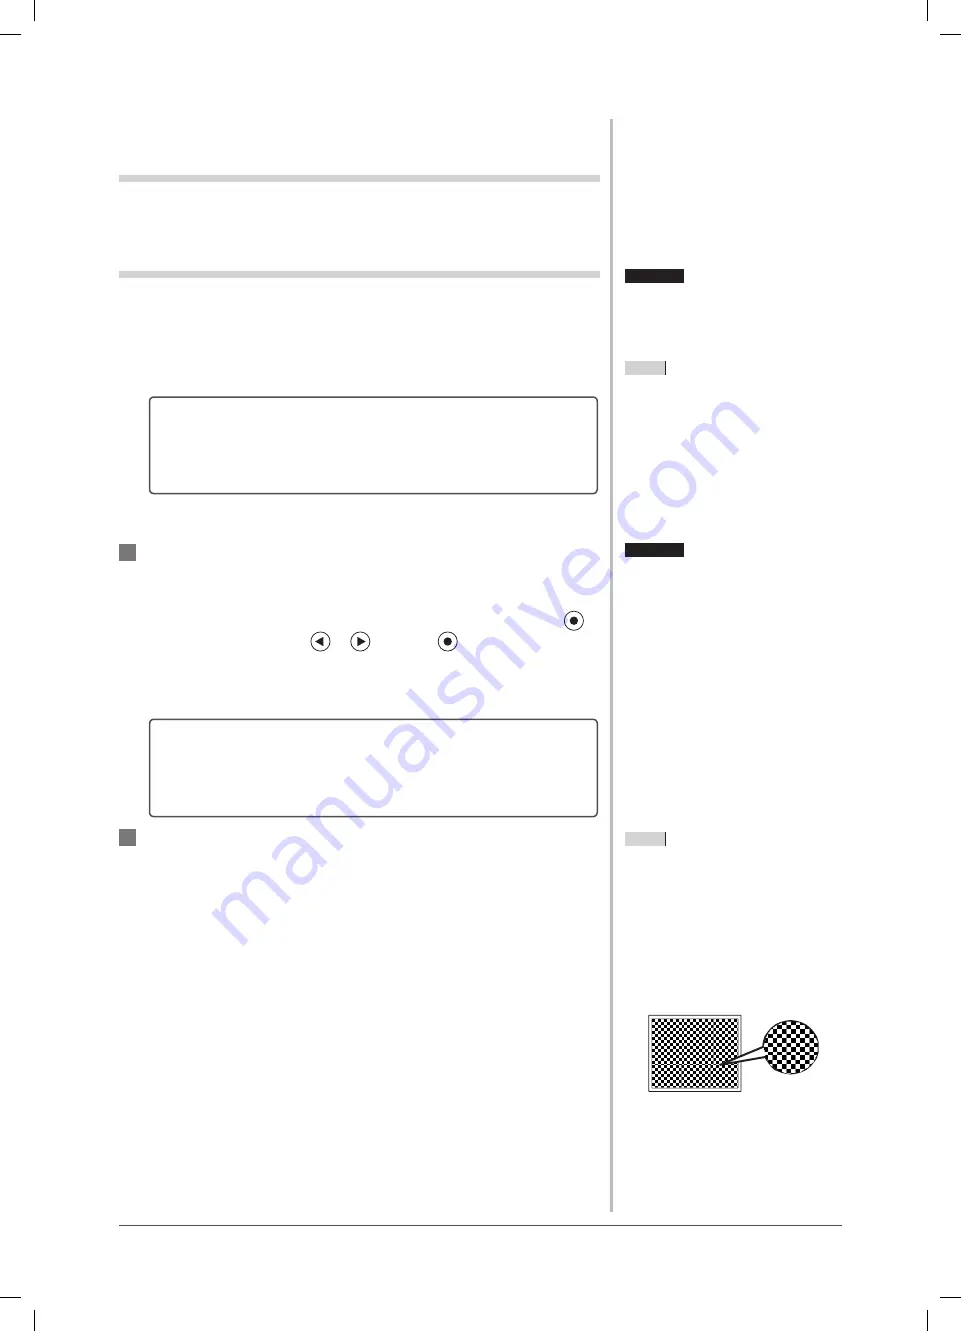
• If no adjustment program is available
for your PC, display a checkerboard
pattern on the screen (see below) and
go to the following steps.
S1501_UM_EN.indd 11
S1501_UM_EN.indd 11
5/28/2007 5:12:37 PM
5/28/2007 5:12:37 PM
Summary of Contents for FlexScan S1501
Page 35: ......


