33
Advanced use
Depth of the adjustment results
9.
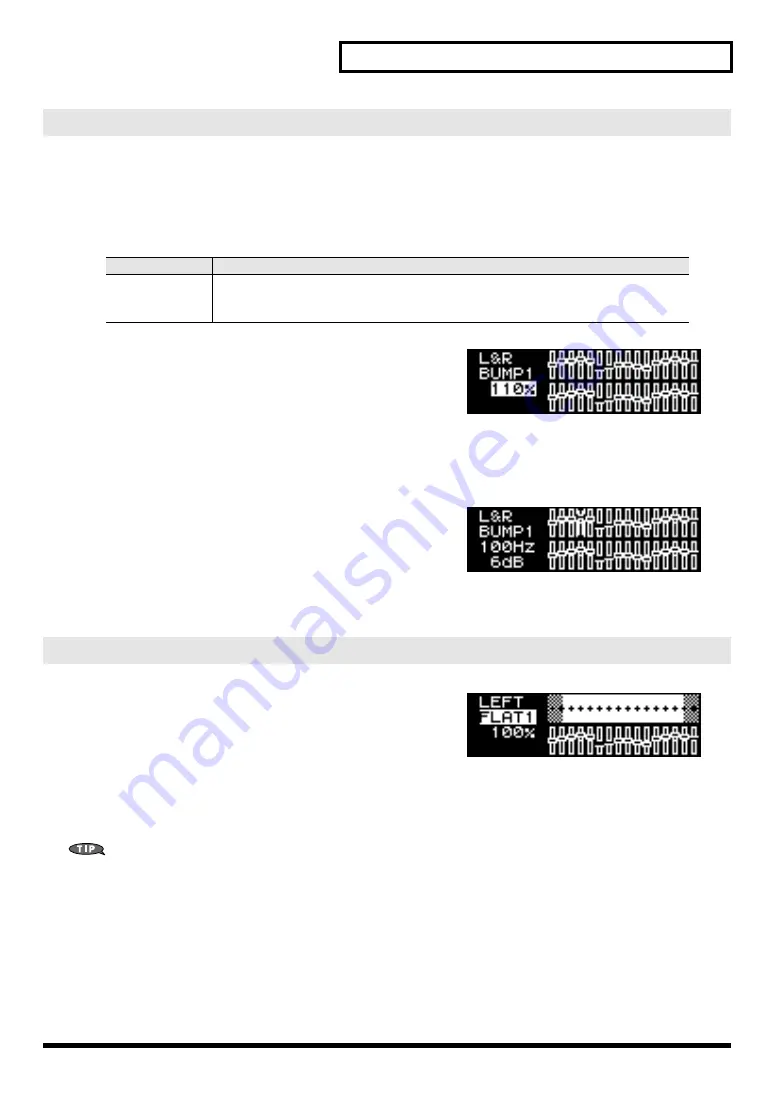
Use the CURSOR [BWD] [FWD] buttons to move the cursor to the percentage indication,
and use the VALUE [-] [+] buttons to change the percentage by which the results of the
automatic adjustment will be applied.
fig.RAC-13
The graphic equalizer settings will also change according to
the percentage you specify.
Graphic equalizer settings
While you actually listen to the sound, make corrections to the frequency response by (for example) lowering
levels that had been raised excessively.
fig.RAC-15
1.
Use the CURSOR [BWD] [FWD] buttons to select a
frequency.
2.
Use the VALUE [-] [+] buttons to adjust the level.
The selected frequency and its level are shown in the left of the screen.
fig.RAC-16
When you press the [ROOM ACOUSTIC] button so it’s lit
and turn the Room Acoustic Control function on the most
recently selected settings will be called up.
At this point, use the CURSOR [BWD] [FWD] buttons to
move the cursor to the frequency response curve, and use the
VALUE [-] [+] buttons to switch curves; the amplitude and
adjustment result (graphic equalizer settings) stored as a set
with the response curve will be called up.
You can use this as a sixteen-memory preset equalizer.
Manual adjustment
Range
Explanation
70–100–130%
With a setting of 100%, the adjustment results will be applied without further change.
Settings below 100% will reduce the effect of the adjustment results, and settings above
100% will apply the results more strongly.
Calling up adjustment settings


